Showing posts with label log cabin blocks. Show all posts

Wednesday, September 1, 2021

The Sweet Home Quilt Along 2021

Hello, friends! It's been way too long and I'm so excited to have just clicked the "+ new post" button after such a long, unexpected blogging hiatus. For the first time since the beginning of this pandemic, I'm home alone with my oldest away for his first year at college, and my other two both back in public school. It took me a few days to adjust and work on a new schedule for myself, but here I am ready to get back into a routine that includes showing up in this spot much more often! And what better timing than now that Sharon Holland and my most recent collaboration is underway, the Sweet Home QAL 2021!
Sweet Home QAL Banner

It’s been one week since the official start date of the Sweet Home Quilt Along that began on August 25th, with the first week dedicated to fabric selection and prepping the materials to start making a Sweet Home Quilt. If you're new here or you're just now learning about our Quilt Along, it's not too late to join the more than 1,000 makers that have signed up to sew along with us so far!

Sweet Home Quilt Graphic

Since Sharon is the creator of the Sweet Home quilt pattern, if you'd like to sign up and access the Sweet Home QAL you'll need to visit Sharon Holland Designs, click the "Sew Along" option and sign up to be able to sign in. Once you're in, you'll have access to a Quilt Kit Directory full of amazing Sweet Home quilt kit options exclusive to participating shops, Sharon's weekly quilt along blog posts that will feature a new amazing Giveaway with one of our sponsors, and new video tutorials each week that Sharon is creating to support her Sweet Home pattern! As her co-host I'm excited to share the Sweet Home version I'm making each step of the way throughout the duration of this quilt along!

Sweet Home Home QAL Schedule

For a fun way to end each weekly blog post, Sharon and I have lined up special Giveaway prizes that are being generously donated by our list of wonderful sponsors. Each week Sweet Home quilters will comment on Sharon's most recent quilt along blog post for their chance to win. Check out these amazing companies!

Sweet Home Home QAL Sponsors

For my Sweet Home I'm using the Cozy & Magical Quilt Kit available exclusively at Lady Belle Fabric! This version features prints from both of my new Art Gallery Fabrics collections, Cozy & Magical and Plaid of My Dreams. The color palette of this holiday collection is very sweet and I'm loving these prints paired with AGF's Pure Solid in Blushing for the background. I'm so excited to see how my cozy Sweet Home holiday village comes together!

Cozy & Magical Sweet Home Kit Bundle

For Sharon's Sweet Home, she's using her brand new Bookish collection for AGF that should be arriving to shops any day and is also available at Lady Belle Fabric as an exclusive Bookish Sweet Home Quilt Kit option right now! This version will be so perfect for Fall and for any and all book lovers out there!

Sweet Home Bookish Bundle

Last week I cut out all the pieces from my quilt kit and if how they look all chopped up is any indication of how this finished quilt will look, I'm a very happy girl! This step can be a little laborious and for some it may be the smallest sized cuts you've ever used, but with the helpful videos Sharon created to support this step you'll find lots of helpful information, so be sure to check those out!
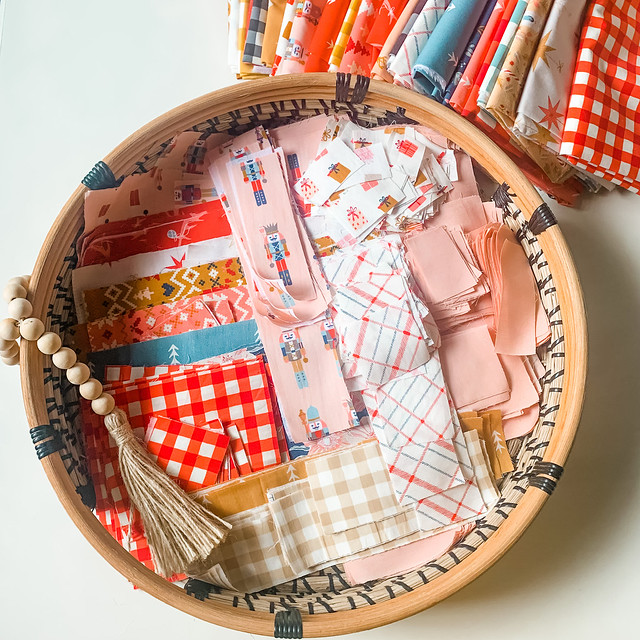
All cut up!

Once I started sewing over the weekend I remembered how much I absolutely LOVE this pattern and exactly why this is the FIFTH Sweet Home quilt I'll have made! The Log Cabin quilt block is one of my favorites and these adorable house blocks that begin with log cabin centers are so much fun to make!
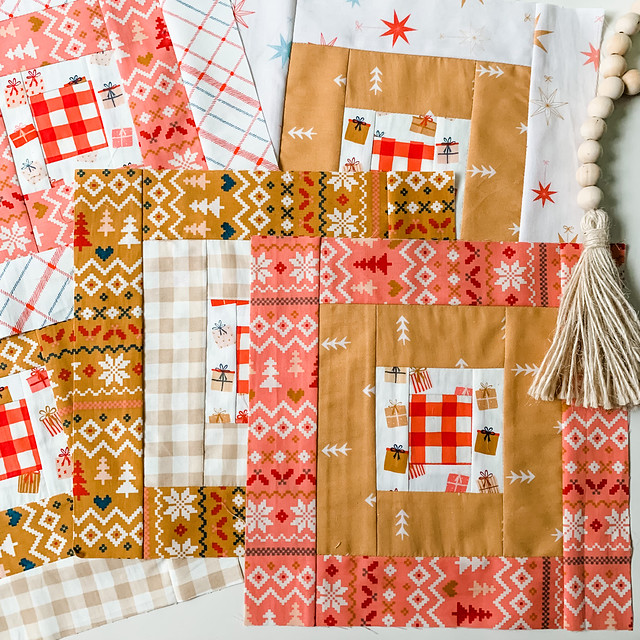
Making Log Cabins

Each step throughout the quilt block construction process is made easy with chain piecing, a sewing technique that mimics an assembly line where you'll sew piece after piece and then block after bock, continuously feeding your quilt pieces through the machine without cutting your thread in-between each step. Chain piecing is so easy and to show you just how to do it, incase you've never given it a try, Sharon has a new video prepared for you this week!

Rooftops

I chain pieced each step for this week's Log Cabin Block, including the final step of attaching my rooftop pieces to the log cabins to create all ten of my log cabin houses. It was just like adding the lid to a box. I always feel so spoiled by my Janome and extension table whenever I'm chain piecing, it makes it so very easy. I seriously couldn't live this crazy sewing life without my extension table!
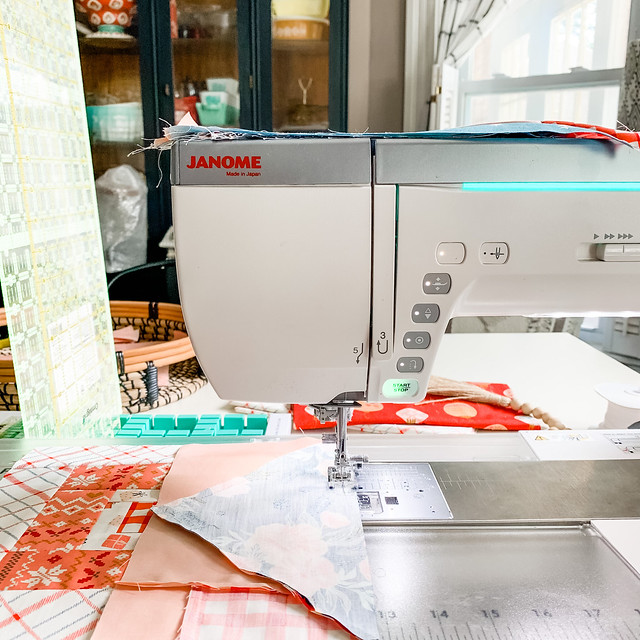
Chain Piecing

Chain-pieced Log Cabins

Once all ten log cabin houses were chain pieced, I snipped the in-between threads, gave a final good press to each block, and admired the beginnings of my sweet holiday village!

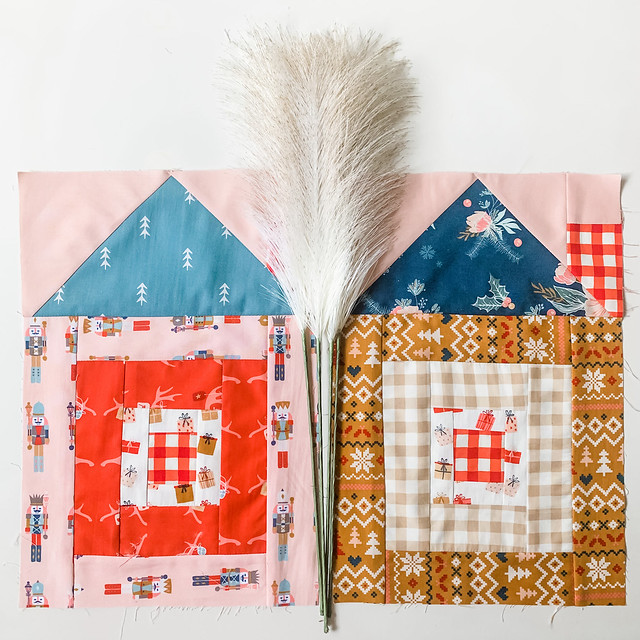
Log Cabin Sweet Home Block

Log Cabin Sweet Home Block 1

Log Cabin Sweet Home Block 2

Aren't they cute?! I'm so thrilled with them! Now it's time to head on over to Sharon's blog if you haven't already, to check out her Log Cabin Blocks made with her pretty Bookish fabrics, to make use of the tutorial videos that she created to help makers this week, and to enter our amazing Giveaway with this week's sponsor, Chenille-It! If you’re on Instagram, we’d love to see your Sweet Home quilt progress, so be sure to tag us @maureencracknell and @sharonhollanddesigns and use the #sweethomeqal2021 hashtag when you share!

Thanks for joining us on this fun quilt along, we’re so happy you’re here!

xo Maureen

Thursday, October 13, 2016

Little Log Cabins : :

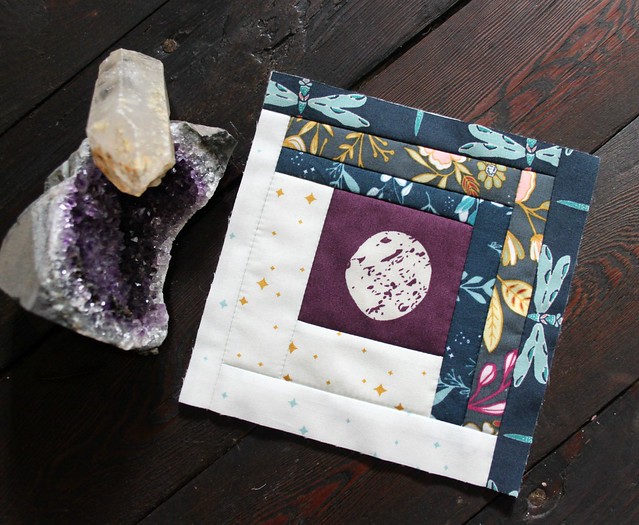
Today I want to share a glimpse of one of the new Nightfall projects I'm working on made up of the cutest little quick quilt as you log cabins!

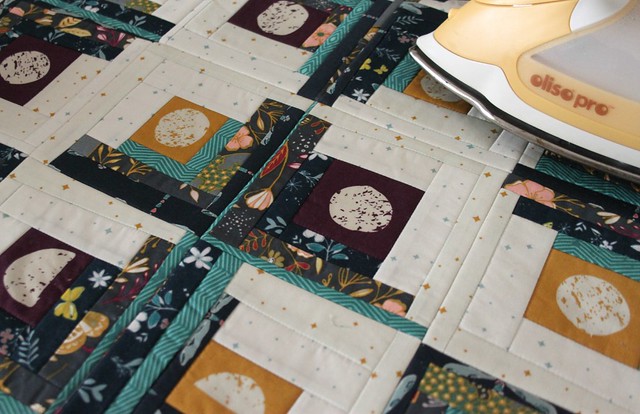
Mini Moon Log Cabins

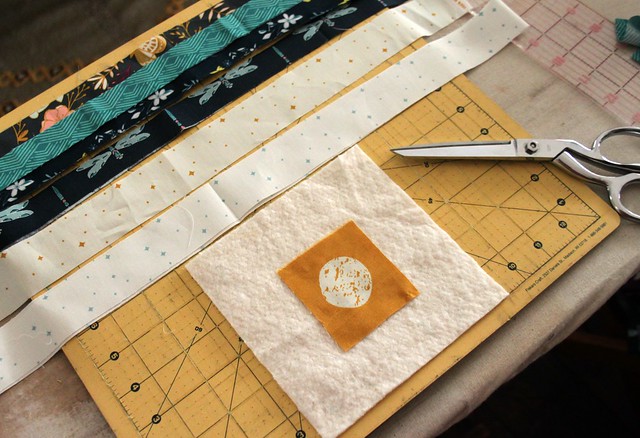
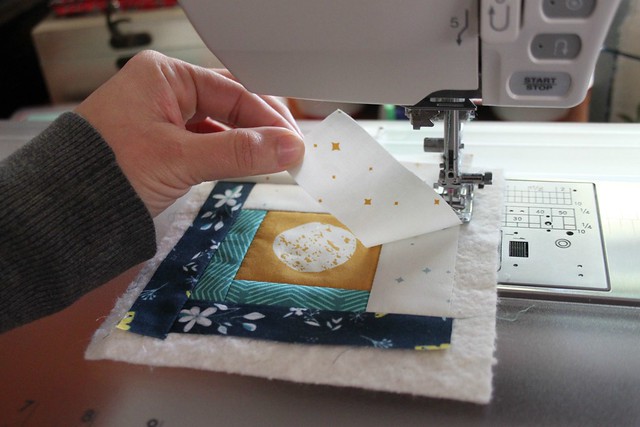
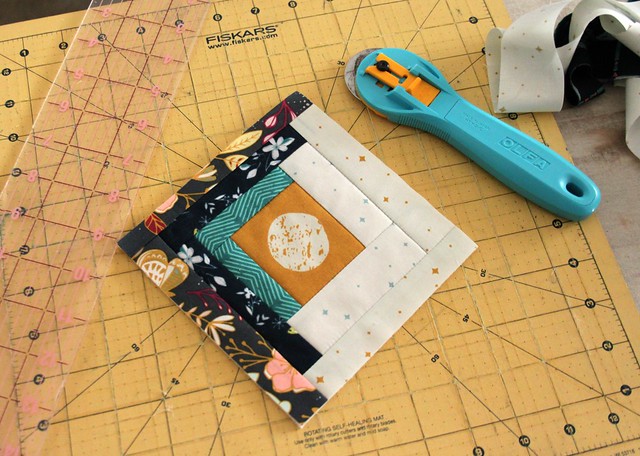
While this project isn't turning out exactly as I had envisioned, I'm still loving it. So much so that I'm taking careful time to photograph each step along the way for a tutorial. Here's a peek!

Log Cabin Supplies

Log Cabin QAYG

Trimming Log Cabins

Sixteen mini blocks will be turned into a large Moon & Stars Pillow that I'll share finished during next week's Nightfall Parade!

Nightfall QAYG Pillow

I hope you'll follow along! ♡ Maureen  

Tuesday, April 5, 2016

Nightfall QAYG : :

On Friday I started a second quilt using my Nightfall strike offs, this time to show how well the colors of this collection will coordinate with AGF's new denim line. An exciting added bonus for me, since I LOVE these denims so much!

Nightfall & Denim

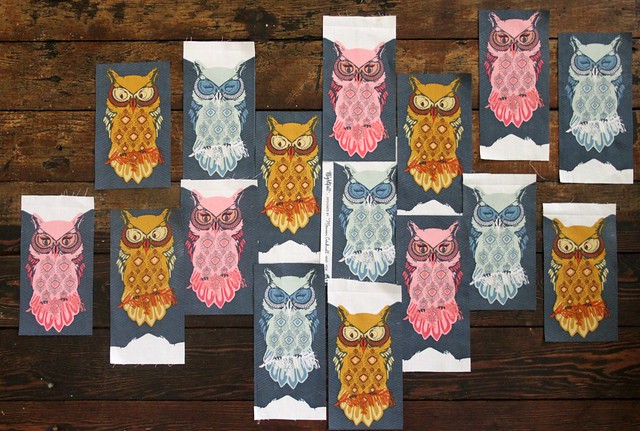
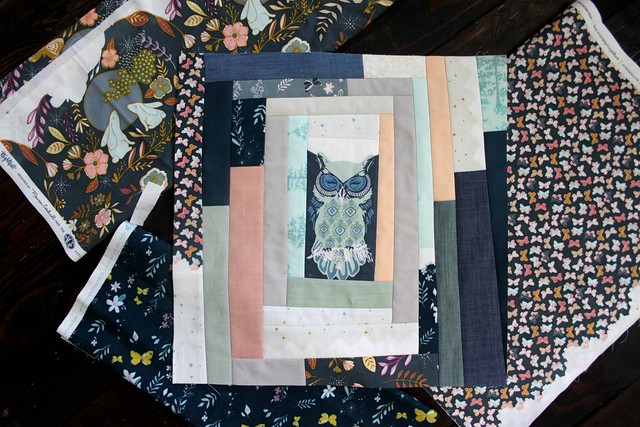
Consequent to finishing that first Nightfall quilt top, I noticed how quickly my strike offs were dwindling. So, for this quilt I decided to feature just one Nightfall print ~ my Bird of Night owls!

owls

Owl Strike Offs

Framing Owls

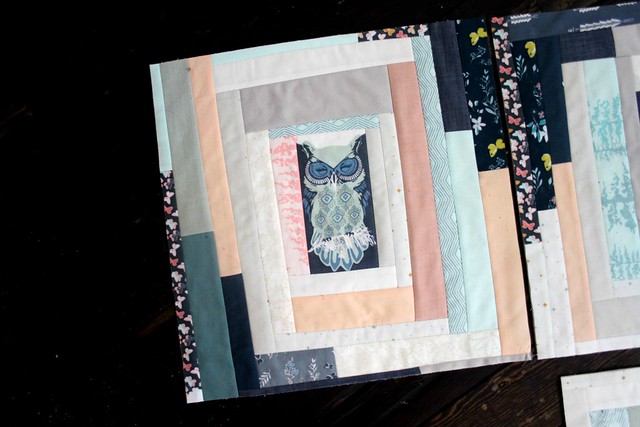
I began by fussy cutting a variety of owls with the slate blue-gray background from the Moonrise colorway of Nightfall. These will be at the center of each of the Quick Quilt As You Go blocks I plan to make, framed with little scraps and narrow strips of what's left of my sample fabrics, with lots of solids & denim added in to help me stretch these into a decent sized quilt!

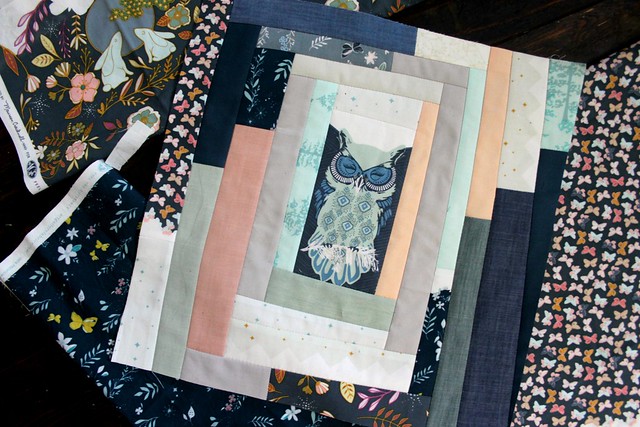
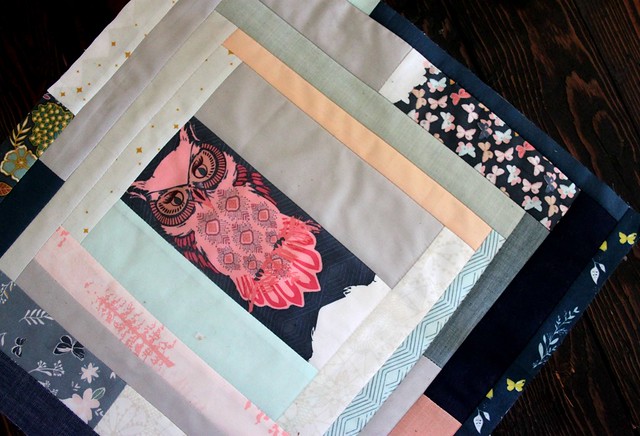
Nightfall QAYG Block No. 1

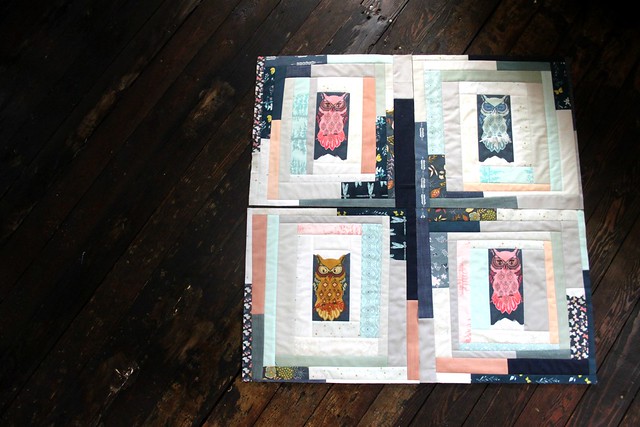
Inspired by this Converging Corners quilt block pattern, I'm constructing these blocks similarly to the courthouse step/log cabin block, with a quilt as you go twist! After I frame each owl with low volume prints and solids, as I work my way out into the corners of each block, I'm adding darker solid and printed fabrics to two opposing corners. This creates a really cool, interesting design once a group of four blacks are put together.

Converging Corners Inspired

Nightfall QAYG

My hope is that by using the Nightfall deep teal & moody blue prints with the added dusky solids and denims for the darkened corners, that the little clusters of dark will look like subtle sparling stars once the whole quilt is finished. I'm just about ten blocks in this morning, I'll be back soon to share how it all comes together!

Happy sewing! 
♡ Maureen

Tuesday, November 19, 2013

A Stitched Typography Quilt Tutorial : :

A Stitched Typography Quilt Tutorial

I created this quilt for my son Jacob and wrote the tutorial to first share on the Janome Project Center here, as a Janome Independent Designer. It's a Quilt-As-You-Go style quilt, made with log cabin style blocks, including a simple and fun applique, and stitched typography created using the built-in text stitches in the Horizon Memory Craft sewing machines! This is definitely my most favorite style of quilting!

Janome Supplies Required : :

Fabric and Materials Required : :
  • a variety of fabrics cut into fat quarters ( I used blacks, greys, and whites)
  • twin size cotton or another 100% natural fiber batting
  • black & white thread
  • typewriter fabric or another fabric for fussy cut applique
  • a light weight iron-on fusible interfacing (HeatnBond Lite)
  • fabrics for the quilt backing and binding
  • rotary cutter/mat/ruler set

* Notes * 
  • Synthetic batting is not suggested, I only use a natural batting. It is important to be able to press the batting with a hot iron and steam. 
  • Low-loft batting is preferred.
  • Quilt blocks can be made in any pattern and size..
  • Have fun with your quilting, this is the perfect time to experiment with new stitches or Free Motion Quilting!
  • This method does not include the quilt backing fabric. I like to add my quilt backing at the end, to avoid hand-sewing, which is really hard on my hands.

Black & Whites + Ruby Star Shining

Making a Log Cabin Style Block : :

1. For this quilt tutorial, I made off-centered log cabin style pieced quilt blocks. To make the blocks for the applique and stitched words, begin with a piece measuring a 7.5" square. Using fabric strips in widths varying from 2" to 4" add each new "log" working around that first square. I cut my strips (logs) longer as I went, trimming back after each piece has been added. Continue until you have a block measuring a 17" square

step 1
Step 2

Applique Block : :

2.  Prepare the applique pieces by following the light weight iron-on fusible interfacing directions

step 3

3. Remove the interface backing and position applique piece in the center of the block, then press with a hot iron to set  4. Baste the quilt block to a piece of batting measuring at least a 17.5" square  5. Sew just inside the raw edge of the applique piece, attaching it to the quilt block and batting layers 

Step 4

6. Add the quilting stitches, removing pins as you go, if you pin basted. For my blocks, I quilted with straight lines, using the edge of my presser foot as my spacing guide. If needed, you can mark where you want the quilting lines with a disappearing ink pen before hand. I like to be more improv and free with this type of quilting. I often change directions and make up the quilting pattern as I go

0 Quilting stitches

7. Using a rotary cutter, ruler, and cutting mat, square up the quilted quilt block by trimming away the excess batting to measure a 16.5" square block

quilt batting trim

Stitched Typography Block : :

8. Make another log cabin block, this time beginning with a 7.5" square in a white fabric, building out until you have a 17" block. 9. Baste this block to a piece of batting measuring at least a 17.5" square

continue making blocks

9. Using the built-in letter stitches in the Block style, plan out your text. I used special little sayings and song lyrics that are meaningful to me and my family. Add the text, moving slowly across just that first white square, until it's filled in with the text

stitched typography

10. Continue making the log cabin style blocks, adding both the applique and text to the centers, as well as making several blocks with only a variety of solid and print fabrics. For a throw size quilt measuring 48" x 64", you'll need 12 - 16.5" blocks

continue making log cabin blocks

Joining the Quilted Blocks : :

11. Place two quilted quilt blocks right sides together, matching up all ends and pin in place. Sew together on one side using a 1/4" seam allowance

step 5

12. Using a very hot iron with steam, press the back seams open

press seams open

13. Continue sewing together the quilted quilt blocks, pressing all seams open as you go. Press the quilt top front as you go, as well

back side

B & W QAYG Quilt top

Quilt Backing, Basting, & Binding : :

14. Piece together fabrics for the quilt back to measure a large 49" x 65" piece, and baste to the quilted quilt front.  I love using 505 basting spray for this, however pin basting works just as well

step 6

15. Working your way down from the top of the quilt to the bottom, with a stitch length set at 3, simply sew about 1/4" to maybe 1/2" from the seam lines (when adding this stitching it IS recommended that you do use a Walking Foot). I continued this for both sides of each seam running from the top of my quilt to the bottom, as well as side to side. The photo on the right is an example of what these stitches will look like from the back side of the quilt

step 7

16. Finally, bind the quilt using your preferred method, and Voila! Your Typography Quilt is finished!!

Typography QAYG Quilt
Quilt back

If you've given this tutorial a go or plan to, be sure to share on my Facebook page or in my Maureen Cracknell Handmade Flickr group! I'd love to see it!!    Maureen 

Monday, August 19, 2013

An Ant Farm Quilt : :

Ant Farm Quilt -- qayg
Last week, on our way out to have dinner at my parents house, we took a drive to take these photos of my finished Ant Farm Quilt, a request & gift for my Nephew Owen. Since we couldn't think of a "hill" to take these photos in front of, we decided to take them at the very top of the prettiest hill around, Dutch Hill. It was windy and the sun was just starting to set, but it was so pretty! You may have already seen the video I shared here on my Instagram, it was a beautiful evening in Potter County!

This quilt came together super quickly, once I finally decided on a pattern! It's made up of scrappy, improv log cabin blocks on both sides, separating the colorful fabrics from the lighter, white, & grays that I used. For the center of the quilt I made four courthouse step blocks, keeping that same color separation. I really love the combination of these two quilt blocks, and have a second quilt all planned out using them once again!

Ant Farm Quilt -- qayg

It's quilted using my quilt as you go method, with a gray Aurifil 50wt and straight line quilt stitches spaced about an inch or so apart. In this photo below, with the sun facing the finished quilt, you can really see all those pretty quilt stitches!

Ant Farm Quilt -- qayg

One of my favorite things about finished qayg quilts is having that contrast of a heavier, more densely quilted quilt for the front, with the softer, square grid pattern for the quilt back.

Ant Farm Quilt Back -- qayg

Since I made my blocks for this quilt rather large, at an 18" square, I added a simple tie with a pale gray cotton floss to the center of each block, as well.

Ant Farm Quilt -- qayg & center tied

For the binding I chose a Lizzy House striped fabric from her Hello Pilgrim collection. I love using a small scale striped fabric for binding! The colors in this one worked perfectly with the Backyard Baby fabrics!

Ant Farm Quilt Binding -- Lizzy House Stripe

Here's that extension table binding trick once again! 

Ant Farm Quilt -- binding

Ant Farm Quilt -- binding
Along with the Backyard Baby prints I used lots of Riley Blake Basics -- their Cotton Dots, Solids, & Ombre Dots. I really put my overflowing scrap drawer to good use on this quilt, as well. That always feels so good!!

Ant Farm Quilt -- qayg

Ant Farm Quilt -- qayg
I'm tucking this quilt away with the others I've made and are making for my children, nieces, and nephews. I'm hoping to see that pile grow by seven more between now and Christmas! I've already made lots of progress on my Butterfly Quilt -- more on that one soon!!

Happy Monday, friends!     Maureen