Showing posts with label craftsy class. Show all posts

Monday, March 12, 2018

Campsite Sewing : :

Capsite QAYG Blocks

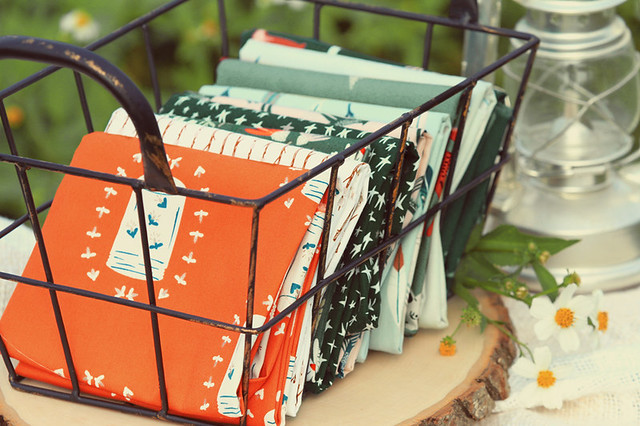
Have you seen Art Gallery Fabric's Campsite Capsules collection?

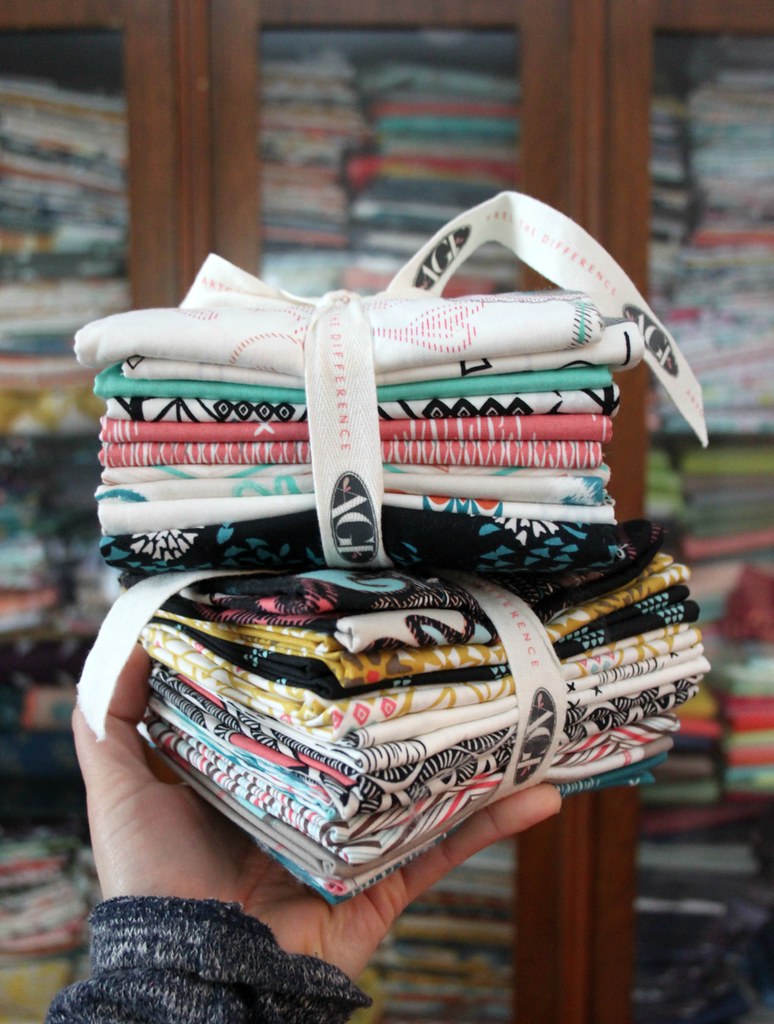
At first site, I had to have it! Foxes, feathers, wildflowers, stars and so many more adorable motifs create this ten piece collection that is perfect if you love woodland themed prints just as much as I do!

Campsite Fabrics by AGF

Oh yes, and a print full of canning jars that keep sparkly metallic sprinkled fireflies captive! So much cuteness!

Campsite Bag Making

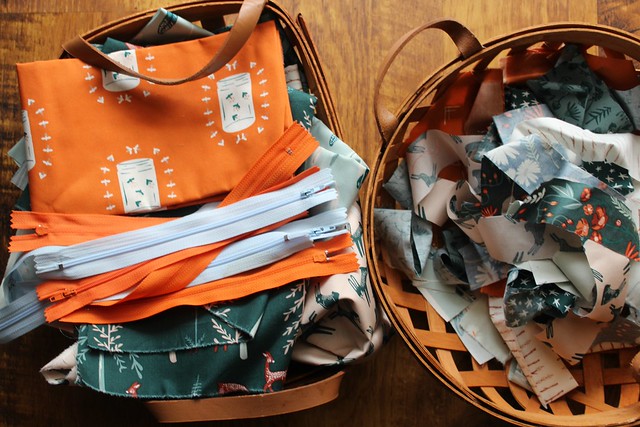
For my first Campsite project I decided on a set of zipper pouch bags that I plan to sell with a handcrafted journal and rustic twig pencil. I think it will make a really cute gift for any camp-loving kiddos, like my own three kids!

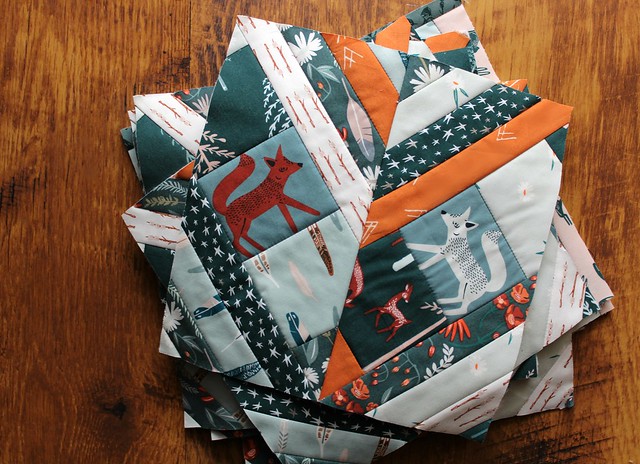
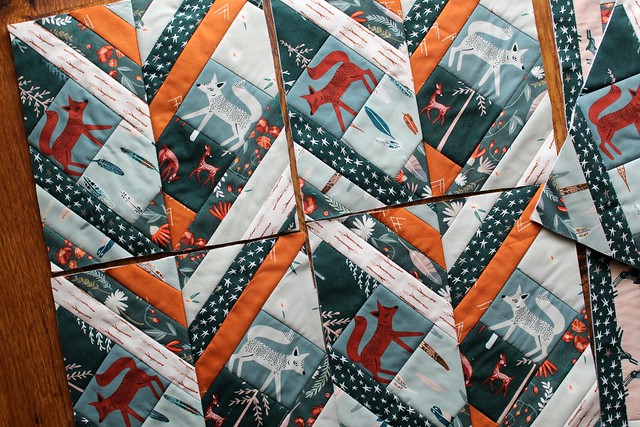
My bag fronts began with fussy cut Sneaky Little Foxes and from there I added patches and strips of each camp inspired print!

Campsite WIP

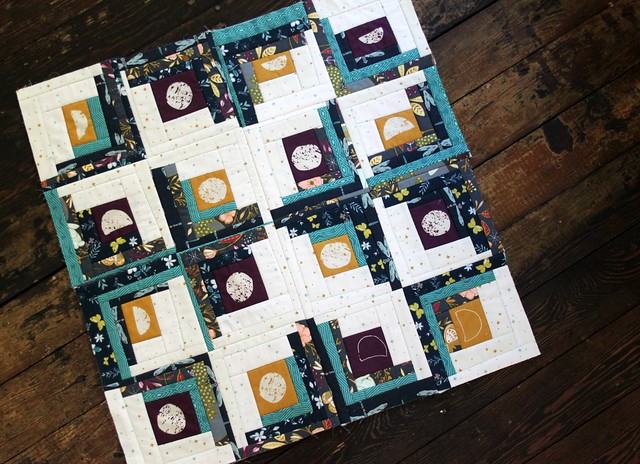
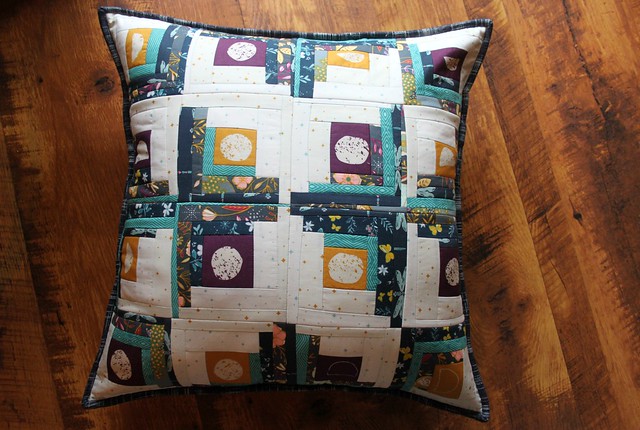
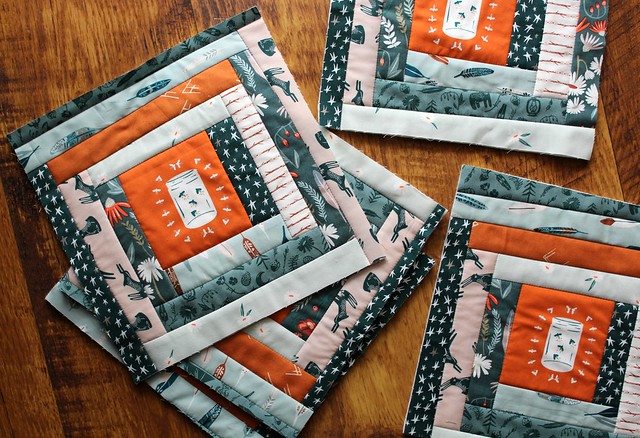
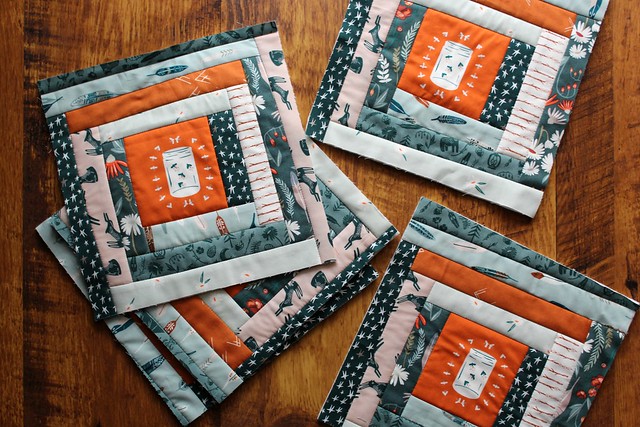
For the reverse side, I fussy cut a single Fireflies Glow jar for each piece and made quick quilt as you go style log cabin blocks. The Campfire Sweets toasted marshmallow print makes for a super cute stripe!

Campsite Fussy Cut

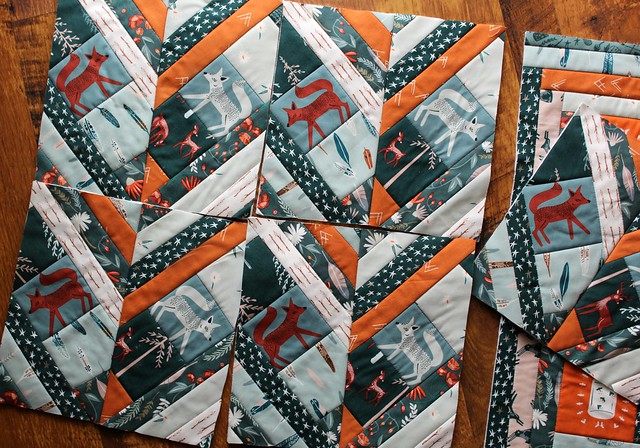
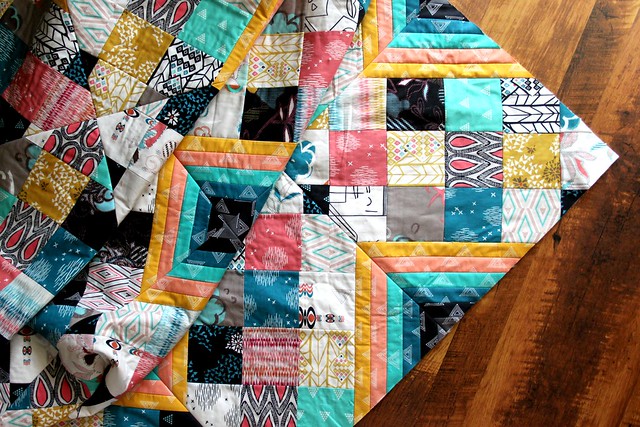
Laying together both styles of qayg blocks that I made for these bag fronts and backs, I could see either pattern making super cute baby or children quilts!

Campsite WIP 2

Campsite Log Cabins

I'm hoping to finish up these bag sets to share later on this week! How about you, what are you working on this week?

xo Maureen

Thursday, September 14, 2017

Zipper Pouch LOVE : :

Zipper Pouches

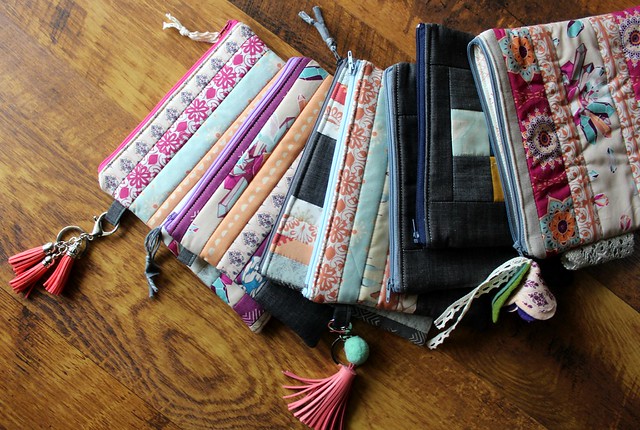
I've been busy making zipper pouches and just as I figured after finishing up that first one, I am completely addicted! Each one inspires an idea for the next and so it goes... It was wonderful to take the time to sew these up this week, especially to have found the time to sew with Soulful! I LOVE my Soulful collection and haven't had much time to sew with it since it's release. I'm look forward to lots of Soulful sewing this Fall!

Herringbone Pouches

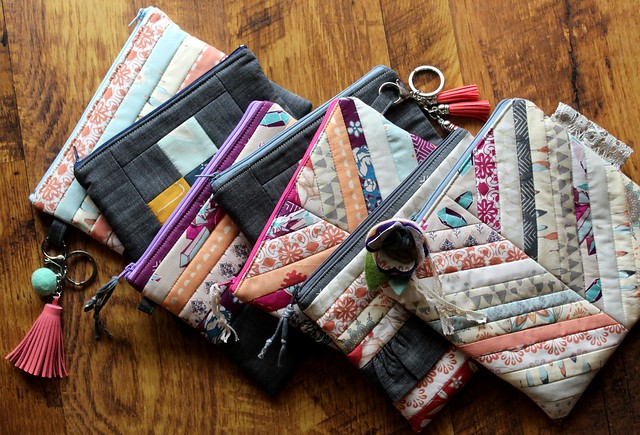
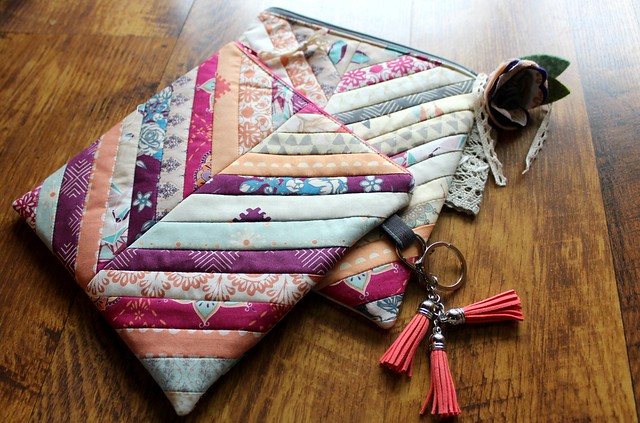
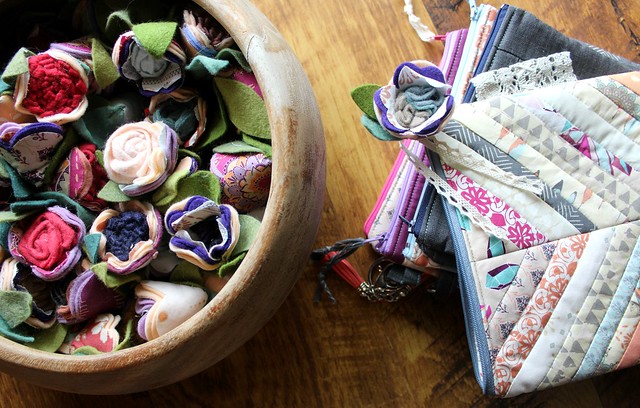
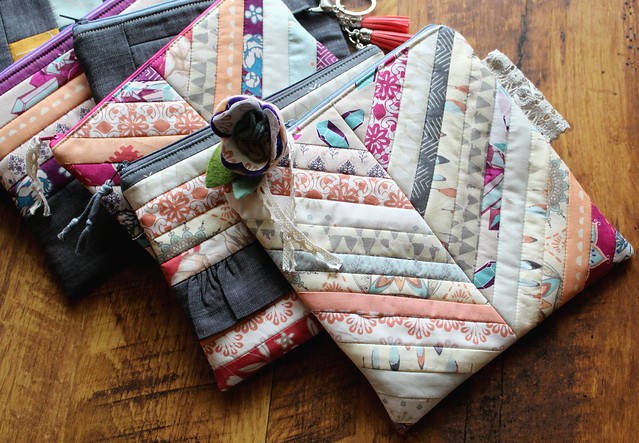
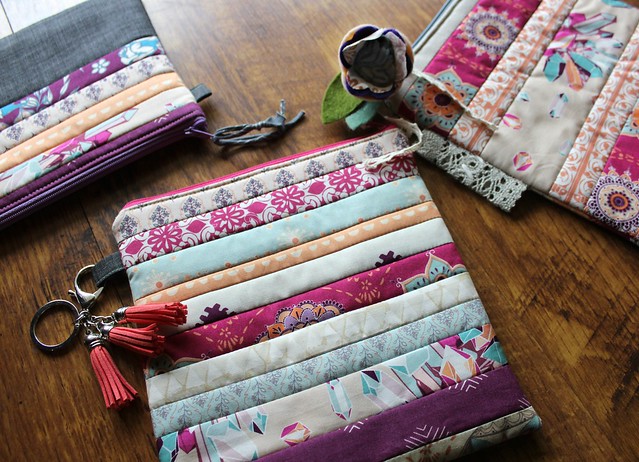
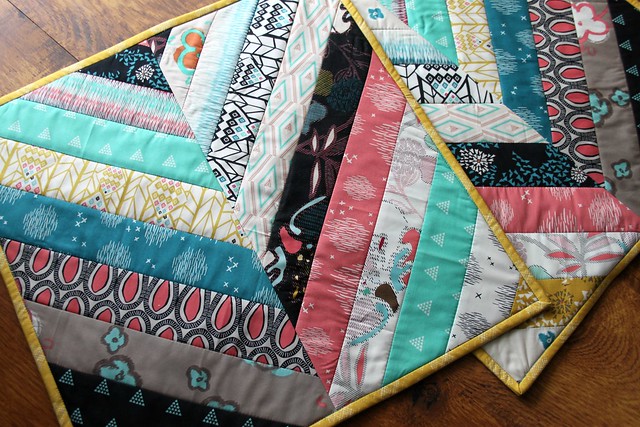
Out of all the zipper pouch making my favorites so far are these herringbone qayg bags. No surprise there, right? I made one using more colorful Soulful prints and a second using mostly the lower volumes. Both have fun added details -- colorful zippers, a denim loop with coral leather tassel keychain, cotton lace, and a Soulful fabric and felt flower zipper pull that I love. I made dozens of the tedious flowers for my Soulful Quilt Market display last Spring and I'm so excited to have found the perfect use for them!

Soulful & Felt Flowers

So much fun!

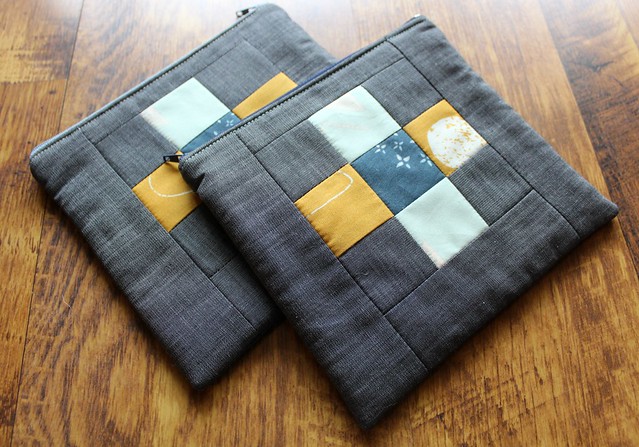
These plus pouches are my first attempt at making mini quilt blocks to turn into zipper pouches! I used Nightfall and Garden Dreamer patch scraps paired with AGF denim to make these two reversible, quilted pouches. I think my two boys would happily use these!

Plus Pouches

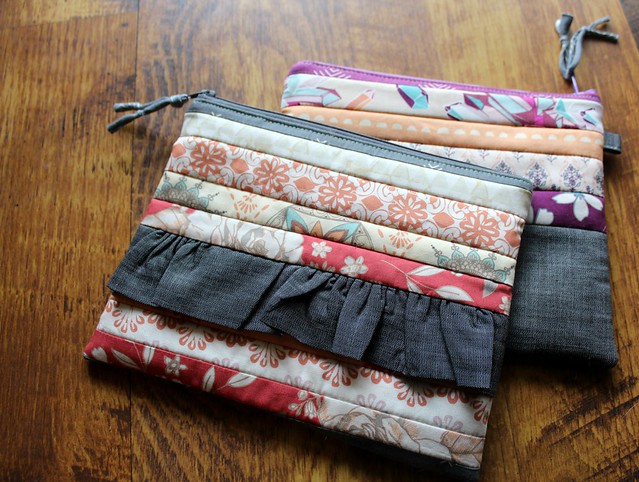
I experimented with a sweet ruffle zipper pouch, as well. Quick Quilt As You Go made it super easy to add the ruffle detail. I'm excited to try this style again, perhaps with a Soulful and linen combination!

With Ruffles & Stripes

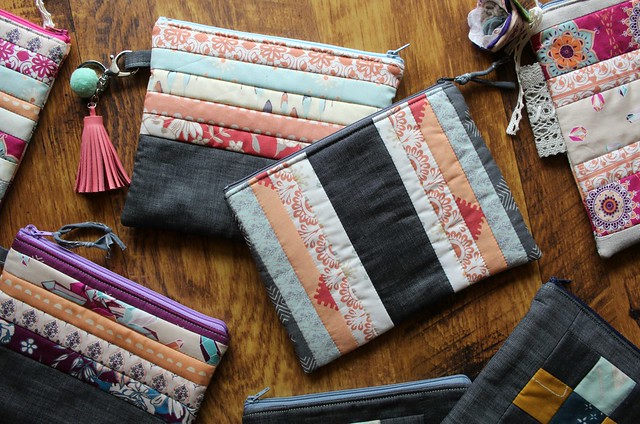
Each of these zipper pouches are lined with one of my prints and reverses to a different patchwork design. I think I found the perfect use for my endless scraps!

Fun Details

Reversible Pouches

Zipper Pouch LOVE

Soon I plan to add these to my Etsy shop, along with many more I'm sure. These are so much fun and will be perfect for gifts this coming holiday!

xo Maureen

Wednesday, January 25, 2017

Etno Herringbone : :

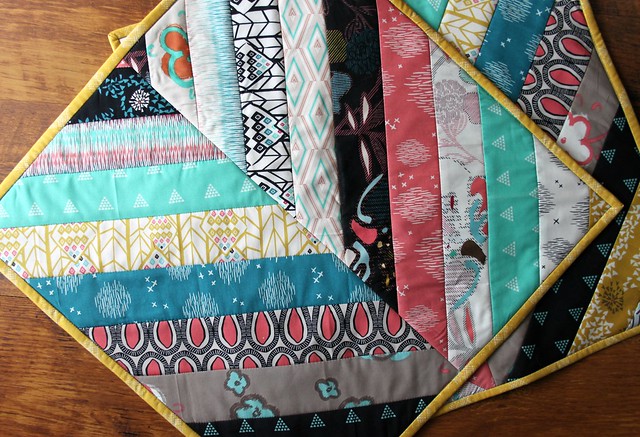
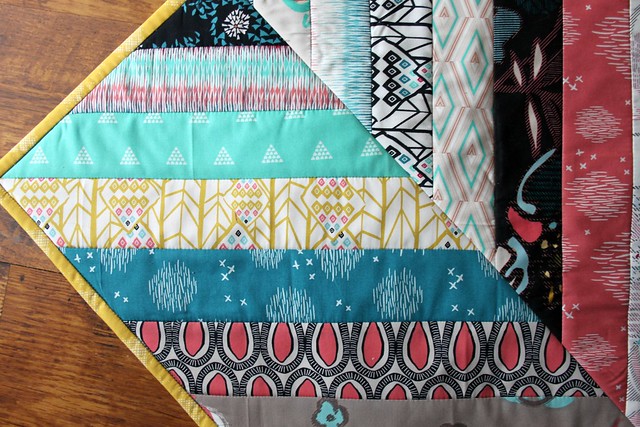
Whenever I'm in need of a quick gift or I just want to make something that I'm certain to finish by the end of an average sewing session, high on my go-to list will always be my Quick Quilt-as-You-Go herringbone pillow covers. There are so many things I love about this particular pattern, but most of all, it's the guarantee they'll turn out beautiful every single time if you simply start with a beautiful stack of fabrics! Yesterday I reached for one of my all time favorite collections, Etno by Pat Bravo for AGF, to make a new set of covers and I love how they turned out!

Etno Sewing

Etno Herringbone

Some of you might remember when I used Etno to make a HUGE version of the Crisscross Diamond quilt that I teach in my Craftsy class, which remains one of my favorite quilts to date. These colors with the combination of geometric and painterly designs is so dreamy!

Etno Quilt Top

For these new covers I cut a single strips measuring 2.5" x WOF from eighteen different Etno prints and it was the perfect amount, yielding just a few scraps, to make two new 18" pillow covers.

Etno Pillow Covers

I was excited to notice the Garden Dreamer Terra Firma in Sunlit yellow plaid binding that I had leftover from the Garden Dreamer herringbone quilt I recently made for my LookBook would work perfectly for binding up these Etno covers. I had just enough!

Bound in Sunlit Yellow

Today I'm thrilled to be having a new sectional sofa being delivered! We haven't purchased a brand new sofa since my oldest son, now fourteen, was just a few months old, so I am ridiculously excited. I have plans to share our living room makeover here on the blog, which will surely include even more pillow covers. Stay tuned!

 ♡ Maureen

Monday, December 19, 2016

Handmade in Buffalo Plaid : :

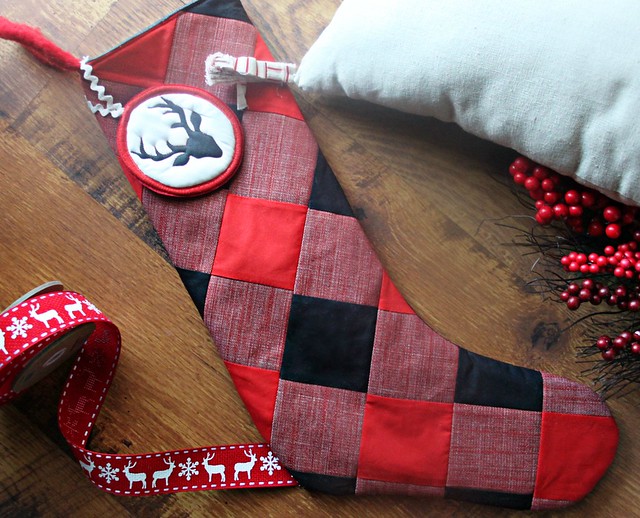
For me, the most festive holiday fabric has to be the red and black Buffalo Check! I have loved this particular plaid since I was a young teenager working at a local shop that carried mostly Woolrich, the company who created and trademarked The Original Buffalo Check in the mid 1800's. Late last week I decided to make my own modern version of this print for a new holiday stocking to hang and I LOVE how it turned out!

Buffalo Plaid Stocking

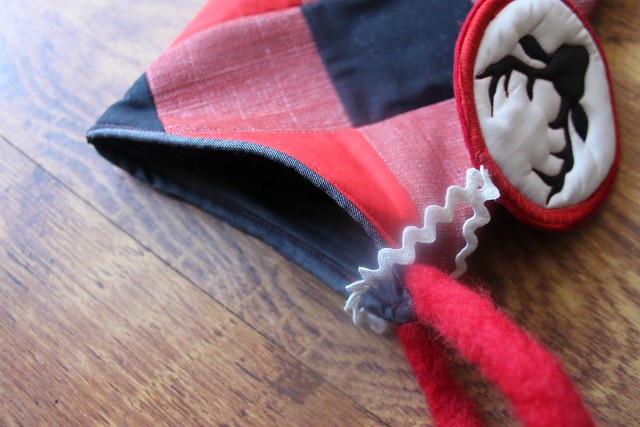
Using a combination of AGF's heavyweight Scarlet Brick Texture Denim with Pure Element solids in Caviar and London Red I made just enough patchwork to finish this Quick Quilt As You Go Stocking!

Buffalo Plaid Stocking

For the lining I used a lighter weight AGF Denim in Wicked Sky, and my hanger is made out of felted red wool. I'm not sure I'd use the wool again and much prefer a denim loop for hanging, like I added to my previous stockings. I will absolutely be making several more of these, using the same fabrics as soon as they arrive, just with different embellishments.

Buffalo Plaid Stocking lined with Denim

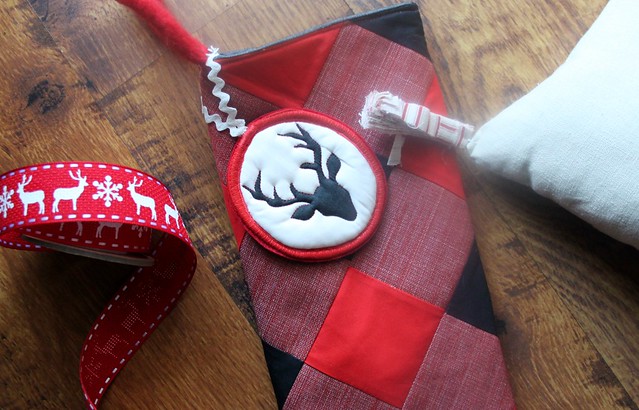
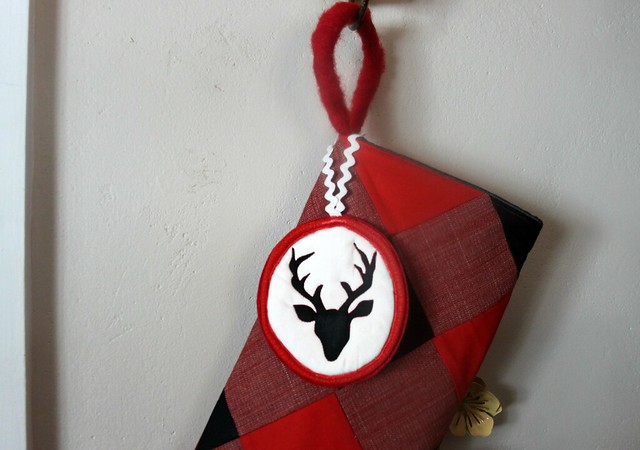
This was my first attempt at using the very popular Buck Forest print for an ornament to adorn my stocking with. It's not without flaws but what a perfect pair!

Buck Forest Ornament

This holiday I have enjoyed making all of these new handmade stockings the most of all!

How about you, have you been making handmade to decorate or to gift these past few weeks? I always love reading what you're up to!

♡ Maureen 

Tuesday, October 18, 2016

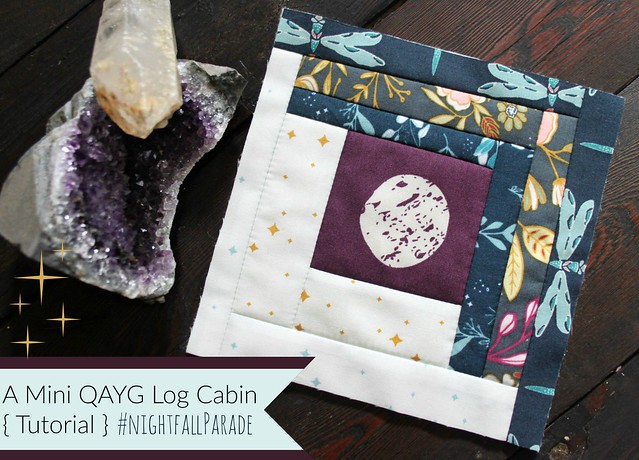
The Nightfall Parade | | A Mini QAYG Log Cabin { Tutorial } : :

The Nightfall Parade

A Mini QAYG Log Cabin Tutorial

My Mini QAYG Log Cabin tutorial is a Quilt-As-You-Go style quilt block, featuring my Nightfall fabric collection, that you can use to create a beautiful Moon & Stars Floor Pillow!

Fabric and Materials Required : :
  • a variety of four different teal & blue Nightfall prints cut into 1" strips x WOF
  • several 1.5" x WOF strips of both Luminaries in Silver & Gold 
  • Sixteen fussy cut moons { eight from Lunation Light || eight from Lunation Dark } 
  • Sixteen 6" cotton batting squares
  • fabrics for the pillow backing and binding
  • 22" pillow insert
  • rotary cutter/large cutting mat/ruler set
  • sewing pins 
* Notes*
  • Synthetic batting is NOT suggested, only use a 100% cotton batting. It is important to be able to press the batting with a hot iron and steam.
  • Use a Low or standard loft batting. The #1 question I receive about QAYG is folks wanting to know if the seams are bulky. My answer is NOPE, not to a noticeable degree I promise.
  • This style of Log Cabin quilt block can be made into any size! The measurements I'm sharing makes a large floor pillow, but feel free to adjust to any size.

Now, let's get started!! 
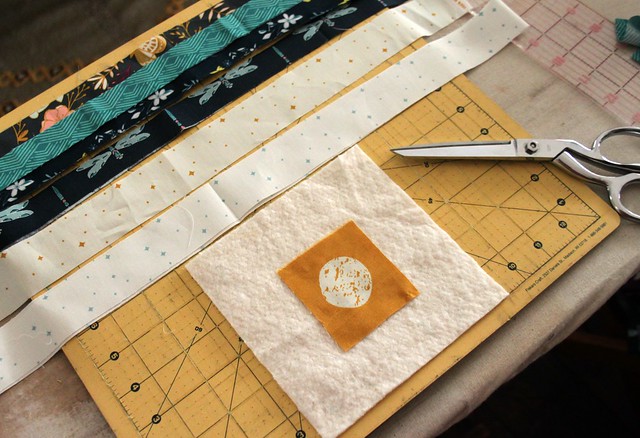
Log Cabin Supplies

Making the Blocks : :

1. Begin by preparing your materials. I cut leftover cotton batting scraps into sixteen 6" batting squares.
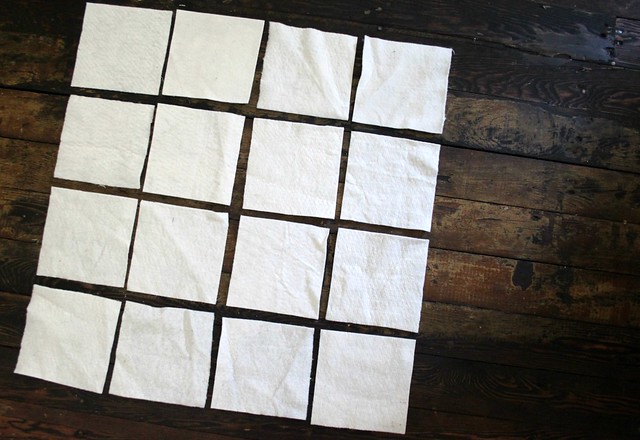
Step 1

2. Place a single fussy cut moon, alternating colors, in the center of each of the sixteen batting squares.
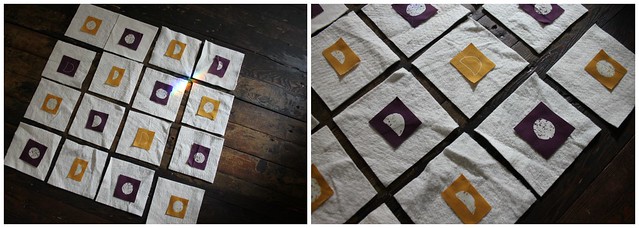
Step 2

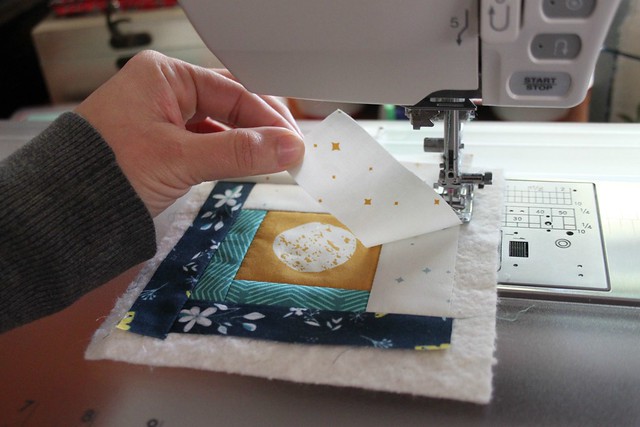
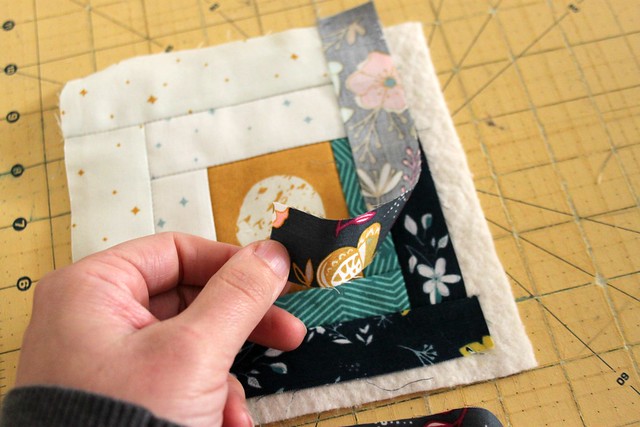
3. Begin adding the fabric strips {logs}. Cut two strips from one of the dark Nightfall prints. At the sewing machine, place one strip right sides facing the moon fabric and sew a 1/4" seam along the raw edges on the matched up side. You will be sewing through the batting, permanently attaching the fabrics in place. Once attached, open the fabrics so the right side is exposed and smooth to press with your hand.
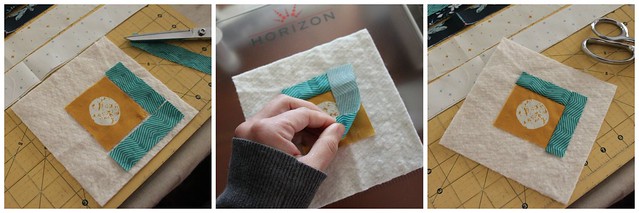
Step 3

4. Add the next two strips exactly the same way, but this time using a low volume Luminaries star print. Attach these logs continuing with a 1/4" seam, smooth & press open as you go.
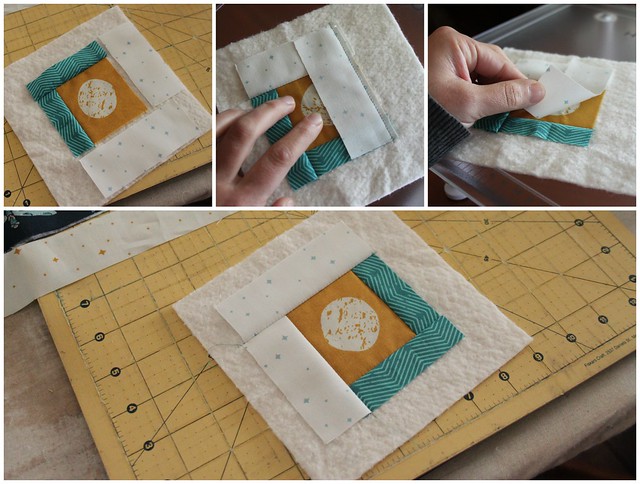
Step 4

5. Work your way around the center moon, alternating the dark 1" Nightfall strips with the 1.5" Luminaries prints, adding each log, stitching, flipping, and pressing until you fill up each batting square.
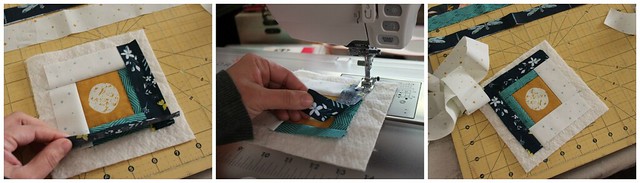
Step 5

Log Cabin QAYG

Step 6

6. Once the fabrics have been added to each batting square, use a mat, ruler, and rotary cutter to trim to a 5.75" square.
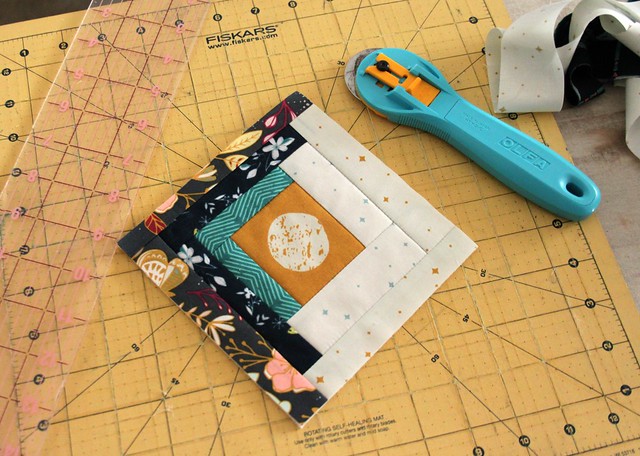
Trimming Log Cabins

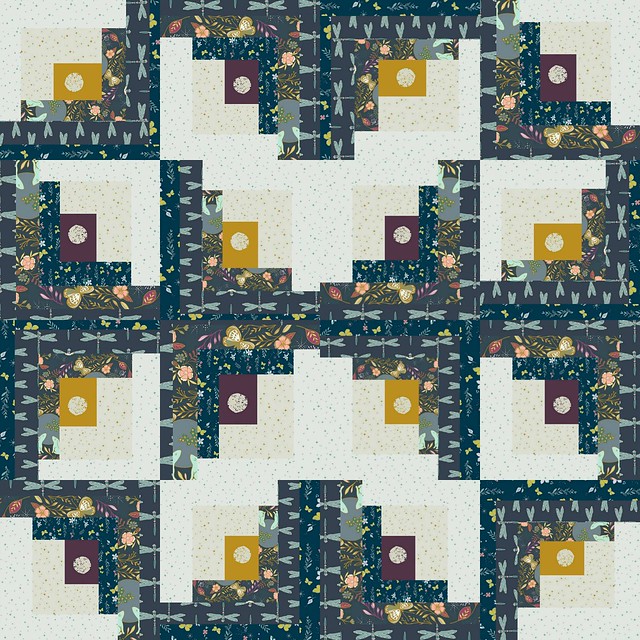
Use the diagram below to arrange the finished mini log cabins in the Moon & Stars pillow top design.
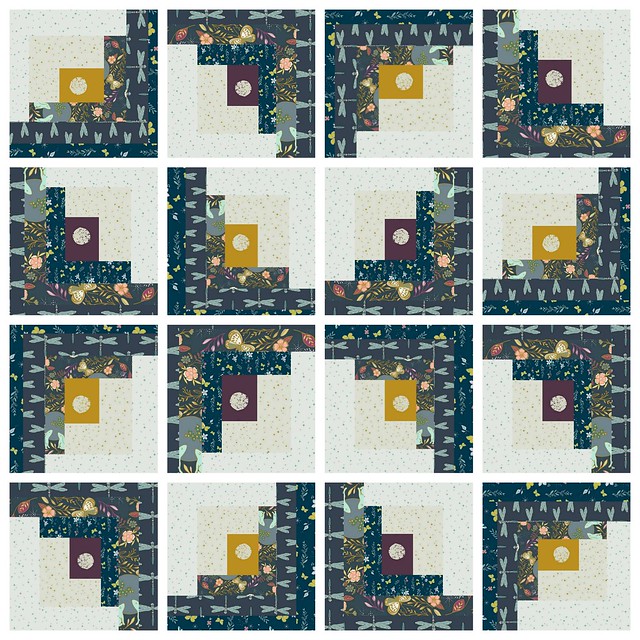
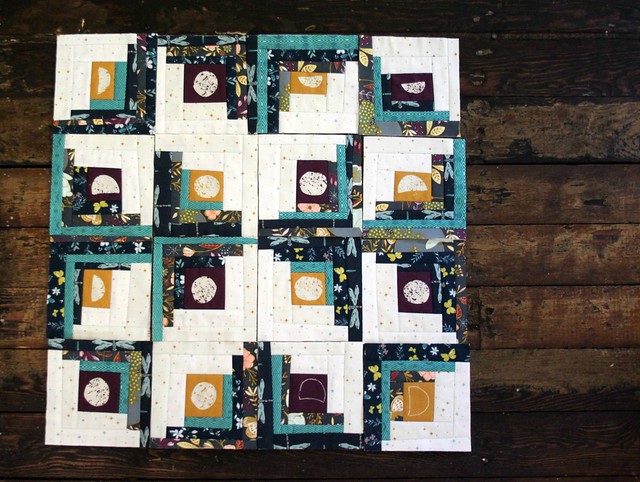
Moon & Stars Pillow Mock Up with spacing

Pillow Top Layout

Joining the QAYG Blocks : :

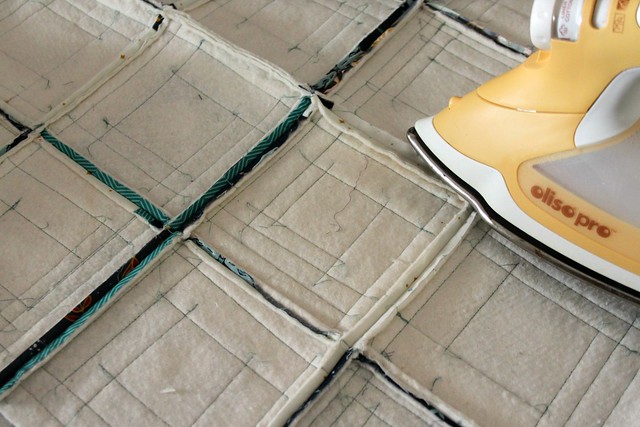
7. Begin with two blocks and place them right sides together. Use sewing pins to secure their place and sew along one side keeping a 1/4" seam allowance. Use a hot iron with steam to press the seams open as you join them.
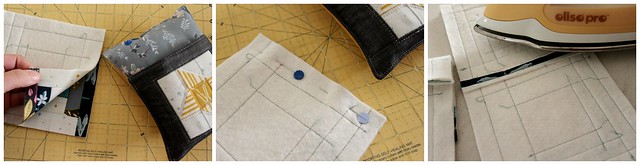
Step 7

8. Repeat this step with the remaining blocks, sewing them together, pressing all seams open as you go.
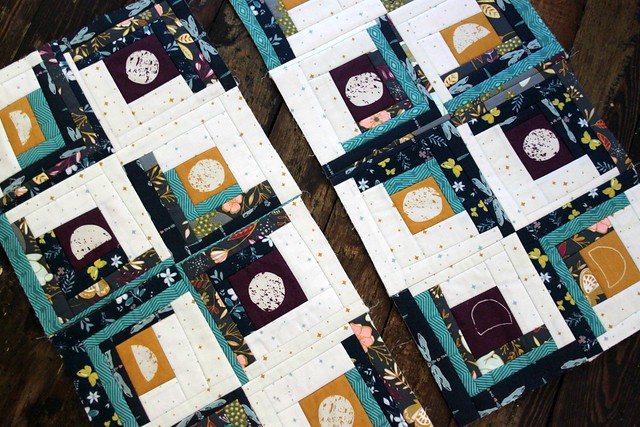
Step 8

Press Seams Open

9. Press the pillow top front well once all the mini log cabins are joined together.
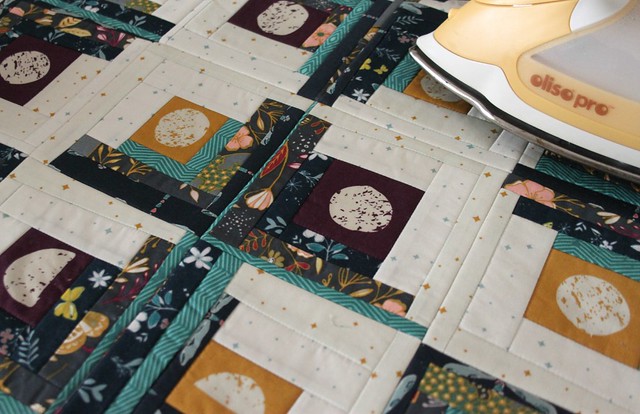
Nightfall QAYG Pillow

Finished Pillow Top

Finishing the Pillow : :

10. Prepare the backing fabrics with a double seam or bound edge to finish with an envelope style closure.
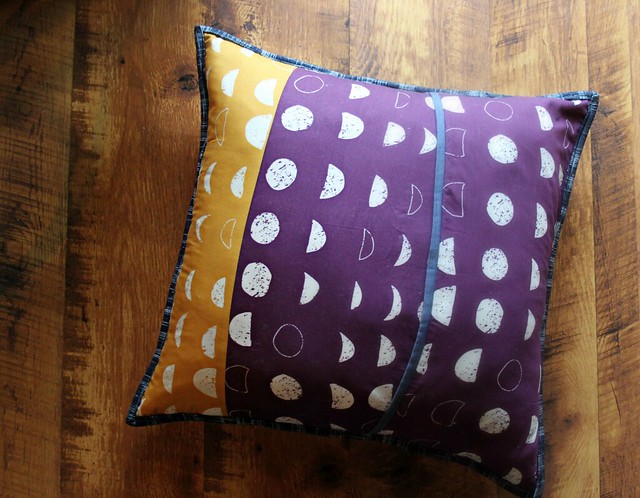
Backed in Moon Phase

11. Using your favorite quilt binding method, bind the pillow just as you would any quilt. Insert the pillow form and Viola, your pretty Moon & Stars Floor Pillow is finished!
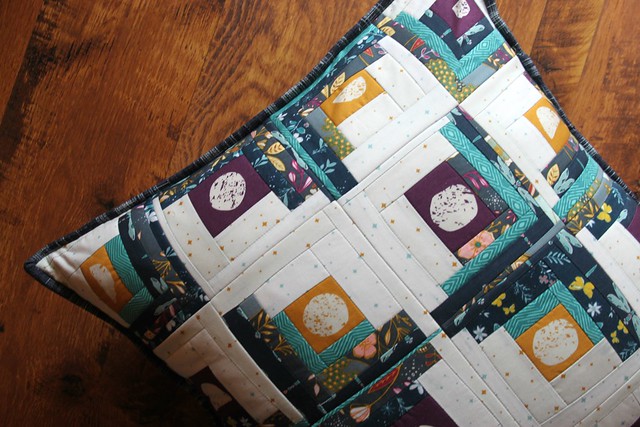
With Tiny Stars

A Moon & Stars Floor Pillow

If you do give this tutorial a go at anytime, be sure to share on my Facebook page or on Instagram with the hashtag #NightfallFabrics & #NightfallParade -- I love seeing what you create!

Thanks so much for stopping by today!! ♡ Maureen

-------------------------------------------- 

* You can find the list of online retailers currently carrying Nightfall under my SHOP my Fabrics page -----> https://maureencracknellhandmade.blogspot.com/p/blog-page.html

Monday, October 17, 2016

The Nightfall Parade | | A Moon & Stars Floor Pillow : :

I'm so excited today is the start of the Nightfall Parade! For the next two weeks I'll share as many projects as I can make, along with new tutorials & Giveaways all featuring my Nightfall fabric collection for Art Gallery Fabrics! I hope you feel inspired, follow along, & join in!

The Nightfall Parade

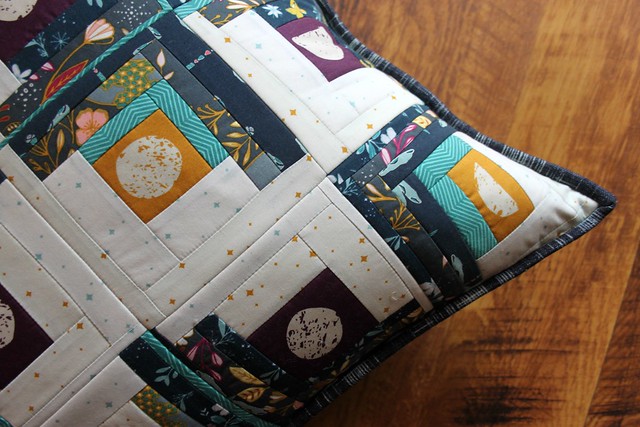
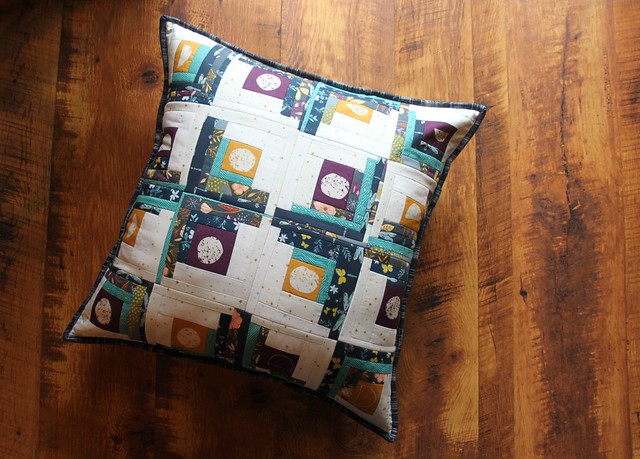
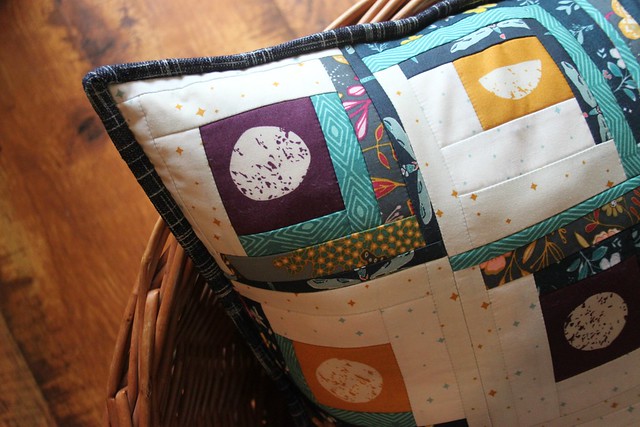
I'm kicking the parade off with a Moon & Stars floor pillow, designed to showcase both colorways of my Lunation moon phase and Luminaries star prints! This over-sized pillow is made up of sixteen teensy QAYG quilt block finished to fit a fluffy 22" down pillow insert that can be used to decorate any room, year round, but I especially love it for this time of year!

A Moon & Stars Floor Pillow

Today is all about the pretty pictures and fabric & design details, but tomorrow I'll share a tutorial for my quick quilt as you go mini log cabins along with instructions for piecing together these adorable quilt blocks to make your own pillow top!

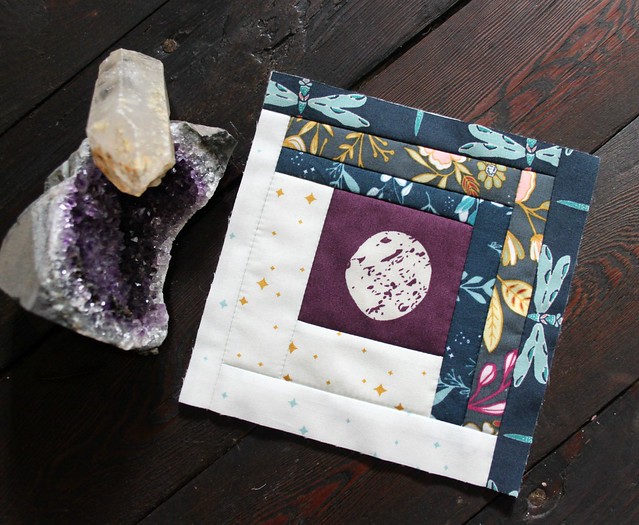
Mini Moon Log Cabins

With Tiny Stars

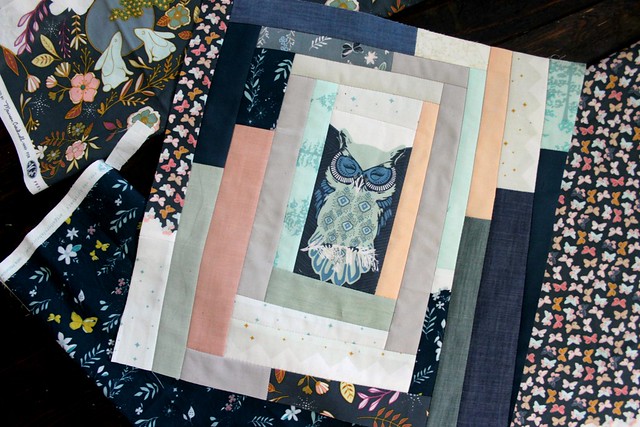
These blocks can be easily adapted to make a quilt rather than the floor pillow I'm sharing today. You may remember the peek I shared here of the QAYG quilt blocks I made using this same method to feature my owls back when I was stitching up Nightfall samples for Quilt Market? Well, I plan to finally photograph the finished quilt to share during the parade for some added inspiration to go along with tomorrow's tutorial!

Nightfall & Denim

Nightfall lends itself really well to fussy cutting -- the owls, dragonflies, Moon Stories bunny print, and these phases of the moon are all designs that are perfect for careful cutting to frame the way I have here!

Fussy Cut Moon Phase

My Luminaries stars have quickly become my new favorite low volume print to use in place of a light colored solid. Combined with the moons creates a really beautiful themed pillow!

Can you see the subtle star pattern that emerges when you view this pillow as a whole?

A Moon & Stars Floor Pillow

How about in this mockup that I made for the tutorial? A bit easier to see, right? I love fun designs like this! Just a few measurement tweaks and this pattern would certainly make an amazing quilt!

Moon & Stars Pillow Mockup

To finish the pillow I used more of both Lunation colorways for the backing. I spray basted the large cuts of fabric to scrap pieces of quilt batting for an added layer of cushion, and bound the inner raw edge of each with some leftover denim binding. Simple & easy!

Backed in Moon Phase

I love to bind my pillows, but you can finish your pillow top however you prefer. For this one I used more leftovers, this time from the Easy Tote bags I made and shared last week. I know this binding will hold up well, it's heavy weigt feels extra sturdy. After this first time trying it for binding, I do recommend cutting the strips at a larger width than the standard  2.5". I think just a half inch would have made a big difference and would have been much easier to attach. Just something to keep in mind! The bound edges of the pillows I make seem to show the most wear overtime, so I know I'll be reaching for more of this heavy weight denim when it comes time to bind the pillows to surely come!

Bound in Crosshatch Textured Denim

I hope you enjoyed this first Nightfall Parade project! I'll be back tomorrow with the tutorial, thanks for visiting friends!  ♡ Maureen

-------------------------------------------- 

* You can find the list of online retailers currently carrying Nightfall under my SHOP my Fabrics page -----> https://maureencracknellhandmade.blogspot.com/p/blog-page.html