Showing posts with label denim. Show all posts

Wednesday, November 15, 2017

Denim Patchwork Stockings : :

Denim Patchwork Stockings

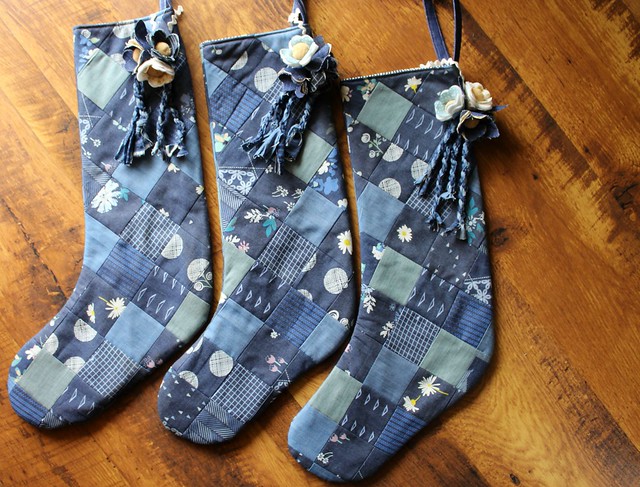
Making holiday stockings are right up there with my favorite things to make! I LOVE patchwork and unique, dreamy, homey décor with a bohemian feel is without a doubt my style for decorating each room in our home, so why not make holiday stockings with the same feel for holiday decorating!
Denim Patchwork Stockings

This week on my Instagram I shared a little peek of the denim patchwork I've spent the last couple of days making, and today I'm so excited to share this new handmade holiday item with all of you!

AGF Denim for Stockings

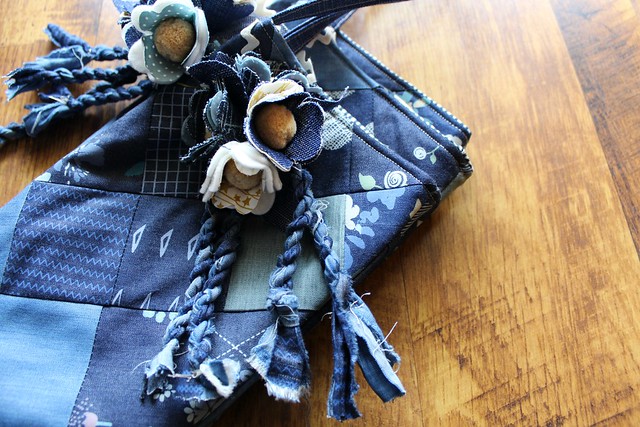
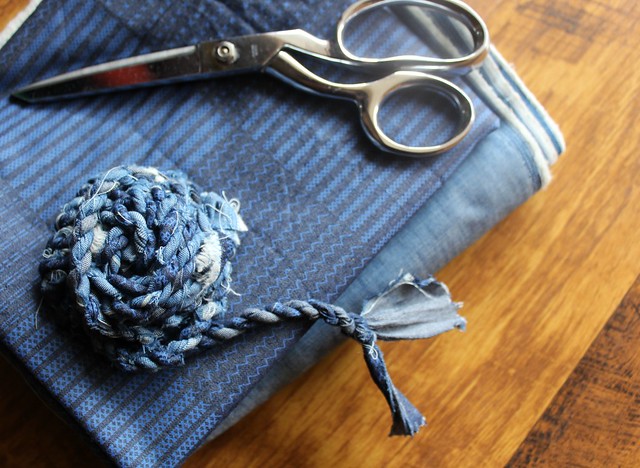
Making Denim Twine

Denim Floral Clusters

Denim Patchwork Stockings

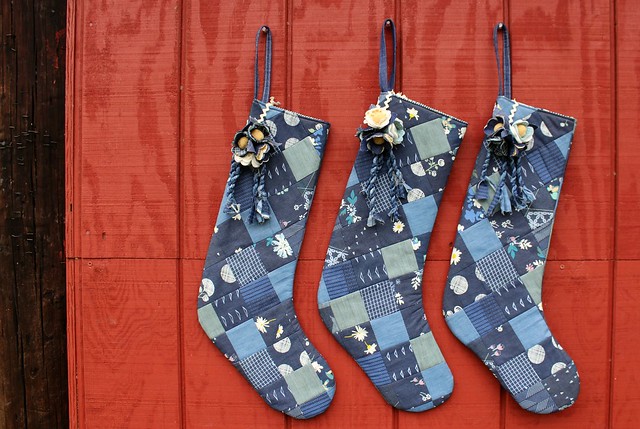
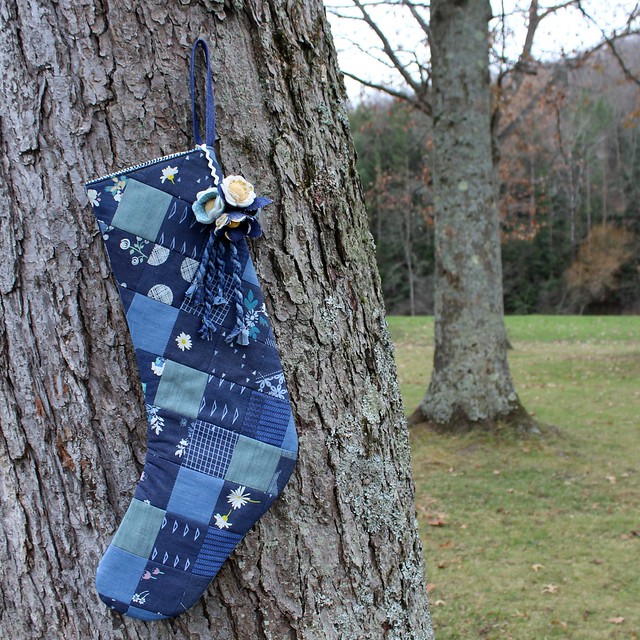
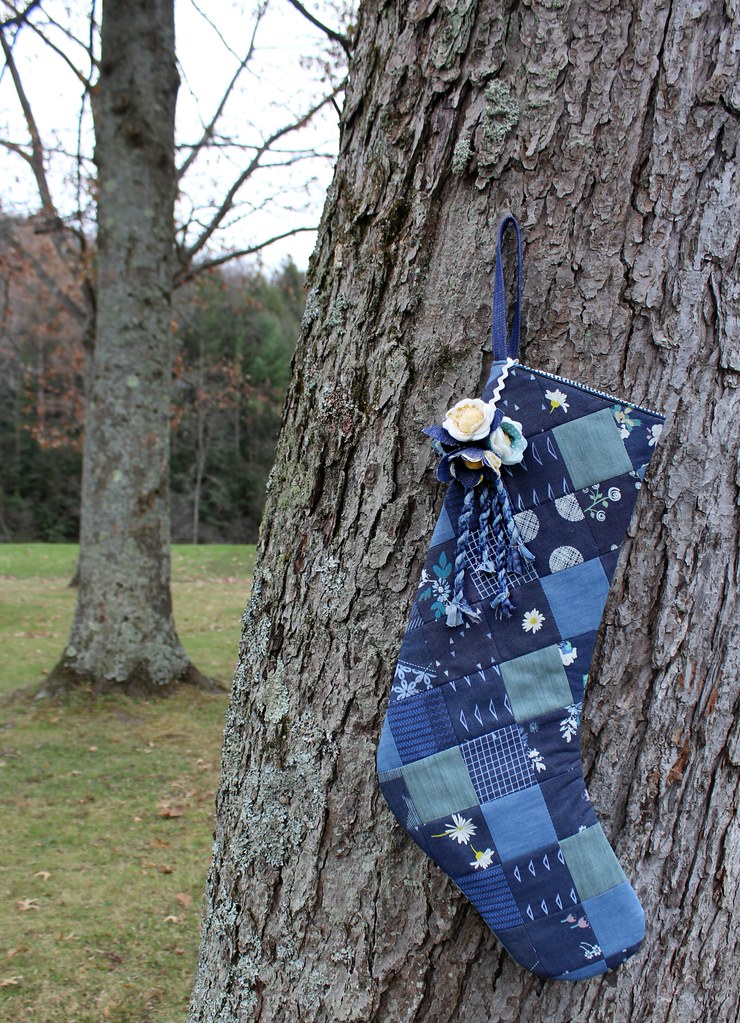
I started my own stocking assembly line using the pattern I created last year by tracing one of my favorite extra-large sized stockings purchased several years ago before I had learned to sew, to use as my template. I pulled out my collection of AGF Denim Studio solid smooth and printed denims, first I sewed together strips and then added my patchwork using my Quick Quilt As you Go method to create these double-sided stockings that can be hung whichever direction you choose!
Denim Patchwork Stocking

Each stocking is lined with my navy & white Wild and Free Woven Path quilting cotton and the hanging loops are made with a thick & sturdy heavyweight AGF denim!
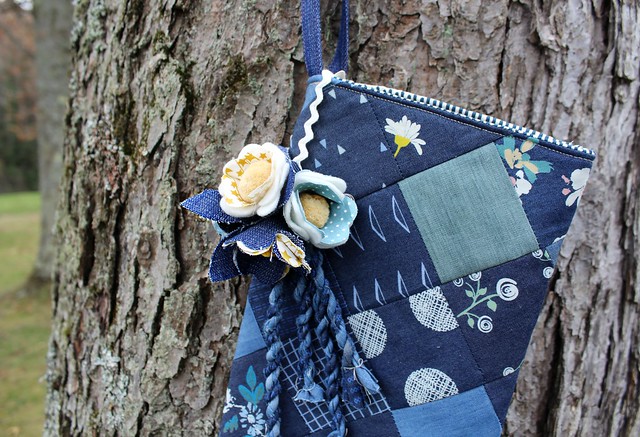
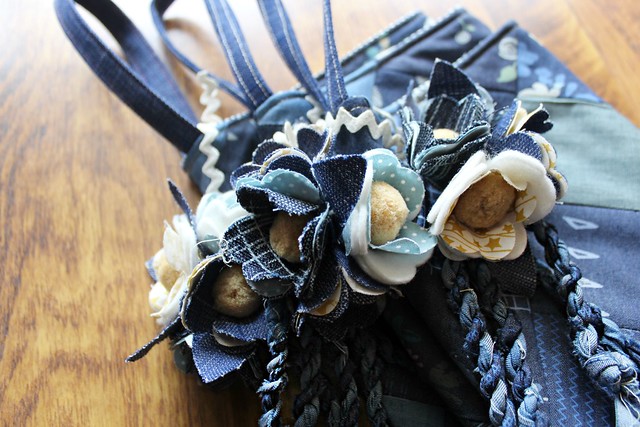
Floral Cluster Details

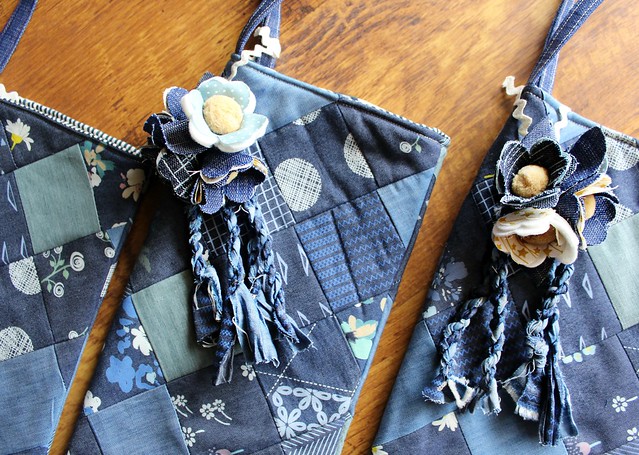
With each stocking comes a beautiful denim + fabric + felt flower cluster with handmade denim twine that I made, as well. I had so much fun making these and love how they turned out! Each is finished with a vintage ricrac loop so they can be easily removed to double as a pretty ornament, as well!

Denim + Felt + Little Town

Denim Floral Clusters

Stocking Details

Holiday Stockings 2017

You can find these new quilted denim patchwork holiday stockings and my other handmade gift items in my Etsy Shop https://www.etsy.com/listing/492775063/quilted-denim-patchwork-stocking

I hope you love them as much as I do!!  XO Maureen

Wednesday, July 26, 2017

The Sewcial Bee Sampler Sew-Along Week 26!

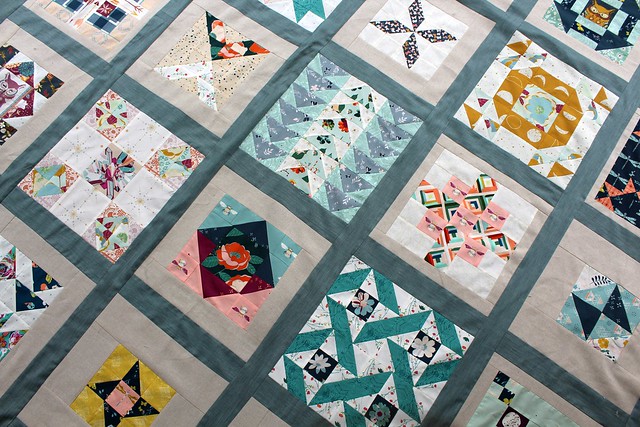
My Sampler

Join the Sewcial Bee Sampler!

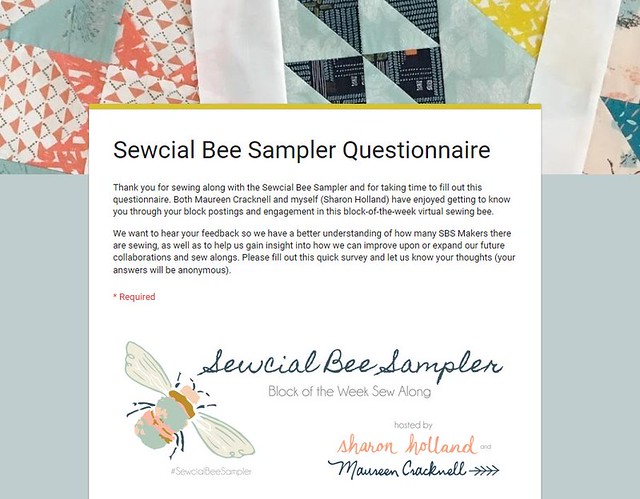
Before I share our final PDF, once again Sharon and I are asking for all SBS makers to take the 8-answer survey we've prepared! This quick questionnaire is completely anonymous and the answers will give us better insight into how you've enjoyed this sew-along. To ensure the most accurate results, please only take the survey once. A BIG thanks to those of you who've participated in the SBS questionnaire already! If you've not yet had a chance to take the survey, please do so as soon as you can, we're only keeping it open now through the end of the SBS sew along. The link provided on both our blogs will link to the same survey. So, if you access the questionnaire from either Sharon's site or mine, your answers are compiled to the same place. Thank you in advance for your help!

A SBS Survey

Now it's time for the very last block release of the Sewcial Bee Sampler sew-along!

Today's free download is for : Quilt Assembly and Finishing. I'll be sure to add this final pattern to my Sewcial Bee Sampler Page with the previous week's patterns, where you can easily find everything you need to make an SBS Sampler right in one place, anytime! Simply click on the link or the image below for direct access to this week's final SBS pattern!

Sewcial Bee Sampler Week 26: FINISHING!

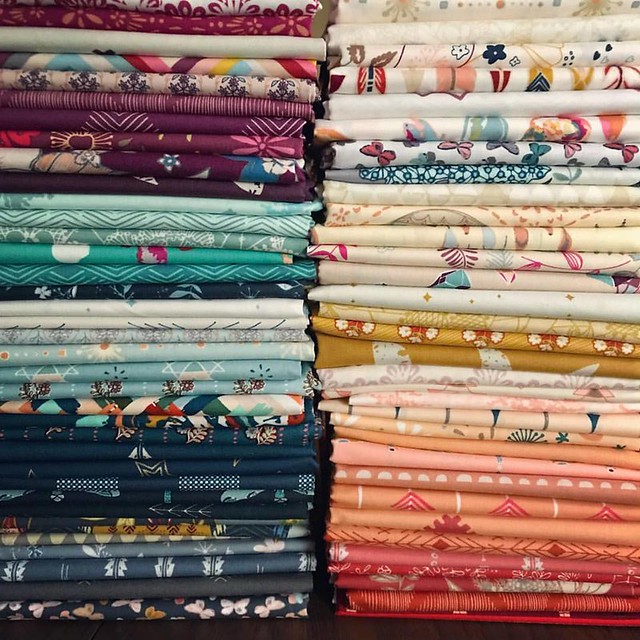
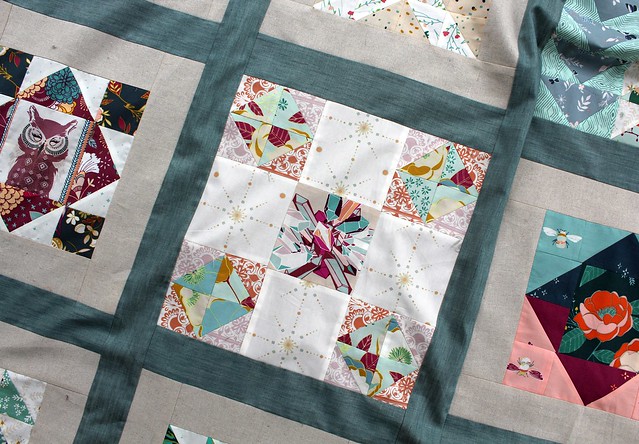
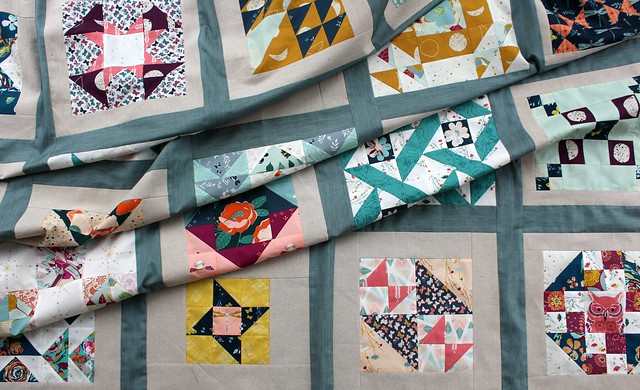
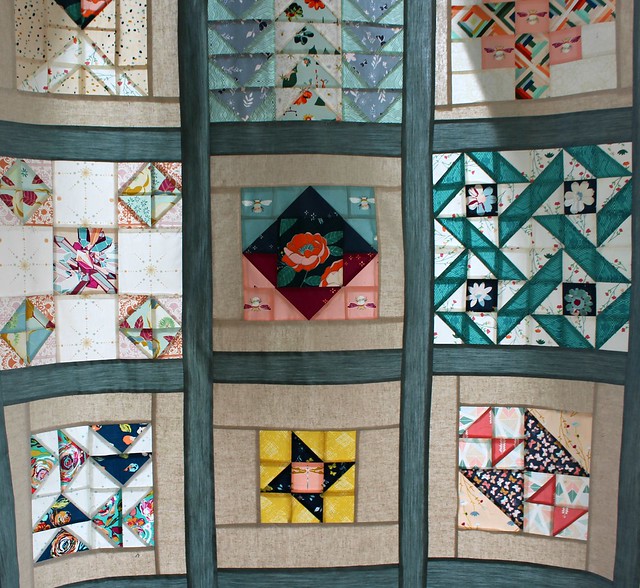
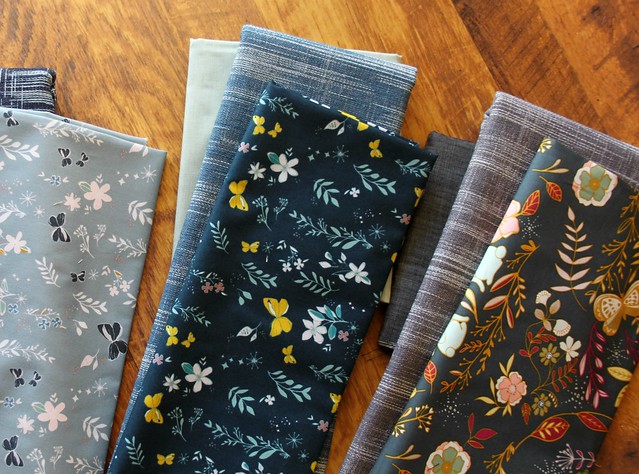
For my version of the Sewcial Bee Sampler I have used Art Gallery Fabric The Denim Studio Soft Sand Linen for each of my block frames and for the final sashing I'm using AGF's Solid Smooth Denim in Cool Foliage, a vintage looking blue that pairs perfectly with the colors I love to use when coloring my fabric collections! The photo below is a recent one I took of several of my collections together. Using prints from each of the five collections I've released so far is one of the many reasons I loved making this quilt so much!

My Fabrics

Before I began adding my sashing strips to connect my blocks and rows, I had to remake just one block, my week 17 block: Spools. I knew this one would need remade as soon as I laid it out with the previous week's blocks. The eggplant purple is so pretty, and although I did include this print and color in other blocks throughout my sampler, including such a dark print as a star fabric, rather than a supporting print was just too much eye-catching eggplant purple. This lighter, brighter selection of prints works so much better with my other blocks and I was thrilled to add a little Soulful to my Sampler!

Spool remake in Soulful

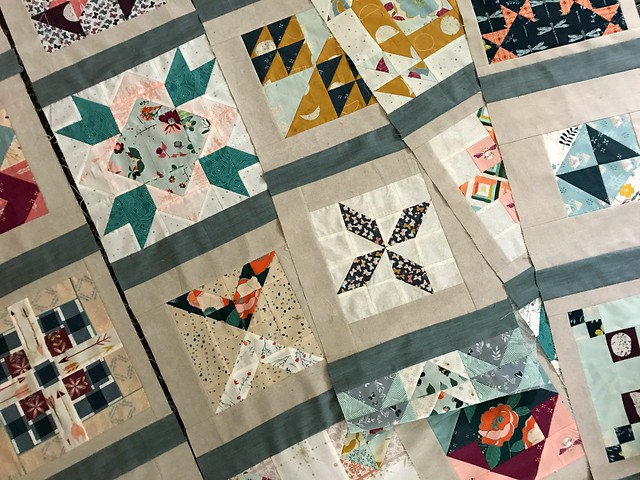
Once you're happy with your blocks and arrangement of each, it's time to connect your blocks and rows together! I left my Sampler arranged almost in exact week order, making just one swap of my first and sixth week blocks. Feel free to layout your blocks in any order that makes you happy and finds the right balance of color and pattern before adding the sashing. Once you're ready, the Quilt Assembly and Finishing PDF includes everything you need, with many bonus images and info on Sharon's blog today, as well! To add my sashing I began by sewing my denim sashing strips between  five blocks at a time to make a vertical row, until I had all five vertical rows sewn together.

First make rows

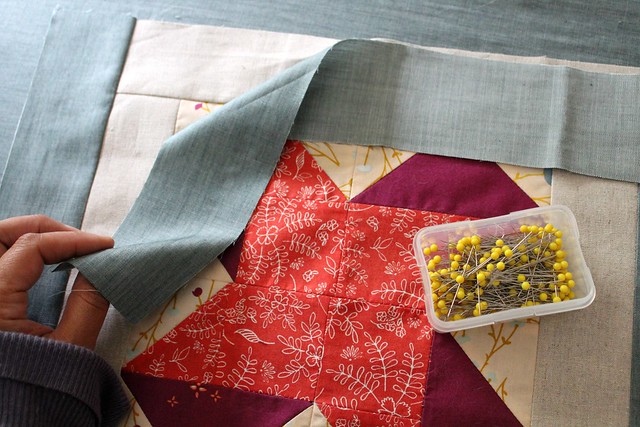
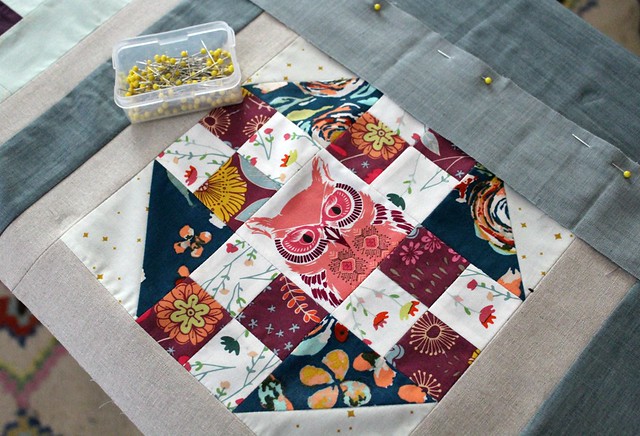
Once my rows were complete, I used my long lengths of sashing to connect each vertical row together. Simply pin to attach the long strips to the length of each vertical row and sew the vertical sashes alternately together with the block rows until your quilt top is complete!

connect rows with sashing

pin sashing in place

row by row

My SBS

Now that my Sewcial Bee Sampler quilt top is finished, I'll be sending my top off to Lady Belle Fabrics, my friend and long-time sponsor who will be adding a brand new long-arm service to her amazing shop soon! For my Sampler I'm planning to choose an all-over floral quilting pattern to pair with the prints I used, something simple not to take away from these beautiful blocks! All that's left for me to do now before boxing up my SBS top to send off to Brooke is to choose and prepare my backing fabric. Again, I'm leaning towards a pretty floral print! Lady Belle Fabrics plans to have their long-arm service info up in a week or two, so if you'd like to send your quilt top to be long-arm quilted as well, feel free to leave me a comment or to contact them for additional info!

In the light

I can't wait to see all of the finished SBS Quilt tops this week! Be sure to visit Sharon's blog today to see her beautiful versions and for her post that's full of helpful finishing info! Be sure to stop back for details on how to enter this week's special Sewcial Bee Giveaway Friday with the Circa 15 Studio!

Sewcial Bee Sampler SponsorsHappy SBS sewing, friends!  XO Maureen      
Monday, April 17, 2017

Bountiful Blog Tour : :

My Bountiful Bag

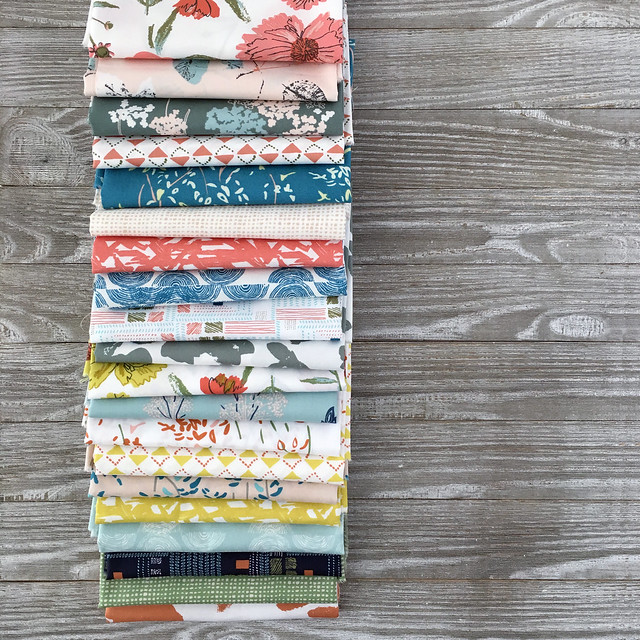
Today I’m excited to share my project for the Bountiful blog Tour! Bountiful fabrics is the newest collection by my talented friend and SBS co-host, Sharon Holland, a fellow designer for Art Gallery Fabrics. I was so thrilled when she invited me to work with these beautiful prints and colors!

Bountiful Blog Tour

Bountiful by Sharon Holland

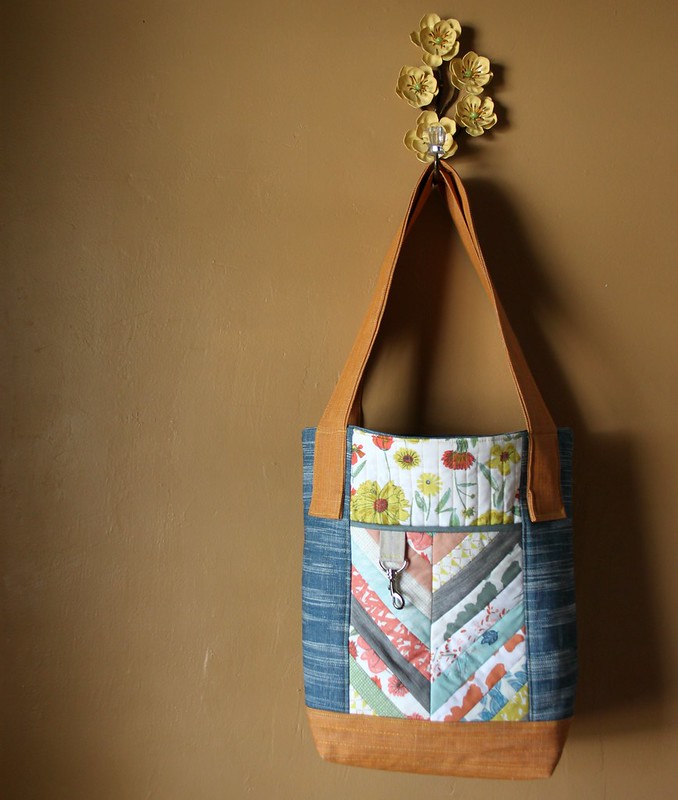
With the busyness of our Sewcial Bee Sampler, designing new collections, & preparing for Spring Quilt Market coming quickly next month, I knew I didn't have the time to tackle a Bountiful quilt, although I really wanted to! Instead, I decided to use this as an opportunity to work on my bag-making skills, a goal I had set for myself this year. I LOVE making bags, especially QAYG bags, but it's not easy for me as I don't enjoy following patterns. My confidence to try comes from choosing pretty fabrics from the start - I figure whatever I make is bound to be a successful finish if starts with fabrics that I really love - enter: Bountiful!

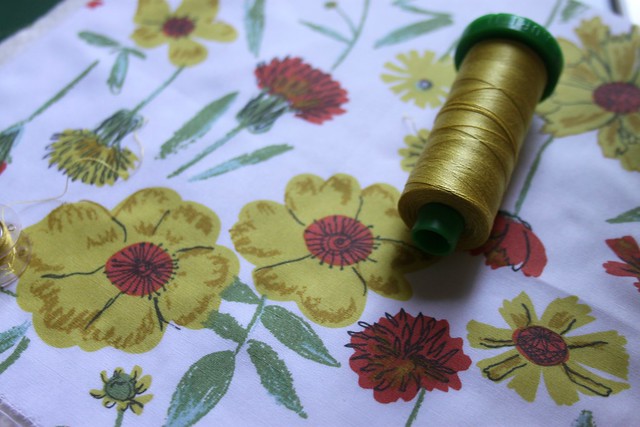
First I picked a favorite print from the group, Perennial Optimism, and began quilting it up with a golden yellow 40wt Aurifil thread. 

Favorite Print

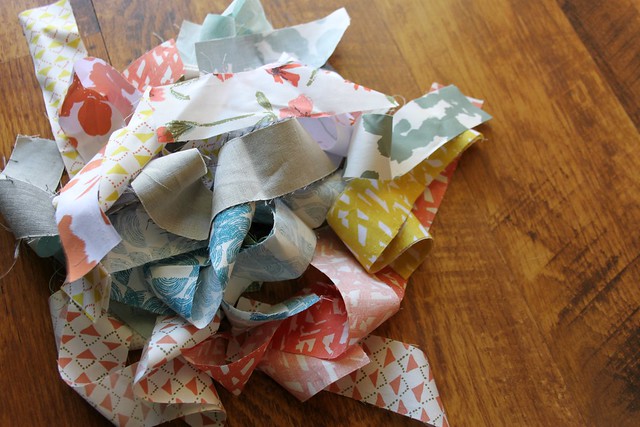
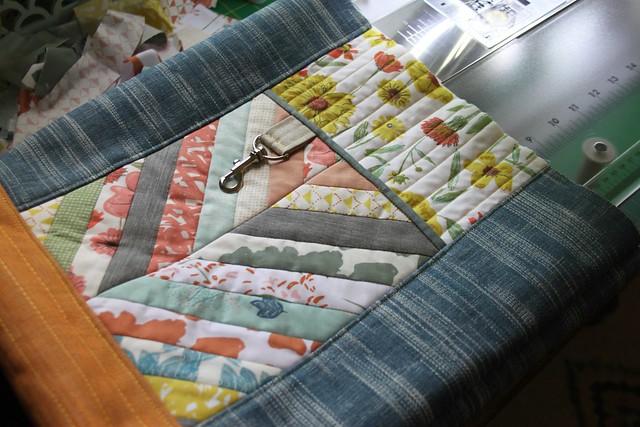
Next I began cutting colorful, narrow strips for the herringbone quick quilt-as-you-go pockets I planned to add. You know how I love my herringbone qayg!

Little Strips

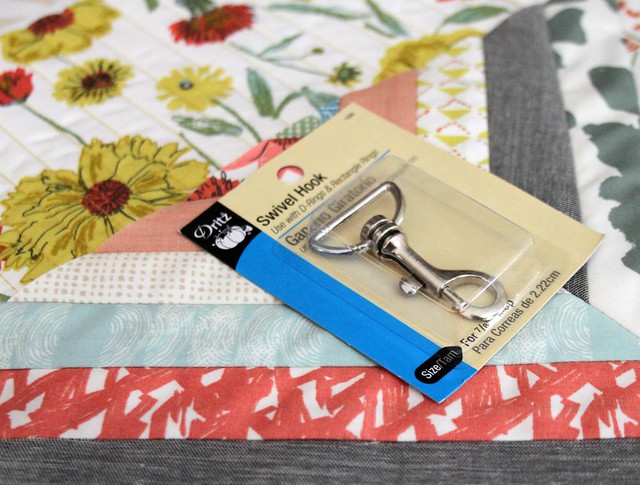
Recently, the generous folks at Dritz sent me some bag-making goodies to add to a few of the projects I'll have in my new Soulful fabrics Quilt Market booth. This was a successful first attempt at using bag hardware for me and will be such a professional looking way to add the fun tassel that Sharon plans to make using her Bountiful knits!

Dritz Swivel Hook

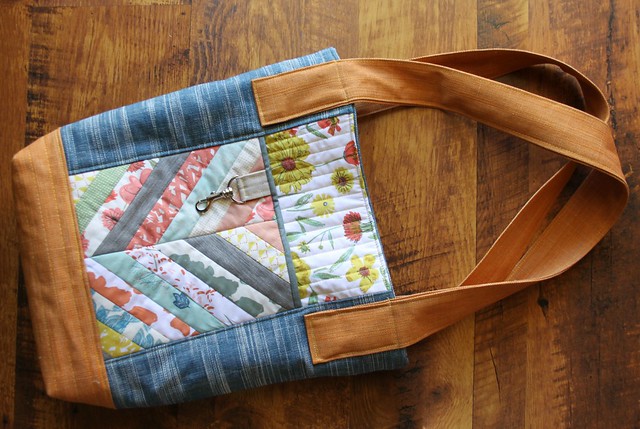
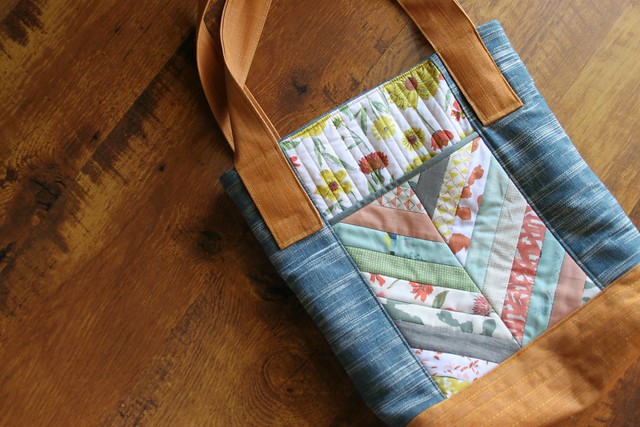
Bag Exterior

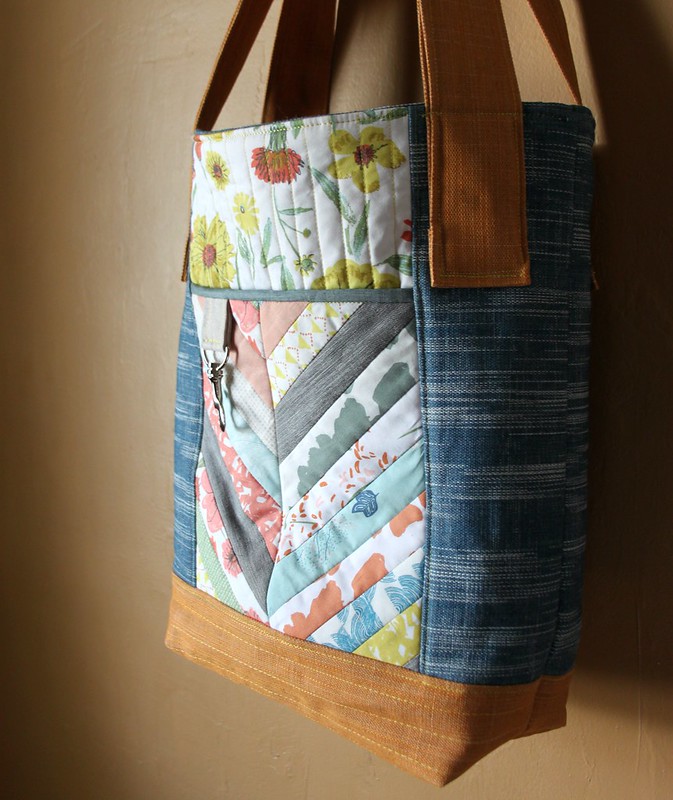
My Bontiful Bag

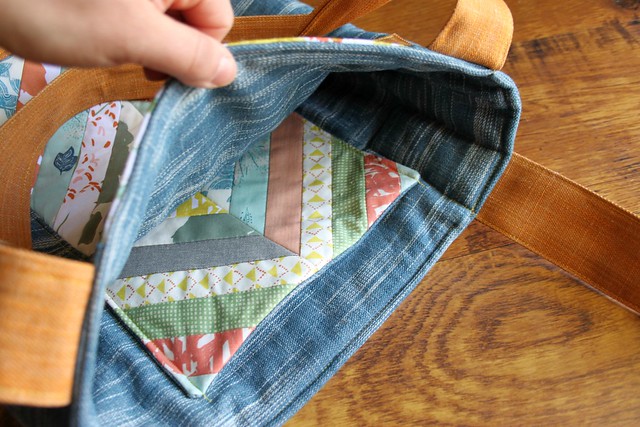
With added heavy weight AGF studio denims in Solid Textured Canyon Sunset and Crosshatch Textured in Babbling Brook, combined with quilting the Bountiful prints and patchwork to a layer of cotton batting, I love how sturdy my bag turned out without having to use any interfacing. It's soft, but is still hearty enough to use as an all-purpose bag. I really love it!

My Bountiful Bag

Herringbone QAYG Pocket

Backside

You can visit Sharon's blog to find a beautiful & inspiring recap of each week of the blog tour here. On Friday, Cindy at Live a Colorful Life shared the most stunning Bountiful quilt, and tomorrow you won't want to miss Lynn's Bountiful project at her blog The Little Red Hen!

I hope you'll take the time to check out all the fabulous designers in the Bountiful blog tour line-up,  it's overflowing with inspiration to get you sewing with this gorgeous collection!


XO Maureen
Wednesday, October 12, 2016

A Night Sky Easy Tote : :

Clouded Horizon Easy Tote

Confession: I've become a little consumed with making these bags. I've already made SIX since Thursday! If you've been following long you'll know it's not in my nature to make the same thing twice, so this is quite an achievement for me! So far I've only photographed two, the first one I blogged at the end of last week and this one for today. The others I'll hold off on sharing one day during the Nightfall Parade I'm planning. I think whomever wins the BIG Giveaway I'm scheming for the finale will receive their prize in one of these handy Nightfall Easy Totes. I just love em'! And, making them apparently!

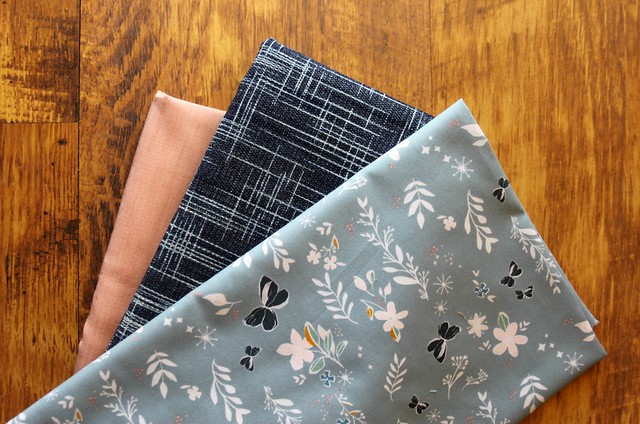
These are the fabric pairings I had set aside for my first three Easy Totes!

For Easy Tote Bag Making

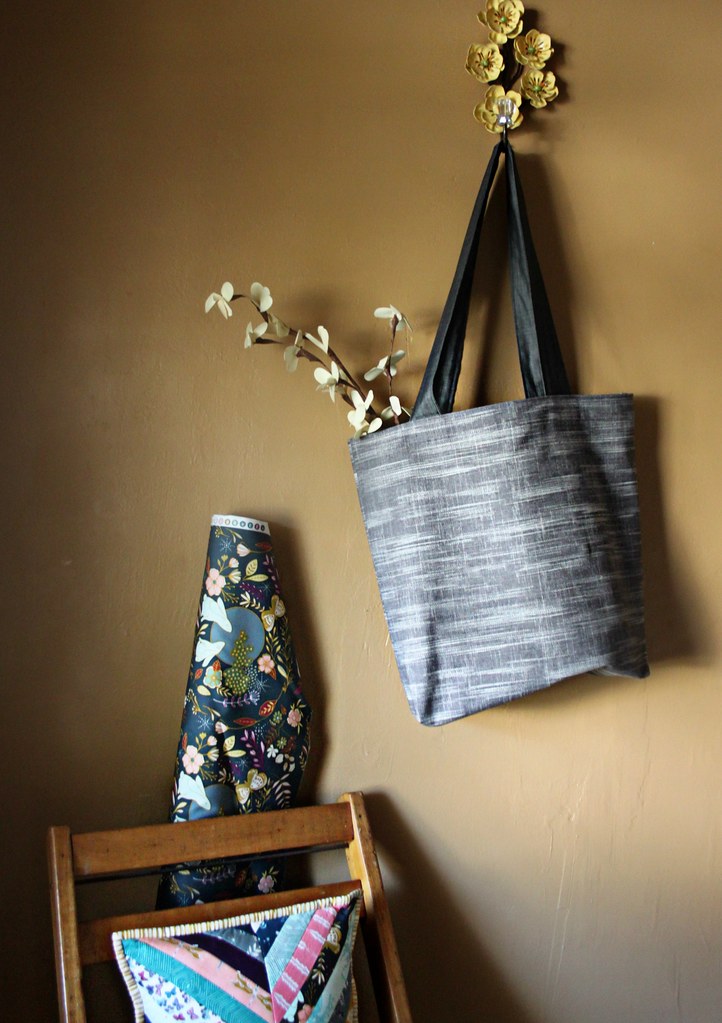
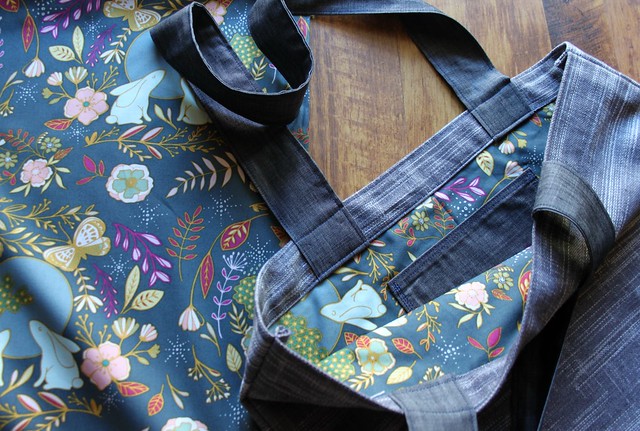
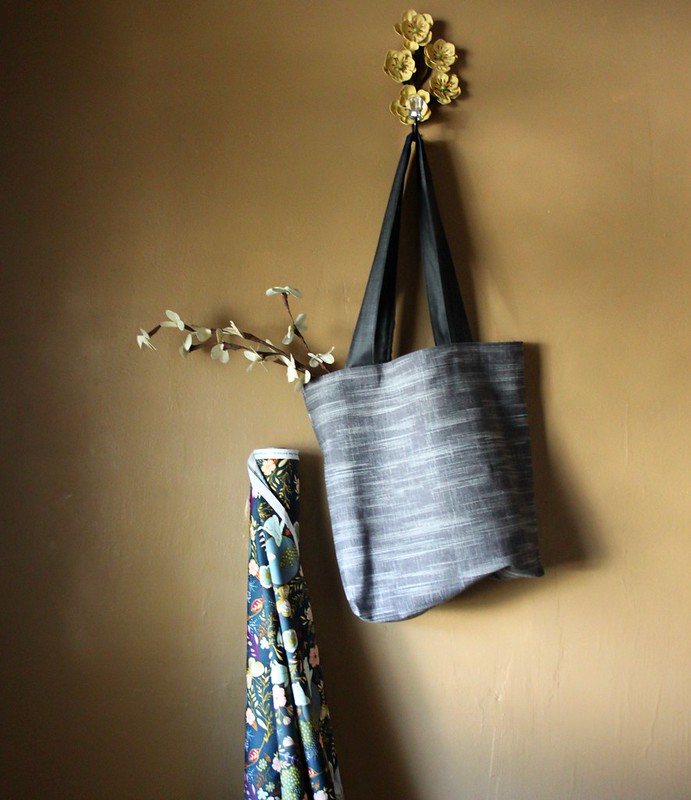
Today's tote features one color from AGF's new line of Crosshatch Textured Denims in Clouded Horizon for the main bag fabric, a Solid Smooth Denim in Wicked Sky for the handles & inner pocket, and it's lined with my very own Moon Stories in Ash print from Nightfall! I love the night-sky theme of this fabric combination!

Crosshatch Textured Denim & Nightfall Easy Tote

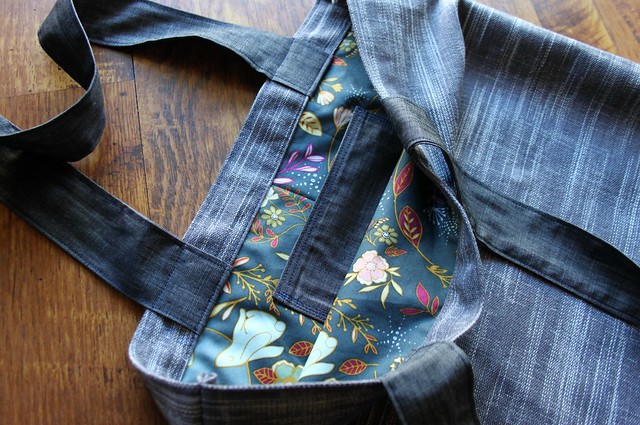
Lined with Moon Stories

The lining is my favorite part of this one! I think it's just a really fun match to the classic look of the bag exterior, and I love the combination of colors. The quilting cotton adds a little softness to the very structured, heavier weight of the Crosshatch Textured Denim, and I love that!

Denim & Moon Stories

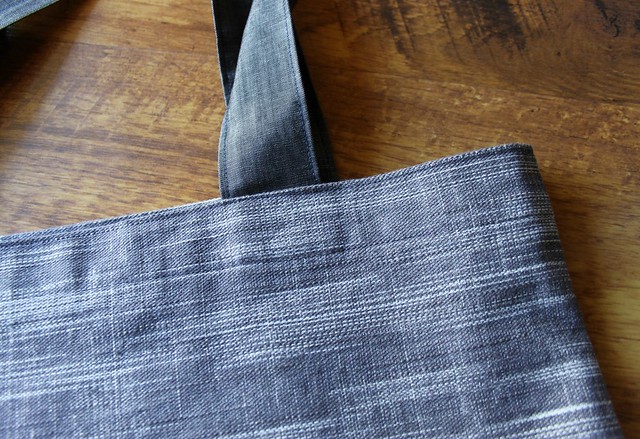
To make and attach the handles and to assemble the rest of the bag I used an Aurifil 50wt from my Bohemian Garden thread set in Medium Juniper and it's nearly invisible. It makes for such a beautiful finish!

Invisible Aurifil

Clouded Horizon Crosshatch Textured

I'm going to keep working away on my Nightfall Parade plans this afternoon! I'm putting together some new tutorials to go along with the projects I'm making, so we can sew with Nightfall together. I can't wait to show you!

♡ Maureen  
Wednesday, October 5, 2016

A Denim & Nightfall Easy Tote : :

Easy Tote in Denim & Nightfall

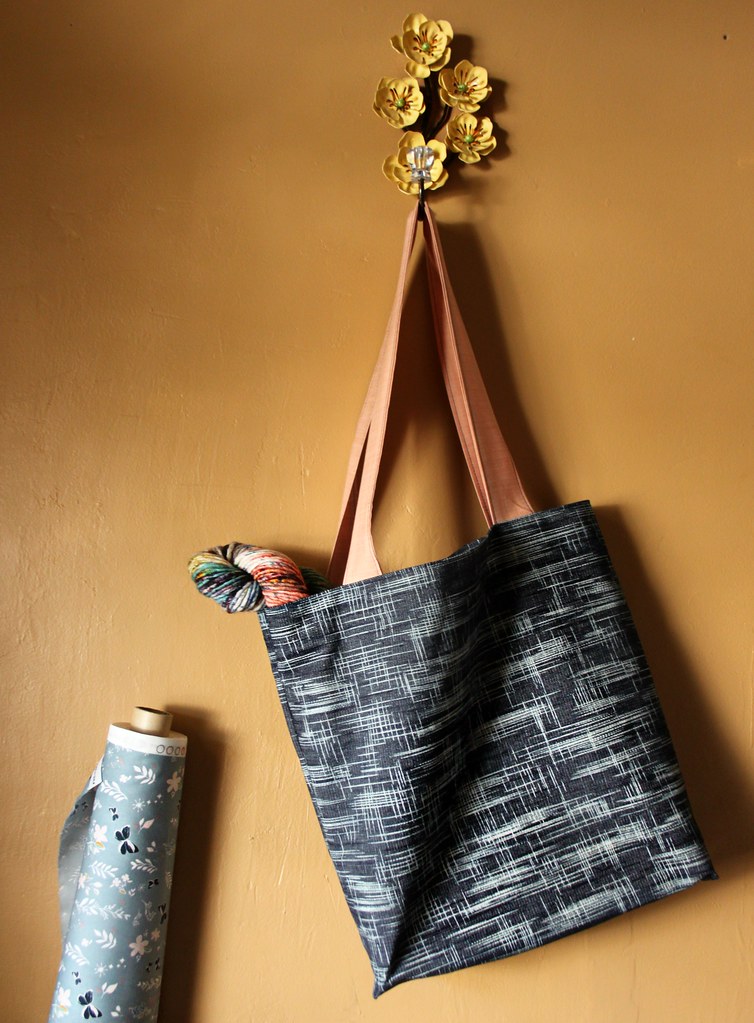
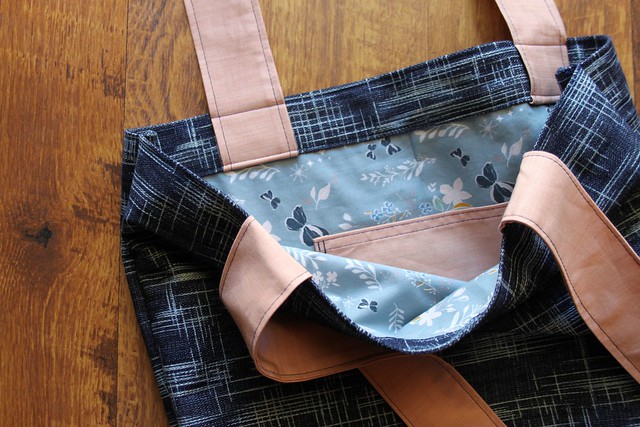
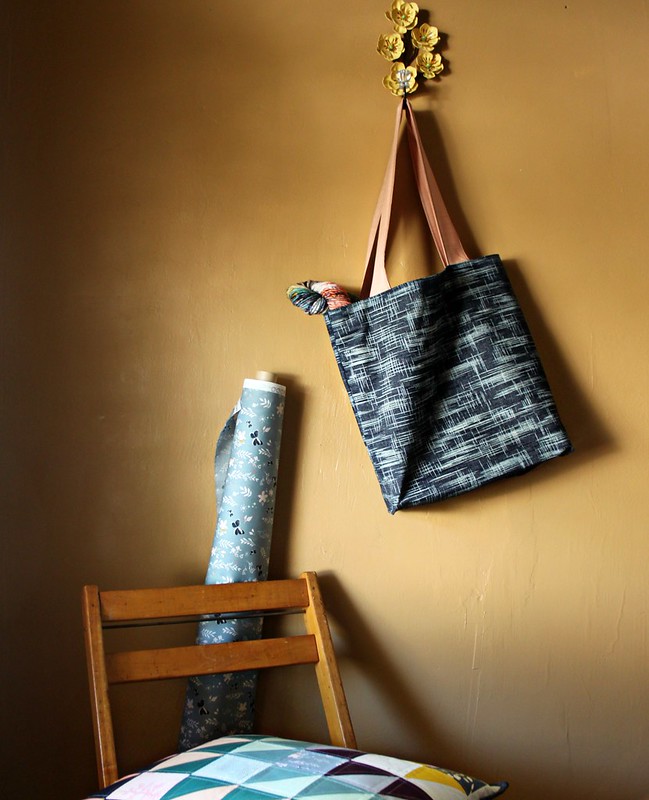
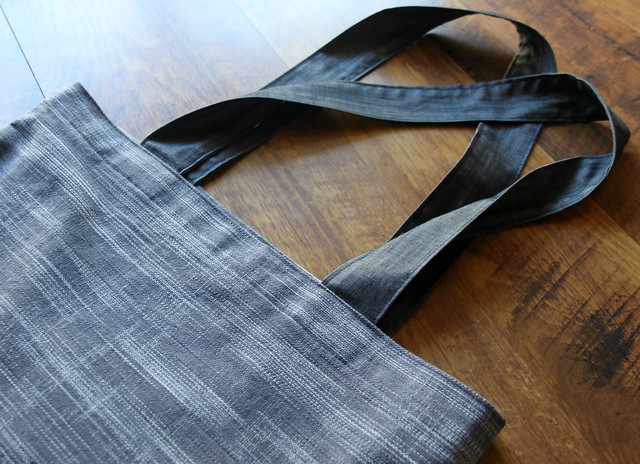
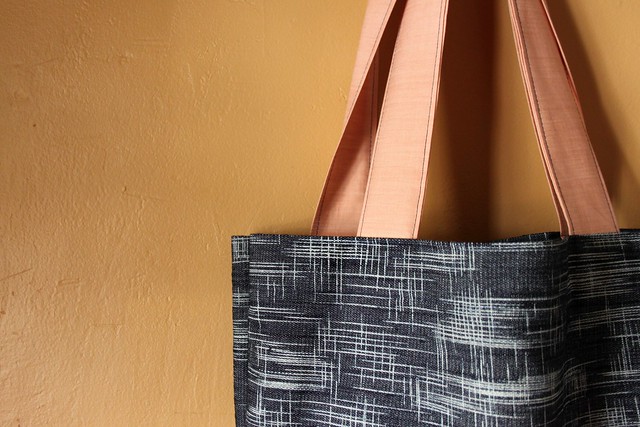
This morning I stitched up the first of three Easy Tote bags that I decided to make using my favorite new AGF denim, Crosshatch Textured. I paired up each of the three heavyweight denims with a Nightfall quilting cotton print and a lighter weight solid smooth colored denim. This first tote combo includes Crosshatch Texture in Rainy Night, Magical Gust in Fog from Nightfall, and the pretty peach Nextarine Sunrise Solid Smooth!

Magical Gust in Fog with Denim

For this bag pattern I followed a tutorial on the Purl Bee Blog for their Easy, Easier, and Easiest Totes, opting for the "Easy" one that includes French seams, a tote bag lining fabric, a handy pocket, and roomy boxed out bottom. I prefer to finish my bags with a boxed bottom, but mostly chose this Easy version so I could showcase how pretty my Nightfall prints look with this amazing denim!

Love this combo!

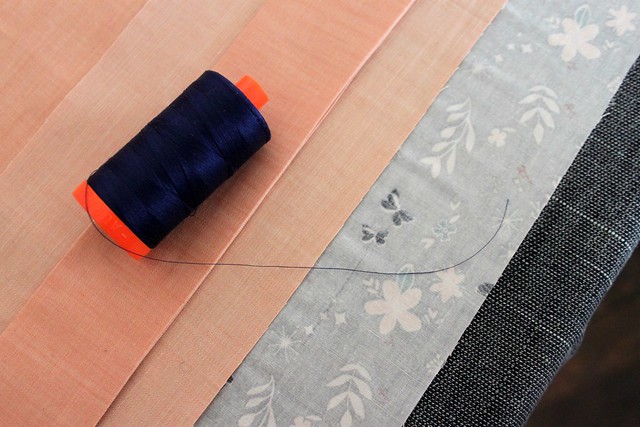
I stitched my bag together using the dark blue Aurifil 50wt from my Bohemian Garden thread set. While I love the contrast of the navy thread with the soft peach denim, I equally love how this particular shade of blue blends in so perfectly with the Rainy Night denim I used for the main tote bag fabric, it's nearly invisible!
Stitched with Aurifil

Nectarine Sunrise Solid Smooth Handles

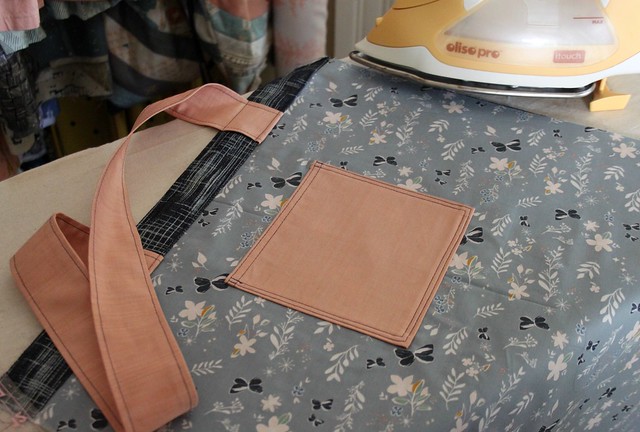
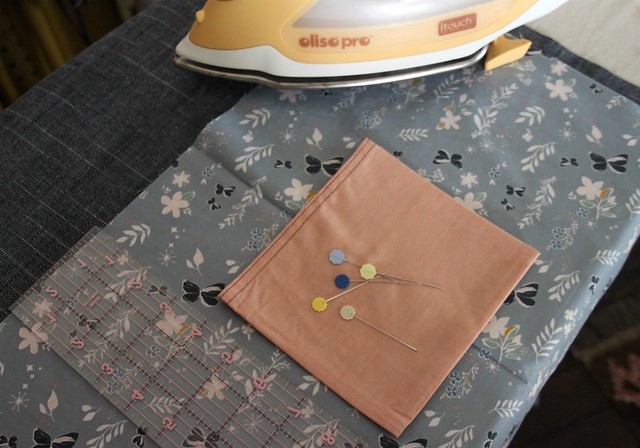
Making and attaching the sweet little pocket to the tote lining was my favorite part of this bag's construction. The tip provided for creasing the lining fabric to ensure a nicely centered pocket made this step easy and fast!

Pretty pocket

Peach Pocket & Straps

The tutorial author estimates that this bag pattern can be made in just about an hours time and that was right on for me! I'm excited to make two more this afternoon before school's out!

Easy Tote Bag

Be sure to let me know if you give these totes a go!

xo Maureen