Showing posts with label aprons. Show all posts

Monday, January 2, 2017

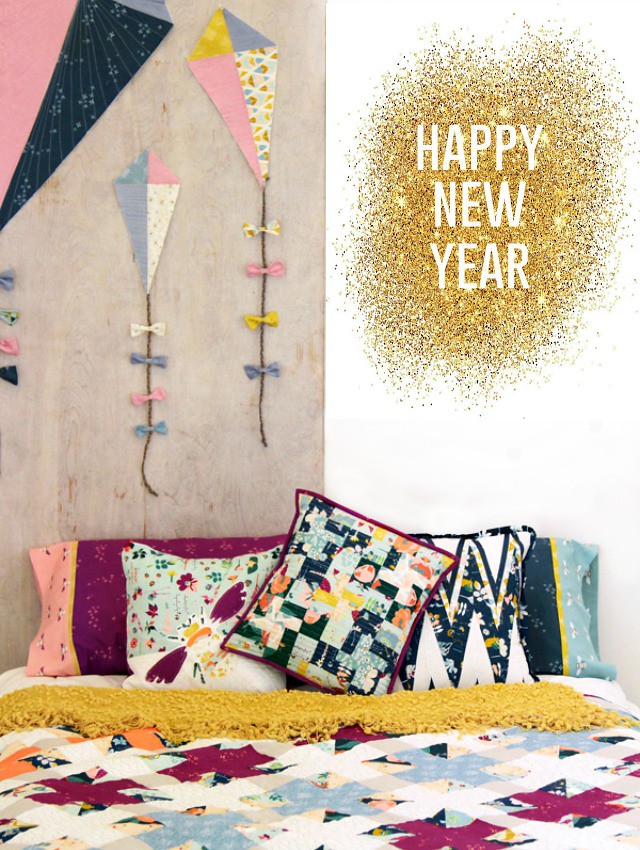
Happy New Year!

Happy New Year!

Garden Dreamer by Maureen Cracknell

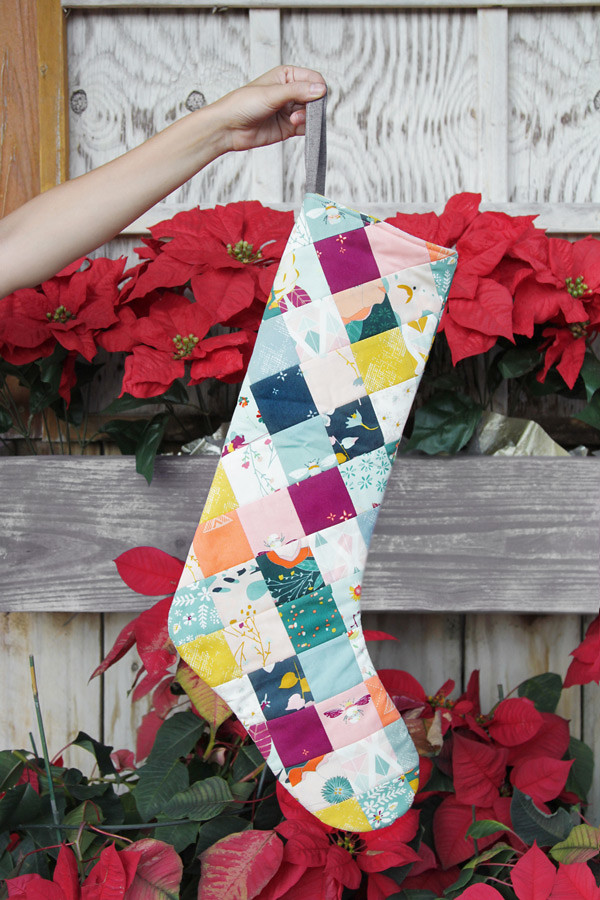
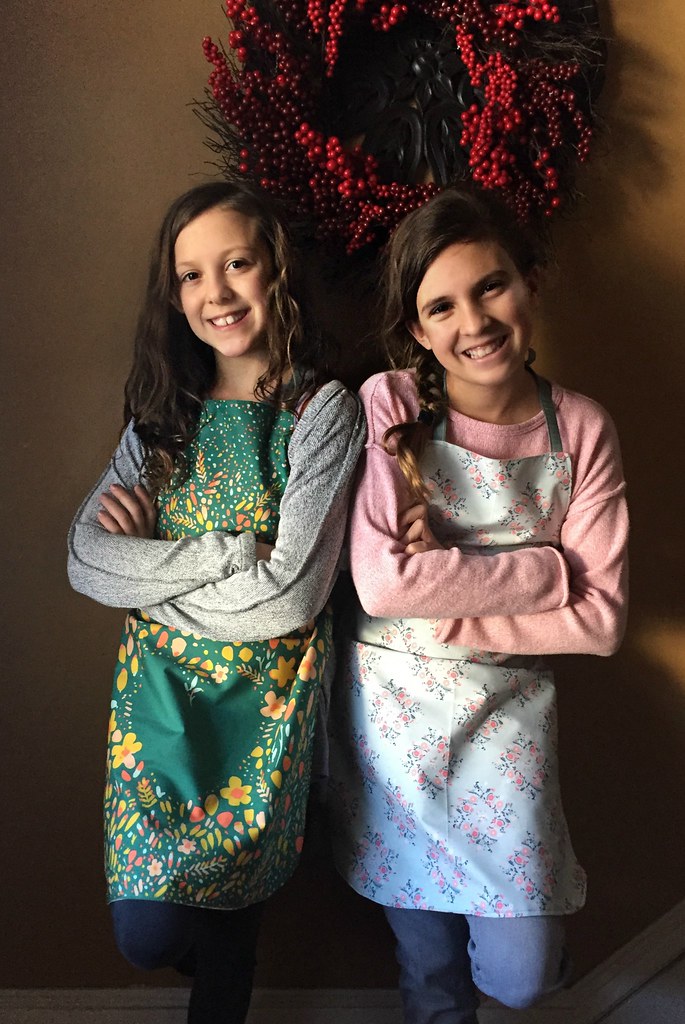
I hope you had a wonderful Christmas season and a Happy New Year! We all had such a wonderful holiday! Christmas Eve and morning were truly magical. There were so many beautiful moments shared. And although I was too immersed in holiday celebrating to pop a post in during the busy week, I tried my best to keep up on social media and I did manage to sneak in a tiny bit of sewing (using Garden Dreamer, of course) to make a set of pillows and few new tote bags to gift family members. And because my niece was here visiting, Haila, Ceci and I spent yesterday afternoon sewing up reversible aprons together. This sewing session was one of my favorites yet, the girls drafted their own pattern and did such a wonderful job!

Apron Making Day!

I love the reflection that a New Year brings, but today I'm really looking forward to 2017! I'll have some BIG goals and exciting news to share once I can get back to my regular blog routine. Unfortunately our wonderful break is ending with a nasty bug sweeping through, so in the meantime I want to wish you all a happy, creative New Year filled with health, love and joy!

XO Maureen

Tuesday, November 26, 2013

Sewing Room New : :

Wallflowers Holiday Apron

On Sunday, before packing, I wanted to get a head start on crossing somethings off of my holiday sewing list! I started with this full apron using my Wallflowers Charm Pack, the new collection by Allison of Cluck Cluck Sew for Windham Fabrics. I picked out just a few 5" charms for my patchwork top and finished the bottom in a green cotton solid & a holiday print from my stash. I love making aprons and have been wanting to play around with full size patterns, so this was fun!

I also finished up a few more Chicopee quilt blocks! I love this block in these fabrics and was so tempted to keep them for a quilt this time, but patchwork pillows they will be! I plan to finish them up early next week to list in my shop!

More Chicopee Blocks for PIllows

Fox pillows, SO many crowns, and some newly ordered packaging supplies completely took over my sewing room last week!

Fox Pillow Pile

New Tape, Twine, and Label

Etsy Orders

I received a happy fabric mail package from Art Gallery Fabrics including this gorgeous bundle of Rapture, the brand new collection by Pat Bravo. These will definitely become a quilt! They are so, so pretty, my new favorite collection for sure!!

Beautiful Rapture

Beautiful Rapture

And, Haila made me this sweet, quilt binding Christmas tree, with a little Aurifil Thread tree topper! I love it!!

A Cute Christmas Binding Tree!

Happy Sewing!!   Maureen 

Monday, July 22, 2013

An Appliqued Apron Set Tutorial for Therm O Web : :

We're home!! This morning we woke up in our own beds, missing so many wonderful people, with so many new, special memories made these past two weeks to reflect on. It was such a terrific vacation!

Today, I'm making every effort to dive right back into our regular routine so, I'm taking some time to blog and sew this morning. Oh, how I've missed it! I'm excited to be sharing my Appliqued Apron Set Tutorial over on the Therm O Web blog for the first time since I was recently invited to join their Design Team line-up!

An Appliqued Apron Set Tutorial for the Therm O Web Blog!!

Along with my tutorial is a fun Giveaway for some of their great products! I'm such a huge fan of their basting spray and iron-on adhesive products, especially HeatnBond Lite for all of my quick and easy applique projects!

heatbond

This apron set if one of our most favorite things I've ever made! Adding the black stitching to my applique projects is one my very favorite things, it's so simple and I just love the look of it!

finish stitching in black

How could I pass on the chance to share this tutorial one more time?! Hopefully with many of you new readers both here and with those of you who follow the Therm O Web Design Team!

our aprons

Pop over right HERE to see my full tutorial, to enter their Giveaway, and pretty please feel free to pin it, too!

Happy to back here in this space with all of you!   Maureen 

Monday, May 7, 2012

Four Fat Quarter Apron Tutorial : :

Flirty Fat Quarter Apron

Today I'm sharing a tutorial for a half apron that sews up quickly and requires less than four fat quarters to make! This step by step tutorial creates the basic half apron design, however you can take this simple pattern and add your own details -- applique, pockets, longer straps to wrap around to tie in the front, etc. If you have any questions leave a comment or feel free to email me at maureencracknell@hotmail.com. Now let's get started!!    

What you'll need : :
  • 1 - fat quarter measuring 18" x 22" for the main apron fabric
  • 1 - fat quarter cut in half, into two equal pieces measuring 11"x 18" for the side panel fabrics
  • 1 - fat quarter to cut a piece measuring 9" x 22" for the waistband
  • 1 - fat quarter to cut two pieces measuring 7" 22" for the straps
  • coordinating thread
  • Sewing pins
  • Sharp scissors and/or a rotary cutter/mat set 

Creating the Apron Skirt : :

1. Using the fat quarter chosen for the first layer of the apron skirt, create a hem by folding in the bottom edge 1/4" and press 2. Fold 1/4" again, press, and pin in place 3. Repeat this step for both sides of the fat quarter piece  4. Sew along inner folded edge and the outer edge to create a double seam

My creation

Once finished the bottom of the fat quarter and both sides should have a nice double seam hem.

Finished Double Seam

Creating the Apron Skirt Panels : : 

5. Using the fat quarter chosen for creating each side panel, cut this fat quarter in half, to two pieces measuring 11" x 18"  6. Using the same steps for hemming the skirt, create a hem on both the bottom and each side of the panel pieces. There is no need to hem the top 7. Lay each panel piece on top of the hemmed skirt piece at a slight angle as shown below

My creation

Once the panel pieces are positioned, pin in place.

pin panels in place

Creating the Apron Waistband : :  

8. From the fat quarter chosen for the waistband, cut a piece measuring 9" x 22"  9. Fold in each edge a 1/4" and press 10. Fold this piece in half so the sides match up and press well

My creation

The pressed waistband should have no exposed raw edges.

Finished Waistband

Attaching the Apron Waistband : :  

11. Place the finished apron skirt inside the waistband, so the waistband covers the raw edges at the top of the apron skirt  12. Pin in place 13. Sew along both the top of the waistband, staying close to the edge, and along the bottom, leaving both sides of the waistband open (for the straps)

My creation

Remove the pins, now it's time to make the straps!

remove pins -- Finished apron front

Creating the Apron Straps : :  

14. From the fat quarter chosen for the straps, cut two pieces measuring 7" x 22"  15. Using the same instructions for creating the waistband, fold in edges, press and then fold in half  16. sew along the outside edge of each strap piece, staying close to the edge  17. Insert strap piece into the opening left on each side of the waistband, pin in place  18. Sew straps in place, for this I always sew two seams

My creation

Voila! Using less than four fat quarters you've created a super cute apron! My favorite part is that the bottom skirt fabric stays draped and you can lift the side panels to wipe your hands almost like hanging tea towels! Love that!! 

Four Fat Quarter Apron

The wide waistband makes this apron easy wearing and flattering to all our shapes, and the angled side panel pieces add a sweet feminine and flirty-ness, too!

Four Fat Quarter Apron

I hope you enjoy making and wearing this apron! You can read about my reason for creating this apron here. As always, if you decided to give this tutorial a try -- be sure to let me know and feel free to share a photo on my facebook page anytime!!

Happy Monday, friends!!  Maureen 

* * * * * * UPDATE : :  After making this apron a few more times myself and having so many of my blog followers and friends make one as well, I do recommend lengthening the straps. The size in the tutorial will work for a size small/medium, so I just suggest that you adjust the length to a comfortable length for yourself or for the person who will be wearing it! THANKS!! M

Thursday, May 3, 2012

Aprons for Haiti : :

Oh, I love a good apron. Yes I do! So, when Craft Hope announced Project 17 : : Aprons for Haiti, I signed on right away to contribute at least one! Today, I'm happy to have two to share with high hopes of a few more to send in by the May 31st deadline.

Aprons for Haiti

For my first apron I used a bit of my Fabric Envy mail, pulling four fat quarters from the bundle of Hello Luscious that I won recently in a giveaway Andrea had on the Fabric Envy blog.

Hello Luscious

The colors in this collection are so pretty and sweet. It was a nice change from the brights I usually work with.

Hello Luscious Apron

The idea I had for this apron was to create something beautiful and useful that wouldn't require too much fabric for easy construction and very little cutting. I ended up using just two full fat quarters for the main skirt of the apron, half of the third fat quarter for the waist band, and the straps needed about three quarters of the forth fat quarter to create this entire apron! I'm calling it my Flirty Fat Quarter Apron and I'll have a quick tutorial to share soon! Hopefully you're interested! *wink*

Flirty Fat Quarter Apron

For my second apron I used my Fabric Lover's Apron Tutorial, choosing Loulouthi once again! I had all the pieces already cut, left from when I created that tutorial, so this one came together super quick, too! I've made four of these now myself and have loved being sent photos of this apron pattern made by some of you! Thank you!!

Loulouthi Apron

In case you are interested in joining Project 17, I pulled some of the information off of the Craft Hope Facebook page to share today, as well. In the words of Craft Hope --

PROJECT 17 :: APRONS FOR HAITI :
 
It is unlikely that the average Haitian woman will ever receive anything that is special and pretty, something just for herself. Daily life for the Haitian woman is grueling and backbreaking. Most have to carry 5-gallon buckets of water on their heads from miles away. Cooking is done in a pit in the ground from handmade charcoal. The few pieces of clothing they have are washed in the river and hung to dry.

To receive something as precious as an apron made with love from pretty new fabrics would go a long way in making a Haitian women feel special. We would love for you to join us as we sew and collect aprons for the women of Haiti!

Guidelines for Project Apron:
--Pretty-but-practical full or half aprons (nothing too frilly, ruffly or lacey)
--Washable fabrics only please
--Pockets are a plus
--You may include a handwritten note with your apron if you like. Someone will be available to translate when we deliver the aprons
 

--Please send all aprons to:
HAITI BY HAND
3333 Benton Road
Cedar Hill TN
37032

Again, the deadline for this project is May 31, 2012, so you can still have plenty of time to follow and share on the facebook page that was created while the Craft Hope website is being rebuilt. You can get all the additional details there, as well!


I hope you do join in and that you let me know if you do!!  Maureen 

p.s. Be sure to stop back from my new fabric giveaway beginning tomorrow morning! Here's a peek!!

Thursday, February 9, 2012

A Valentine Appliqued Apron Set Tutorial : :

Valentine Appliqued Apron Set Tutorial

Today's tutorial is for a sweet apron set for an adult and child. I use sturdy ticking fabric with simple raw edge applique to add a little Valentine village, that's perfect for wearing all year long. You can use whatever fabrics you'd like with this method of applique to add any details to suit your style or those receiving these aprons. Have fun and be sure to let me know if you give these aprons or any of my tutorial projects a try!

What you'll need : :

  • 3/4 yd of ticking fabric
  • an assortment of scraps for your applique village
  • 1/2 yd piece of heatbond lite
  • 1 - piece of fabric measuring 6" x 24" for child apron waistband
  • 2 - pieces of fabric measuring 5" x 18" for child apron ties
  • 1 - piece of fabric measuring 9"x 32" for adult apron waistband
  • 2 - pieces of fabric measuring 8" x 44" for adult apron ties (I make mine extra long to tie in front)
  • threads -- black for applique stitching and an assortment of colors or white to match your apron fabrics
  • Sewing pins
  • Sharp scissors and/or a rotary cutter/mat set

Cutting and Hemming apron pieces

1. Trim selvedge ends from the fabric. 2. First, cut 14" from one side of the fabric -- this will be the fabric for the child apron. Second, cut remaining fabric to measure 18" x 30" -- this will be the adult apron 3. Hem bottom and sides of these pieces by folding over edge 1/4", press, fold again, press, and sew a double seam to hem those raw edges

Cutting and heeming apron pieces

Once finished, the apron pieces should look like this : :

hemmed bottom and sides

Cutting and piecing your scraps using Heatbond Lite

1. Cut a large square from the heat bond light 2. Cut scrap pieces out in the fabrics chosen for the village design 3. With paper side down, arrange scraps on top of the heatbond 4. Press with iron to adhere fabric pieces to heatbond

Cutting and piecing your scraps using Heatbond Lite

Cutting and adhering the Valentine village pieces

1. Using sharp scissors or a rotary cutter, cut out rectangle, triangle, and square pieces for the village and bunting design 2. Always layout the design first

Cuttting Valetine village pieces from you heatbond fabrics

3. Carefully peel off the paper backs of the pieces, use an iron to press in place. This will permanently adhere the village design to the apron. Don't forget to add the heart! 4. Once the design is adhered to the apron, use black thread to "draw" around the inner edges of each piece added

Remove paper backs and  press to adhere applique pieces
Add heart and black stitching

This is my favorite part! I love the way the black thread make the applique pieces look like a drawing!

finish stitching in black

applique tutorial wip

Choose and cut waistband & tie fabrics  -- see measurements above

Choose waistband & tie fabrics and cut

1. Fold in outside edges of the waistband fabric a 1/4" on each side, press. Do this with all four sides 2. Fold waistband in half, press well 3. Open waistband, place apron piece centered inside the waistband piece

Create waistband

4. Fold over waistband fabric, pin in place 5. Using coordinating thread, sew a seam along top and bottom edges, leaving both ends open

pin and sew waistband

6. Repeat these steps for making the apron ties, be sure to hem the ends of these as well 7. Insert tie pieces into the opening of each side of the waistband, pin in place, sew

making and adding apron ties

Add a few stitches here, this will get pulled at quite a bit when tying the apron on!

stitch in place ( I add extra stitching here since this gets pulled at quite a bit)

Repeat these steps for finishing the adult size aprons and you'll have a lovely set to wear with your little(s) or to give as a nice gift!

Valentine Appliqued Apron Set

We love ours!!

our aprons

I really hope you enjoy this project! This is my favorite so far! I know the tutorial has quite a few steps -- feel free to add a comment here if you have any questions! And, always let me know if you give it a go!! My Quilted Valentine Pillow tutorial is being shared today on Sew Can She, feel free to stop by and check that out!!

Have a lovely day, friends! Maureen

Tuesday, February 7, 2012

Valentine Appliqued Apron Set : :

Well, I'm back today with yet another Mother/Daughter project!

Valentine Applique Apron Set

I'm starting feel sorry for my boys. I know they don't care, but a little Mama guilt started to settle in yesterday. I better come up with something for each of them soon. Sewing for boys is tough for me, how about you? My guys are nine and almost eight, it really is a challenge! Please do share any ideas/suggestions you might have! I'd love to hear!!

Alright, back to these aprons! Now this was a fun project. Really fun!

our aprons

I have been wanting to share a little applique tutorial here for awhile now, but I knew I didn't want to make another pillow. Although, this would make a pretty cute pillow, I think.

applique village

I picked up this ticking fabric with tea towel making in mind (I'm almost ready to show you those), but with Valentine's Day right around the corner, I thought a sweet apron set to wear around the kitchen would be special and fun!

An apron for Little Miss

I kept the main apron design the same for the both of us (although I have one more little house in my village), and then we each picked out the fabrics we liked for the waistband and ties.

An apron for Mama

My ties are extra long to tie in the front, and her's tie nicely in the back.

An apron for Little Miss

It was another special sewing project we were able to do together. I only hope she will cherish these days, projects, and photos as much as I will!

hugs :)

Tutorial for this raw edge applique and ticking apron making for Mama and Little's to come very soon! Stay tuned!!

Linking up with Fabric Tuesday today!!