Showing posts with label crafting with kids. Show all posts

Tuesday, November 15, 2016

Crafting with Acorns : :

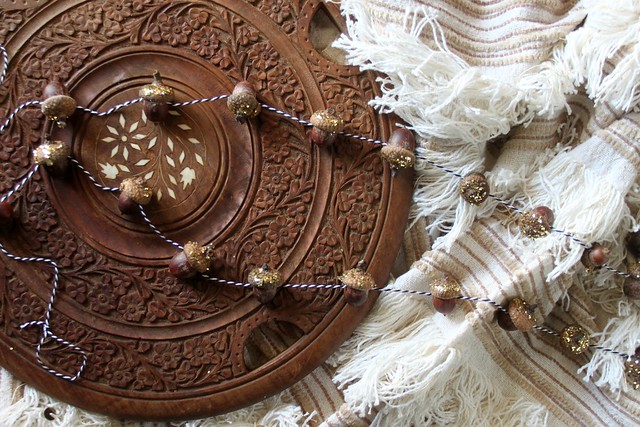
Autumn Crafts -- Acorn Garland

Autumn walks are our favorite and this Fall at the nearby park we regularly visit, we noticed a significant number of acorns on the ground compared to previous years. One giant oak in particular has produced a massive number of acorns. Inspired to craft, we decided to fill a bag to bring home with us and today I thought I'd share our projects!
Fall Crafting

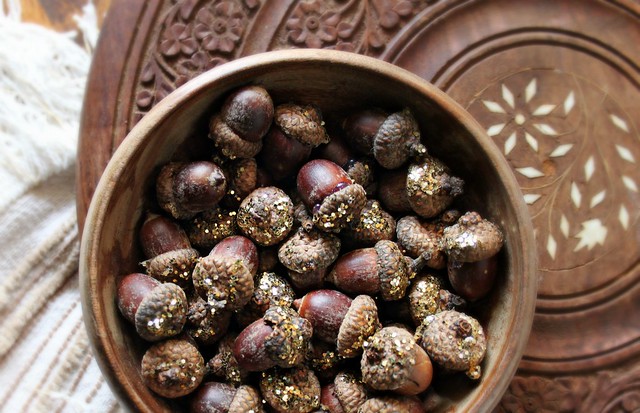
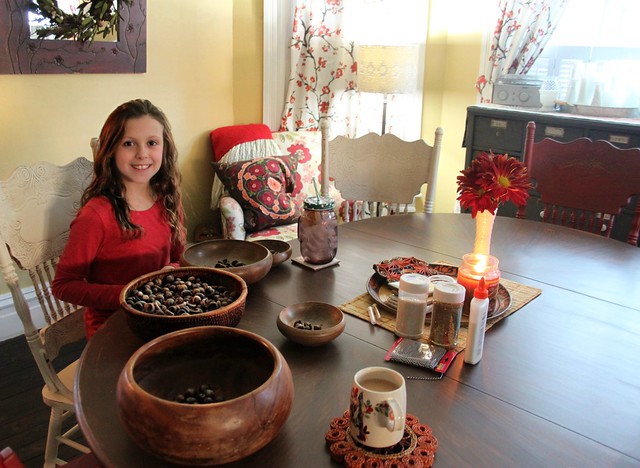
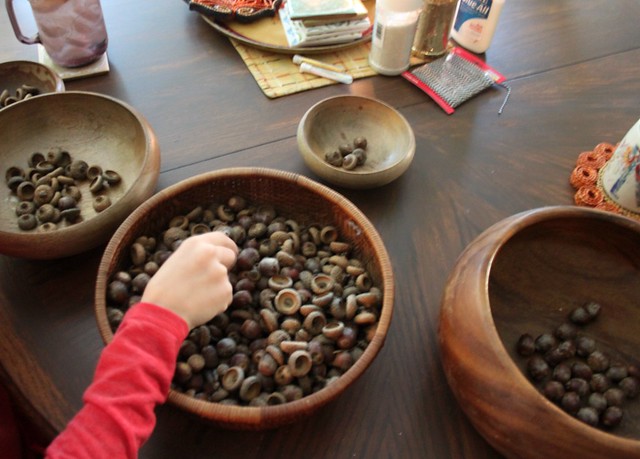
Most of the nuts had separated from the cupules, so the first thing we did was separate the parts. A bowl for those still completely intact, a bowl for nuts, one for the caps, one for the double caps - our favorites - and a garbage bowl for the cracked and holey. We washed and preserved them with a bake in the oven at 200 degrees for a of couple hours, just to remove any grubby stuff.
Acorn Project

I must say I LOVE to craft, and I've missed the number of non-sewing projects the kids and I used to tackle together in years past. As they've grown older, their own imaginations and inspirations have lead them to do so much crafting on their own. While it's so fun to see what they come up with and makes me so proud to be their mama, there's nothing better than getting messy together!

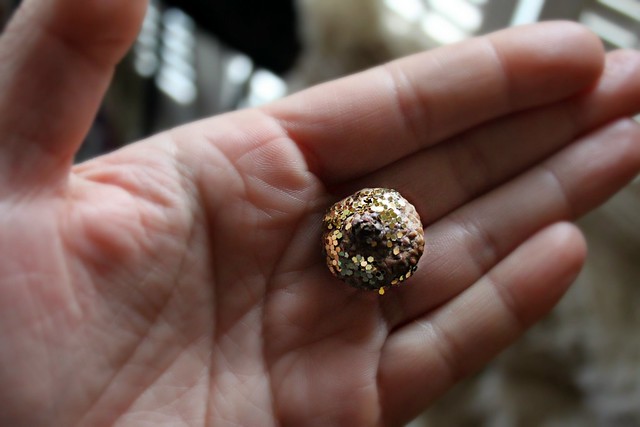
Often times, for me, crafting = garland. But first, glitter! Once our acorns were preserved, Haila and I added gold to each cap. I controlled the glue, she handled the sparkle!
Autumn Crafts -- Acorns

Autumn Crafts -- Acorns

Pairing each nut with a suitable size cap become quite the matching game!

For the ornaments we used the cluster caps we found where two or sometimes three caps were still connected. Adding just a simple loop knot with twine so we can hang them!
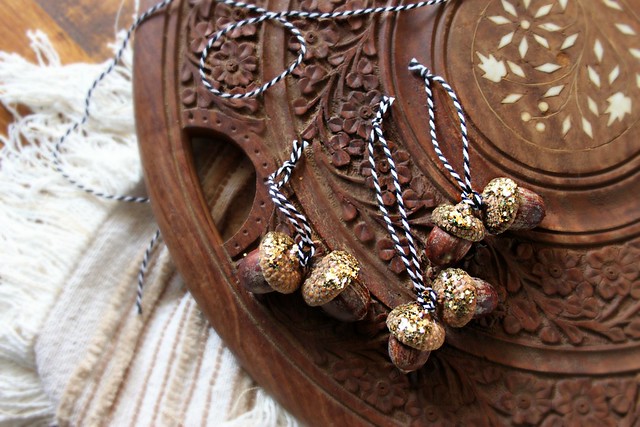
Autumn Crafts -- Acorn Ornaments

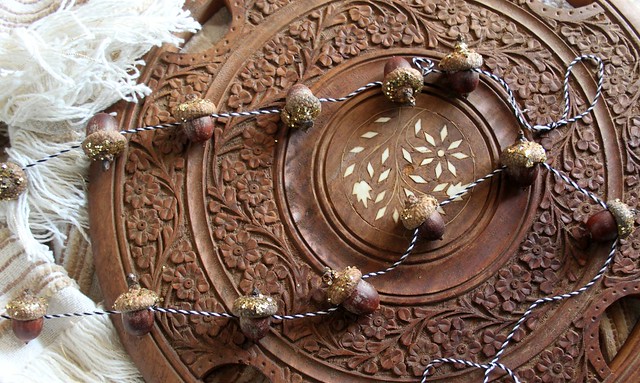
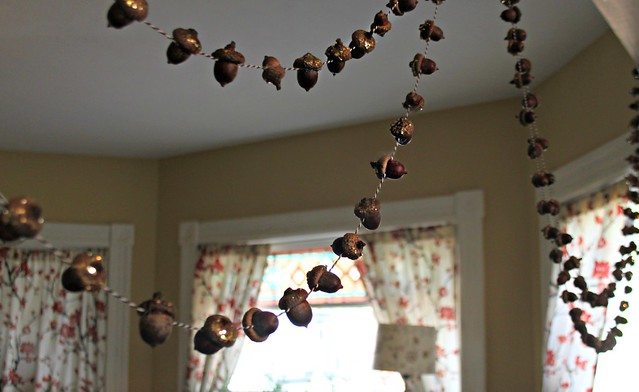
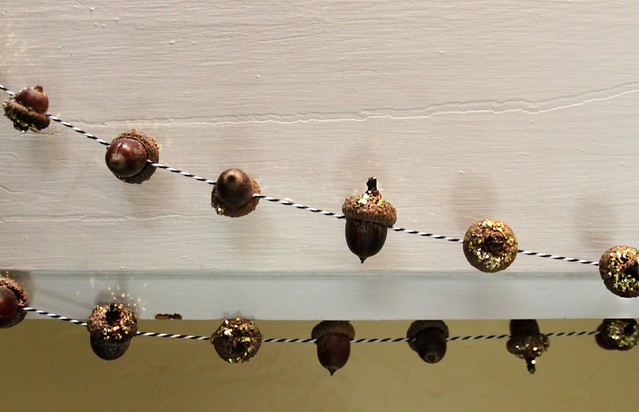
For the garland we used twenty to thirty acorns per strand, running twine between each cap and nut before I connected them with hot glue.
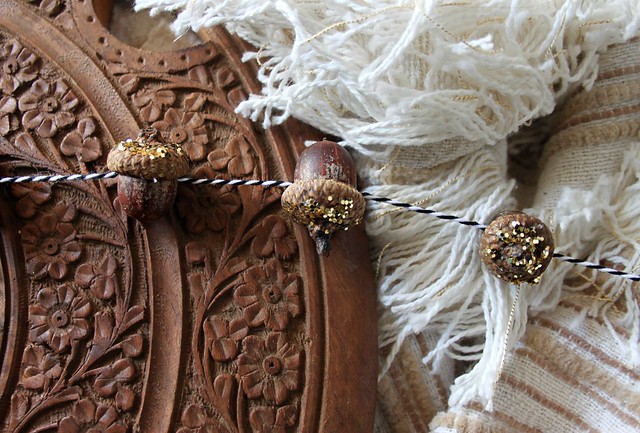
Autumn Crafts -- Acorn Garland

So simple and I LOVE how these turned out!
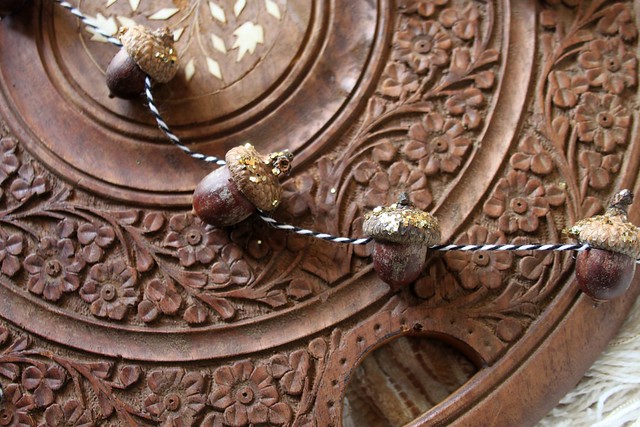
Autumn Crafts -- Acorn Garland

Autumn Crafts -- Acorn Garland

Autumn Crafts -- Acorn Garland

I tried my best to capture how pretty the gold glitter is in the light, but still fell short. It's seriously magical!
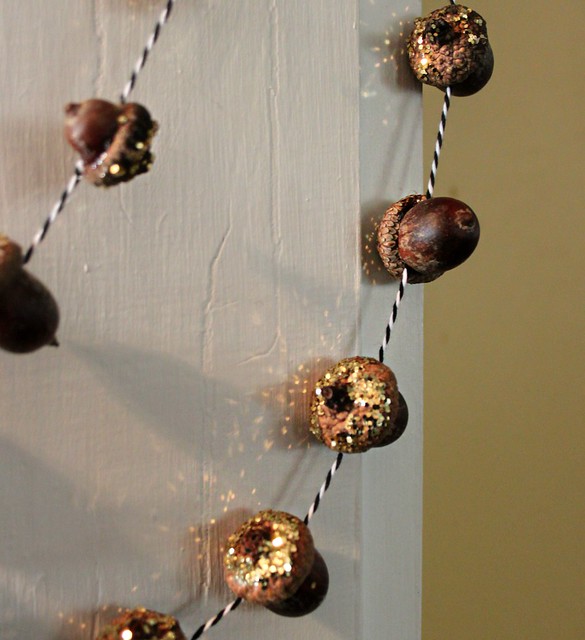
Autumn Crafts -- Acorn Garland

Autumn Crafts -- Acorn Garland

This project was so much fun, even if it means cleaning up glitter from in between the floor boards yet again. Totally worth it, I promise!

♡ Maureen

Wednesday, August 14, 2013

A Really Good Sewing Day : :

Yesterday was such a fun day in my sewing room! It was a weird weather day, raining on and off, so we decided to spend the day sewing & crafting together. Kaiden worked on a collage he's been making, Jacob made a second Little Friend softie from our Sewing School book, Haila started a new crown for herself, and I finished up my Ant Farm quilt with some Lizzy House stripe binding.

Binding My Ant Farm Quilt

I couldn't resist sharing a few photos on Instagram throughout the day! This one's my favorite, a little shot of the day's handmade finishes!

Handmade Finishes!

I spent sometime reorganizing my fabric stash, as well. And even found the room I need for the fabrics that should be arriving here any day -- some AMH Field Study Linen Feathers from Stash Fabrics & a bundle of Tule by Leah Duncan for Art Gallery Fabrics! I can't wait!

Fabric Stash

Once the kids were in bed, I was ready to jump right into my plan for that Kona Wine Colorstory bundle & Text Fabrics, but then I got new idea that I didn't want to lose! My niece Molly had requested that her quilt be a Butterfly Quilt, and I knew I wanted to somehow incorporate at least a few butterflies floating off, the way I did on my recent Applique Art Quilt. I quickly sketched out my design idea and I think it's going to be a good one!

Molly's Butterfly Quilt Sketch

So, I stayed up late working it all out. Since I'm fussy cutting butterflies from several different collections, that each has a different scale & I'm working only with fabrics I have on hand, with a Pure Element solid stash that's dwindling, yikes! I had some serious math to figure out before I began my cutting.

This morning I woke up, late, to my progress laid out on our dinner table and I was so excited with the sight of it! I made breakfast for the kids, then I had to make just one more block before sharing here today!

Molly's Butterfly Quilt

Molly's Butterfly Quilt

Butterfly Quilt Block

Butterfly Quilt Block

I'm excited to get back to work! Then this afternoon, if the sun starts shining, we plan to take my Ant Farm Quilt photos. Wish me luck!!  ♥   Maureen

Thursday, July 19, 2012

For the Kiddos : :

There certainly hasn't been enough sewing/crafting time happening with the kids this Summer! How about for you? Usually, crafting together as a family is a huge part of our Summer, so I'm pretty bummed about it! But don't feel too bad, I think I'm the only one! I had so many things I wanted to make with them, that's just not happening. The main reason being this weather! It's just too nice hot to be inside. So, today I thought it would be good to share the couple of projects we actually did work on together before too much time passes.

Have you seen the book Sewing School? It's full of simple sewing projects for children to make. We've used it to help guide us through a couple different projects in the past (here), and it was really helpful. This time, in the early morning a couple of weeks ago, Jacob joined me in the sewing room and had decided on following a pattern in this book from start to finish.

Sewing School 4


It was fun to watch, to lend a hand when he needed it, and to have that chance for just the two of us to work together on our own projects.

Sewing School 3


He did a great job! Teaching him the basics during our Sewing Buttons 101 craft, really has given him the tools he needs to do this type of project almost completely on his own. And, he even has plans (weather permitting) to make more as gifts. Aren't they cute?!

Sewing School


Goofball Sewing School


My Student

Another project that we really had fun with are these fork pompoms!

Fork Pom poms

We've made these several times (here and here), and this time we combined fuzzy, wool yarn and Divine Twine to make a colorful strand of garland, and even used one pompom to make a sweet flower!

red pompoms

If you're looking for a fun and easy craft to do with your own children or grandchildren, this is it!

I also finished up another Train Pillow Cover Set, as an etsy order, that I have to share! I've had my shop closed most of this Summer, and it certainly feels strange to not be busy making all those crowns and pillows like I was. Hopefully, I'll be plenty busy this Fall, when my shop is open, and I give my all to making this sewing gig my full time job!!

train pillow covers

For now, I'm going to keep hoping for a nice two-day stretch of rain to happen sometime this Summer! One for a full day of crafting together, and the second to clean up our mess!!

Tuesday, September 27, 2011

A Felt Leaf Garland Tutorial : :

Fall is the perfect time to get out and get creative by doing nature-inspired art projects with your children. Today's project is all about using the natural beauty in the colored leaves of this season to create and inspire an art project for the kids and you to do, together!

Felt Leaf Garland

What you'll need : :
  • A variety of wool blend felt pieces in Fall colors
  • A variety of Fall leaves for color and shape inspiration
  • Card Stock for making the leaf shape templates
  • Markers
  • Glue Stick
  • Scissors
  • Double Folded Bias Tape
  • Sewing Machine
  • Thread 
  • Pins
 *  *  *  *  *  *  *  *  *  *  *  *  *

Gathering Leaves and Inspiration : :

While most of the leaves around the house are still green, we were able to find all that we needed to guide us in our color choices and leaf shapes for this project.

Gathering Leaves

1. Trace a variety of the leaves onto a heavy paper such as card stock, and cut those out to make the leaf pattern templates 2. Trace the leaf templates onto the felt (this is the perfect job for kiddos) 3. Cut out the felt leaf shapes (This might be a job just for the adults, depending on how old, and handy with scissors, the children are.)

My creation

4. Keep tracing those leaves. I left the more simple shapes for my youngest. They each ended up picking a favorite 5. Using just a little bit of glue, have your little one attach the cut out leaf to another piece of felt of a different color 6. Cut away the felt again, until you have have a double-sided leaf

My creation

7. Continue until you have a nice variety of shapes and colors. Seventeen was the perfect amount of leaves for a standard package of double sided bias tape. You can use less or more depending on how full you want your garland to be.

Layered Felt Leaves

8. Now it's time to sew! I let the kids help with adding a simple, straight stitch to a few of the leaves (pic 1), then I showed them how to do both a straight stitch up the center with stitches coming out from that center line (pic 2), and a few with free motion quilting (pic 3).

My creation

Continue until you've added the stitching to each of the felt leaves.

Machine Stitched Leaves

Assembling The Garland : : 

Garland Supplies

9. Create a loop at the end and pin, this is for hanging the garland 10. About every 2 1/2" or so, open the double-sided bias tape and insert a leaf 11. close bias tape and pin leaf in place

My creation

12. Continue repeating this step until all the leaves are pinned to the bias tape, alternating leaf colors and shapes, spacing them out evening.

Pinned Leaves

13. Begin sewing with a thread that matches the bias tape color, starting at the loop, back-stitching when you begin 14. Make your way down the bias tape, removing pins as you go, keeping your seam close to the edge. Make sure to catch the leaf end with your needle 15. Finish by back-stitching at the end loop

My creation

You're finished!  

Felt Leaf Garland

Wishing a wonderful Fall Season to all!!! 


_ _ _ _ _ _ _ _ _ _

Thursday, June 23, 2011

An Impromptu Sewing Session... from the mind of a seven year old : :

This morning while I was in the sewing room finishing up some new orders, I had a little helper, as I usually do. He was playing around with my sheets of felt, paying close attention to how I was making my felt flowers. He folded the felt in half and wrapped it around his head, "Can I make a funny hat? I have an idea." Using the same technique I had just used for the flower making, I listened, while he told me what we needed to do.

In just a few moments we had something brilliant, adorable, and hilarious!
An Impromptu Sewing Session... from the mind of a seven year old
And, then lots of this started happening...
An Impromptu Sewing Session... from the mind of a seven year old
And, then of course --- this!
An Impromptu Sewing Session... from the mind of a seven year old

Wednesday, March 23, 2011

Snow Day Sewing : :

Just yesterday I shared those pretty Spring flowers and today we have a snow day -- well I guess that's North Western Pennsylvania for you!

Earlier today I was sitting on the floor making a "to do" list in the mess that is my studio and my son walked in, sat down next to me, and asked "can I make something?" For a moment I felt like holding up my list and replying, "sure, I can help you just as soon as I get through this..." but instead took advantage of some quiet time for he and I (which doesn't happen often enough) to sit in my mess, make it even messier, and make something together.

I recently picked up the book Sewing School for my kiddos and they love looking through it mostly for inspiration, just as I do with my sewing books. For whatever reason none of us seem to like to follow specific instructions or patterns, but we really appreciate the skills that we learn from collecting these type of books -- which I think is just as important as the projects themselves.
After a bit of research my little guy decided on a "pocket pouch".sewing school
He picked felt over fabric and gave me very specific instructions on what my job would be.
sewing with help
After I showed him the stitch he would be using...
snow day sewing
He was sewing solo...
whip stitching
He ended up with a super cute, very blue, little pocket pouch.
little pouch
And then for no reason at all, he cut up tiny pieces of felt and took right off to show everyone his new pouch?
watch me cut this felt up into little pieces...
More snow...more mess...and it was worth it!

Feel free to share a link to what you've been working on in the comments, so I can stop by and have a look. You can hop on over to kootoyoo to see more creative spaces and to play along.