Showing posts with label my tutorials. Show all posts

Tuesday, May 28, 2019

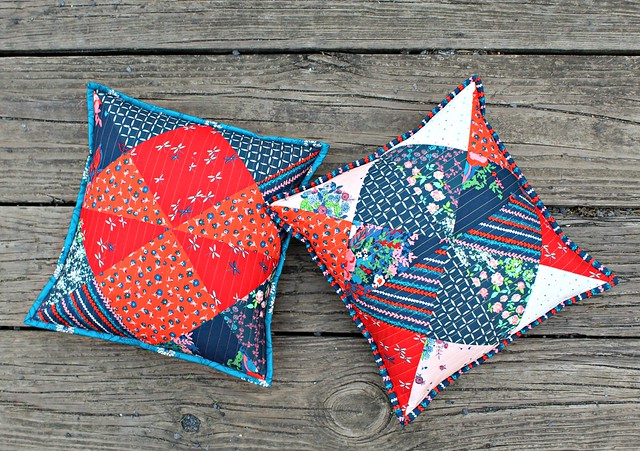
An Hourglass Quilted Pillow {Tutorial} & News!

Hourglass Pillow Cover

Hiya friends,

Today my intention was to simply share this new tutorial with you all, as I've finally been back to sewing for about a week now after badly injuring my knee and then my finger, but unfortunately now I'm dealing with more troubles. On Saturday evening around 7pm I was scrolling through my personal Facebook feed when I received a pop-up that read, "session has timed out." I immediately  tried to log back in and it said that my account had been disabled. I then panicked and went to my Instagram app and I was logged out of there, as well, and my login info was coming up "no user." While I restarted my phone, I opened my laptop and tried to login with no luck still, so I checked my email and at 6:46pm I had received a Login Alert Facebook email that showed a suspicious login from "near Elk Grove Village, IL" and I live in Pennsylvania. I read and followed all of the proper dispute claims for being hacked and/or mistakenly disabled through both social media platforms and I finally heard back yesterday morning that both accounts were permanently disabled. What??!! I attempted to respond to that email and I received one final email saying that "your account has been permanently disabled for not following the community standards. Unfortunately, we won't be able to reactivate it for any reason. This will be our last email regarding your account." Now if you read through what one would have to do to have their account permanently disabled, please believe that in NO WAY have I ever or would I ever do anything harmful to anyone on social media! I have simply used it as a way to stay connected to family & friends and now all those videos and photos of my growing three children are gone. I used as a way to build community through a shared love of fabric and sewing and now all 131,000+ Maureen Cracknell Handmade Facebook Page followers are gone. I used it to post pretty pictures and to share news, new fabric & projects of my own work and the work of so many wonderful makers and now all 30,200+ Maureen Cracknell Instagram followers are gone. Years of memories, friendships and hard work. Gone. It's heartbreaking to say the least. I'm trying to hold onto hope that somehow it will all be restored, but I've also decided to move forward with a new Instagram @MaureenCracknellHandmade and I hope you'll find me there! Please, please everyone add two-step verification to your social media accounts. I was not cautious and I have lost everything I've shared for the past ten years!

I don't know that I will attempt to rebuild on Facebook for several reasons, but my making and sharing will continue and it does feel pretty perfect that I just so happened to have a brand new tutorial prepared to share today!

IMG_8439

My dear friend and fellow AGF fabric designer, Sharon Holland, has a stunning new collection just hitting stores with a LookBook due out later today for, Everlasting! I'm so happy to have been back to sewing just in time to make this set of pillows to contribute and I hope you love them as much as I do!

Everlasting by Sharon Holland rolls

What you'll need:
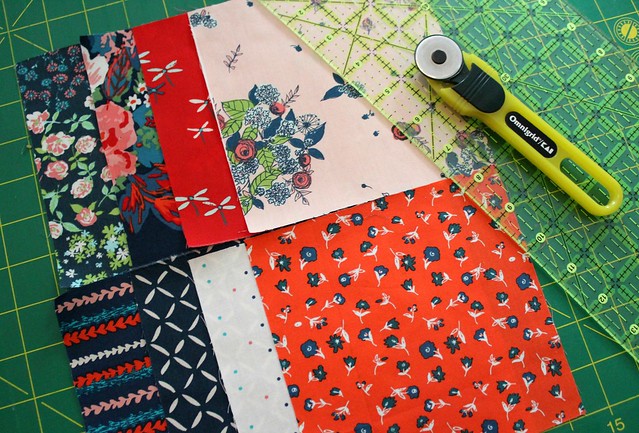
  • 8  - 6" charms of fabrics of your choosing, four blue/navy and four red/peach/cream
  • 2 - 11.5" X 15" cuts for the pillow backing fabric
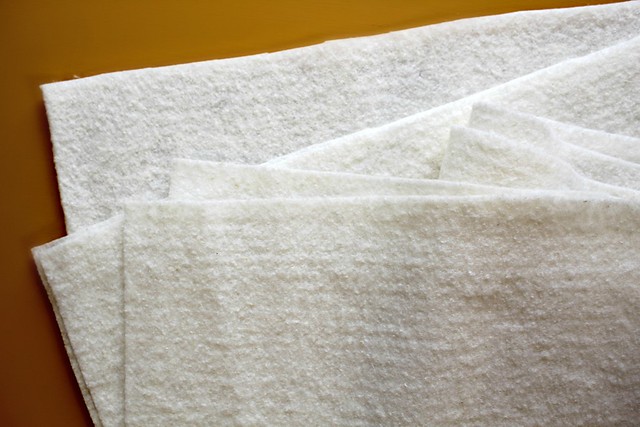
  •  Hobbs Tuscany Cotton Batting for pillow front and back pieces
  • 1/4 yd of binding for finishing the pillow 
  • 1 - 14" pillow insert
  • Coordinating Thread
  • Rotary Cutter/Mat/Ruler

IMG_8381

Steps: 

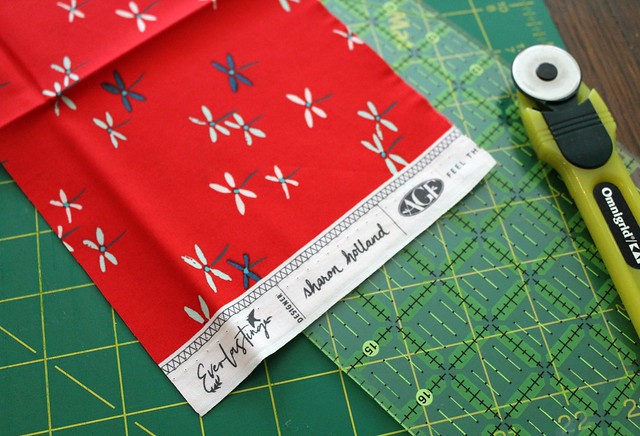
1. Cut eight 6" charm squares from the fabrics you've chosen for the pillow front
IMG_8383

IMG_8388

2. With right sides facing, pin and sew together two blue prints using a 1/4″ seam allowance. Repeat with the two remaining blue squares, pressing all seams open as you go

IMG_8394

3. Sew the two sets of two blue squares together, with rights sides facing to create a four patch block. Repeat this for the second set of four red/peach/cream 6" charm squares. When finished you'll have two, four patch blocks

IMG_8395

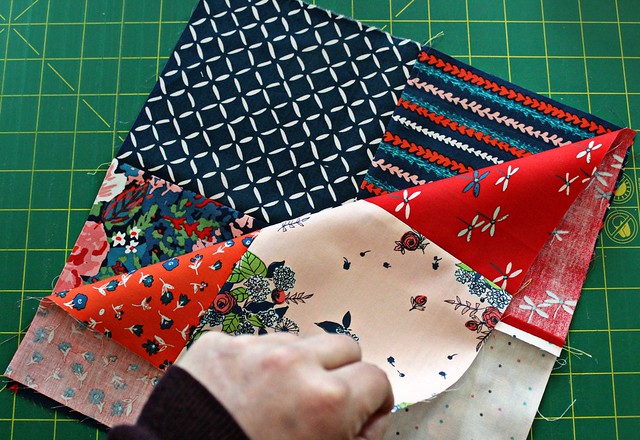
4. With right sides facing, place the two four patch blocks together, pin and sew around all four edges sewing a 1/4" from the very out edge
IMG_8398

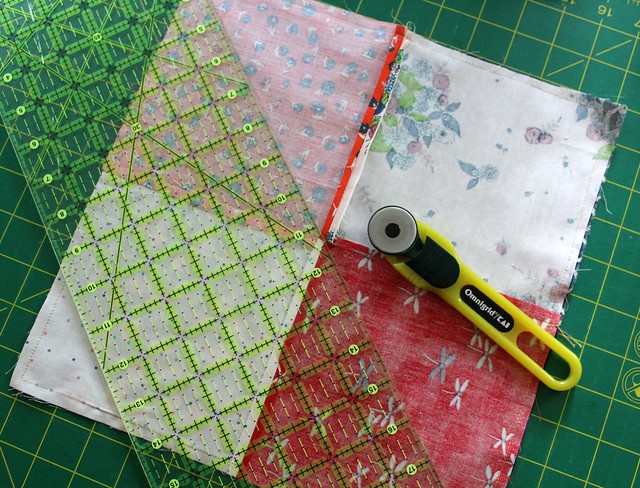
5. Use a ruler and place it across the middle of the sewn square. Be sure to position the ruler to ensure the cutting will pass through the point where the stitches meet at each opposing corner. Once the ruler is in place, make the cut using a rotary cutter. Repeat across the other direction to create four triangles
IMG_8401

IMG_8403

6. Press with seams open, trim away any exposed seam allowances, and square up each block to make four nice and neat 8" hourglass blocks

IMG_8407

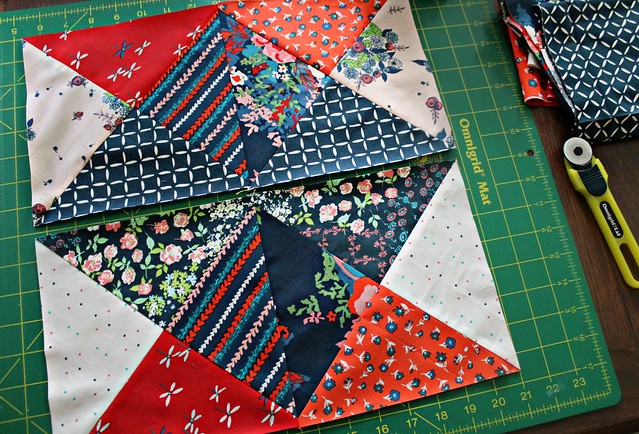
7. Arrange the four blocks in a layout keeping the blue/navy prints at the center and the red/peach/cream on the outside or visa versa. With right sides facing, pin and sew using a 1/4″ seam allowance two blocks together using a straight stitch. Repeat with the two remaining blocks, pressing all seams open as you go
IMG_8409

8. Sew the two sets of two blocks together, with rights sides facing to create the patchwork pillow front and place the pieced pillow front onto a piece of batting so the wrong side of the pillow front is facing the right side of the batting. Baste using your preference with spray or pins

IMG_8412

9. With stitches space a 1/2" a part, quilt the pillow front to the batting. Trim away excess batting to finish a pillow top that measures a 15" square

IMG_8414

10.  To prepare back pieces, using one of the pillow back fabrics measuring 11.5" x 15", baste to a piece of cotton batting measuring the same size and fold over one of the sides measuring 15" a 1/4", press, fold over again a 1/4", press. Sew along inner folded edge and along the outer edge, staying close to the fold. This will create the double seam finish. Repeat this step with the other pillow back fabric

Tallinn Pillow Back

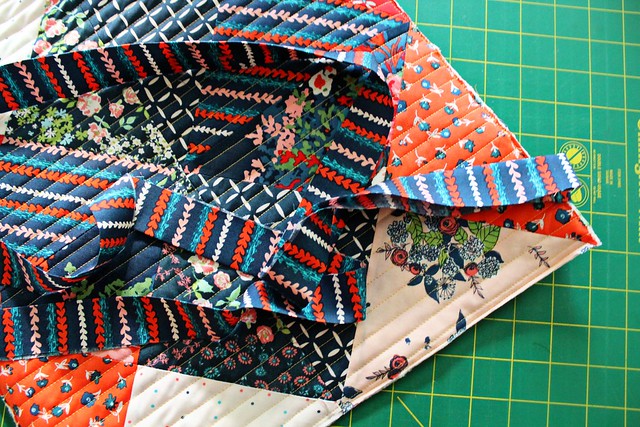
11. Place the pillow backing fabrics onto the wrong side of the quilted pillow front. Sew a basting stitch all the way around the very outer edge of the pillow layers to attach them. Finish the pillow using the 1/4 yd of binding just as you would adding binding to a quilt
IMG_8416

Insert your pillow form and now you have a very cute Hourglass Quilted Pillow!

IMG_8422

IMG_8424

I hope you love these hourglass quilted pillows as much as I do, but honestly with Sharon's Everlasting fabrics it's impossible not to create something you'll love! My Everlasting sewing didn't stop with this pretty pair of pillows, I'll have another project in the LookBook that I'll be back to share this week! If you give this tutorial a try and you post on your social media, don't forget to share with me on my new Instagram @MaureenCracknellHandmade!

xo, Maureen

Friday, September 21, 2018

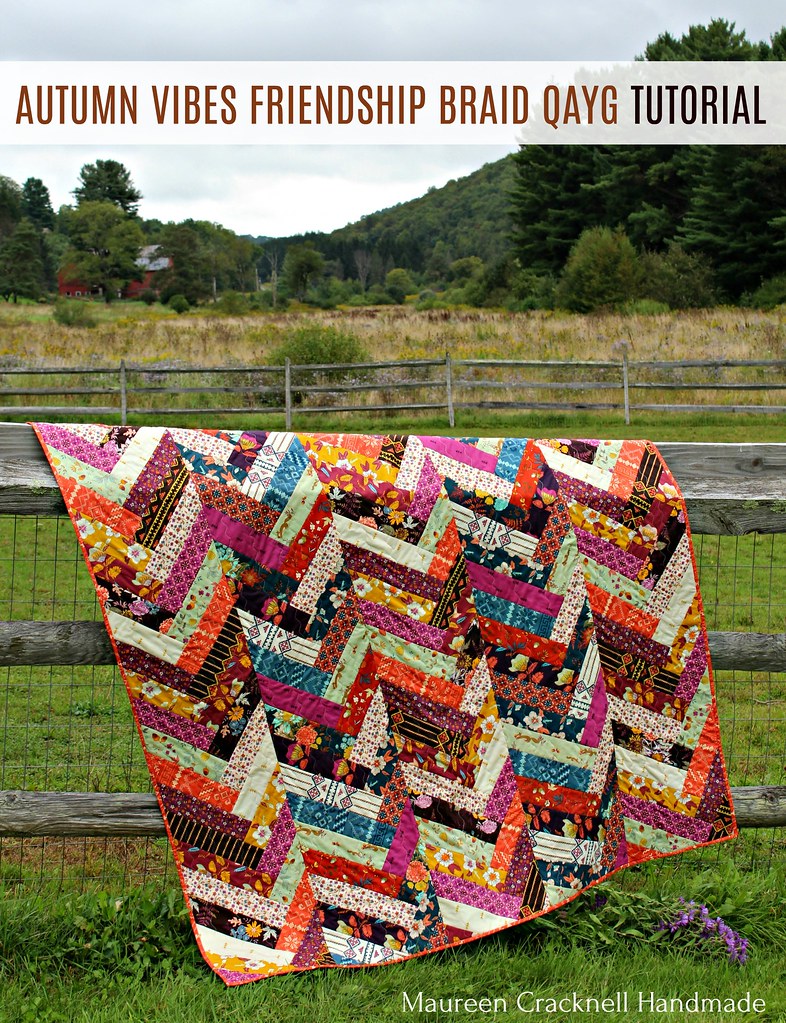
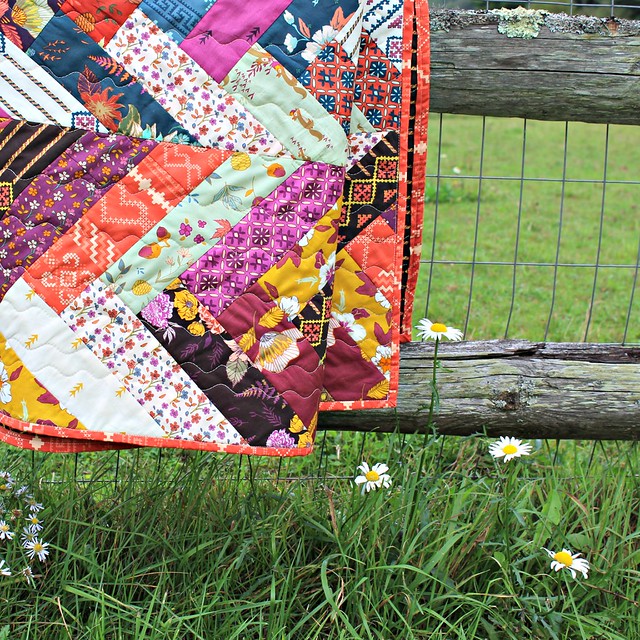
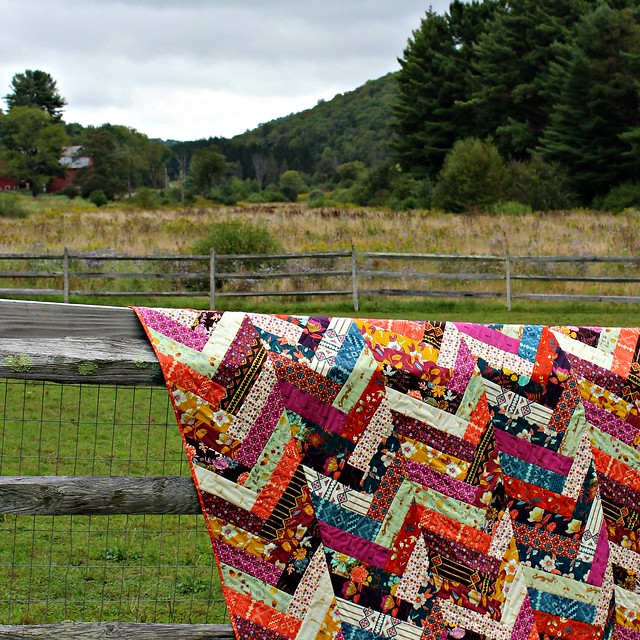
Autumn Vibes Friendship Braid Tutorial : :

IMG_6083 (833)

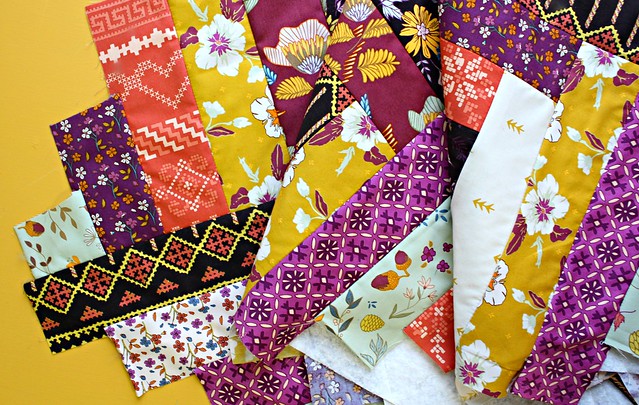
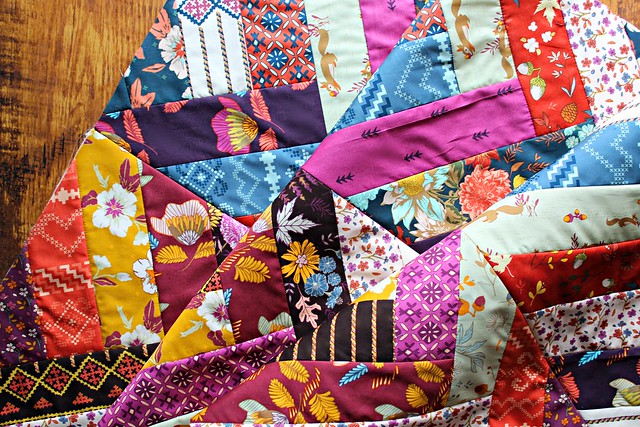
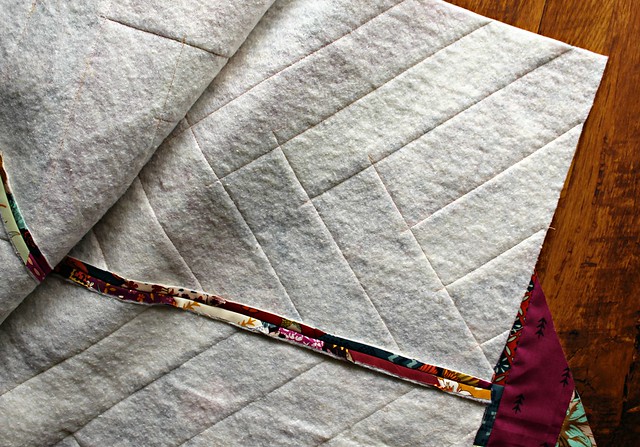
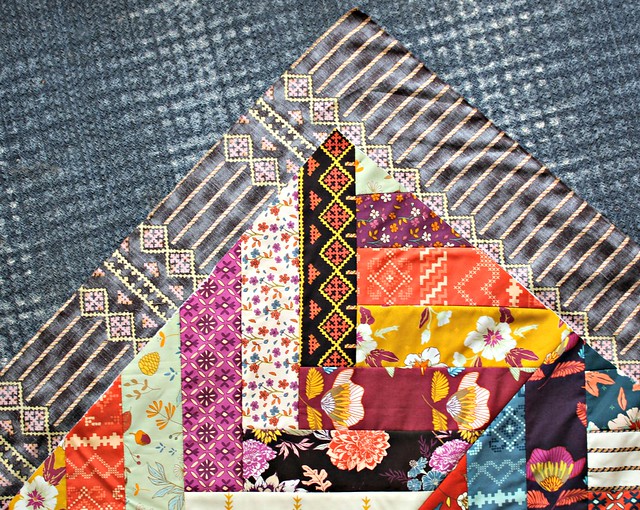
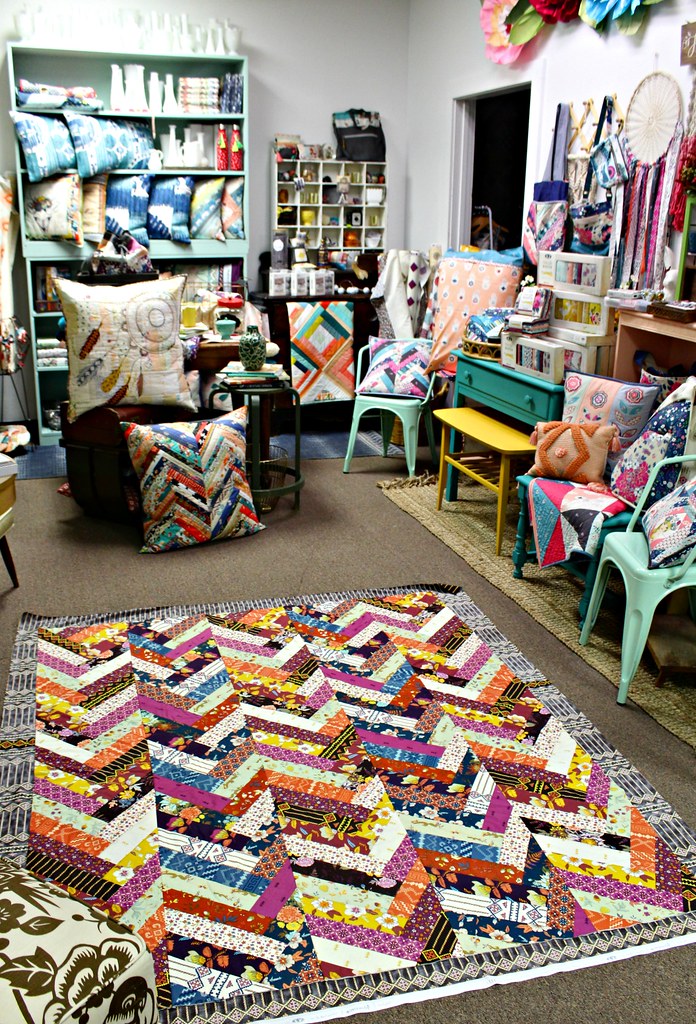
This project tutorial is a Quick Quilt As You Go style quilt, made with long panels rather than traditional blocks. We'll be using cotton batting as our foundation for easy string quilt piecing. I think you'll be very surprised with just how simple and quickly this method of quilting comes together, especially those of you who have taken my Crafty class, Quick Quilt As You Go!

Fabric and Materials Required : :
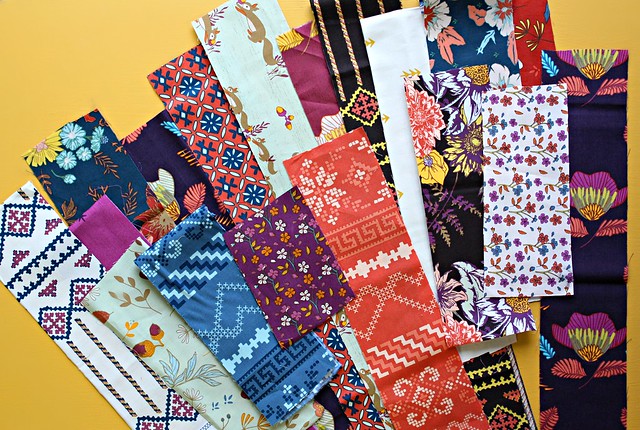
  • a variety of fabrics totaling 7.5 yards cut 3" x wof (suggested) or cut into 3" x 12.5" ( I used approximately 250 pieces, using nineteen different prints from a half yard bundle of my Autumn Vibes collection)
  • 5 - 13" x 74" panels (I cut mine slightly larger than trim to size after fabrics are added) of Tuscany Cotton a 100% cotton batting by Hobbs Quilt Batting 
  • thread & sewing pins
  • fabrics for quilt backing (4.5 yards) and quilt binding (1/2 yard cut into 7 strips 2.5" x wof )
  • rotary cutter/large cutting mat/ruler set
* Notes for Quick Quilt As You Go *  
  • Synthetic batting is NOT suggested, only use a 100% cotton or natural fiber batting, such as silk, bamboo or wool. It is important to be able to press the batting with a hot iron and steam
  • Use a standard loft batting. The #1 question I receive about this QAYG is folks wanting to know if there is bulk at the seams. My answer is NO, not to a noticeable degree. I absolutely wouldn't spend my sewing time making a quilt that was poorly constructed or that wasn't comfortable!
  • Quilt panels can be made in any size! The measurements I'm sharing for this tutorial makes a 60" x 72" throw size quilt. Please feel free to adjust that to your own desired length and width.
  • To get the look of my quilt, use Autumn Vibes By the Chimney to make three panels and Autumn Vibes Fresh Night Breeze to make two panels, then alternate the panels when you sew them together

IMG_5957

Now, let's get started!  
    .   .   .   .   .   .   .   .   .   .   .   .   .   .   .   .   .   .   .   .   .   .   .    .

Preparing the Batting Panels:

1. To make the batting panels for the foundation piecing, cut 5 - batting strips measuring 13" x 74". I make mine slightly oversized for a little extra wiggle room and then I square them to 12.5" x 72" once they are pieced with fabric strips

IMG_5856

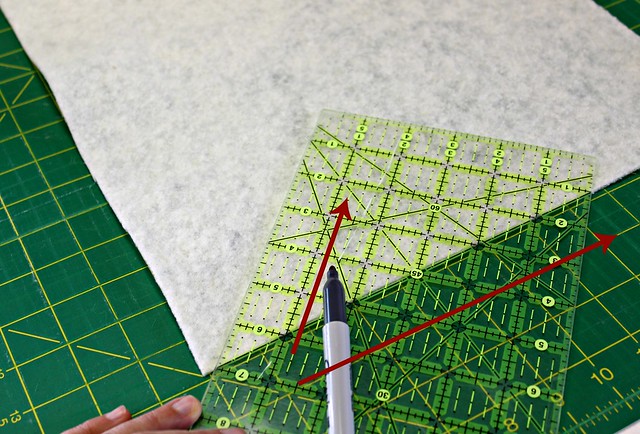
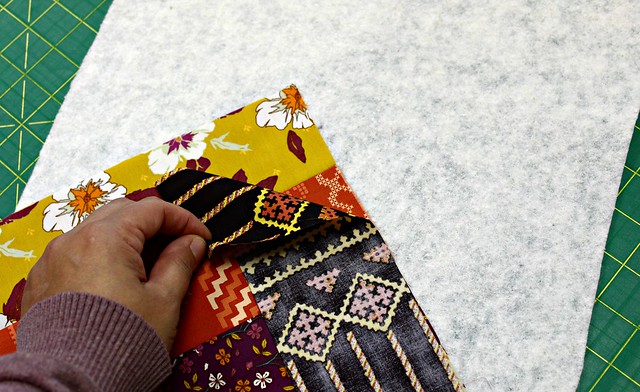
2. Place one batting panel on the cutting mat at a time, matching one of the long edges to the horizontal grid on the mat. With a ruler matched up as shown in the photo below, mark one line from the corner that's about 7" long to help start the proper angle when adding the first fabric strips. Once those first fabrics are added, you'll keep that angel naturally as you piece. Repeat this step making sure you mark all five batting panels with this line to use as your starting guide

IMG_5894

Adding the Fabric Strips:

3. Prepare the fabric strips by cutting fabrics into 3" x WOF strips and trim away the access length as you add the fabrics for less waste OR subcut the WOF strips into 12.5″ strips. For this quilt I used approximately 250 strips measuring on average 3" x 12.5" with a few measuring less in length for the beginning and end of my panels where that much length isn't necessary. I cut my 3" x WOF strips from a 1/2 yard bundle of Autumn Vibes, minus the Foxes in Fall print. You will need a total of 7.5 yards of fabrics for this 60" x 72" throw quilt top

IMG_5843

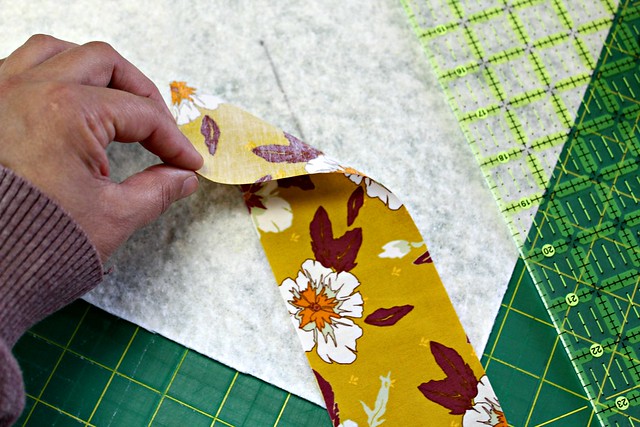
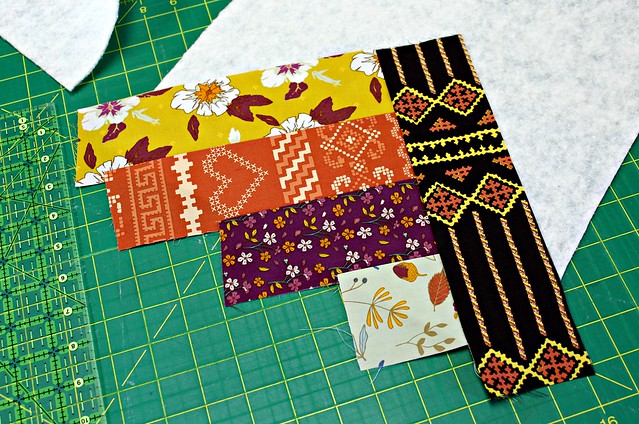
4. Using that first mark as your guide, begin by placing that first fabric right side up onto the batting, then place the next strip right side down onto that first strip, matching up the edges. Using a 1/4" seam allowance, sew along the raw edge. Since you're sewing the fabrics to the batting as your foundation, you'll be permanently setting the fabric strips in place

IMG_5896

img_5899

5. Fold over the top fabric strip and either press with iron or you can simply smooth it down flat with your hand. The fabrics stick nicely to the cotton batting, therefor I'm comfortable carefully folding over the fabric strips and just smoothing them with my hand as I go and pressing with a hot iron just a few times while I work my way down the panel

IMG_5902

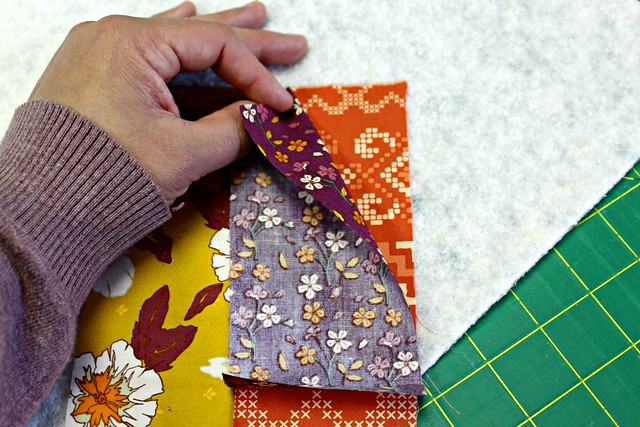
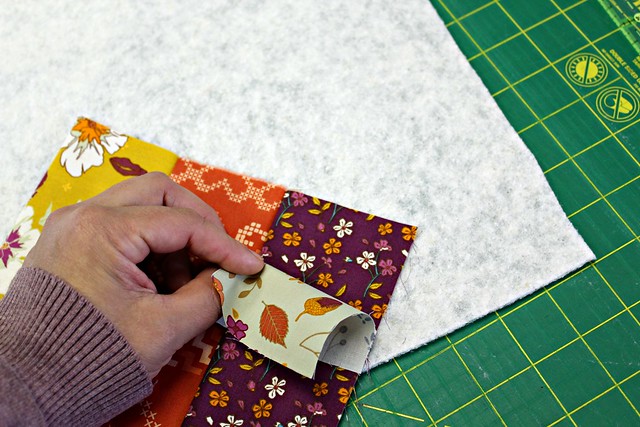
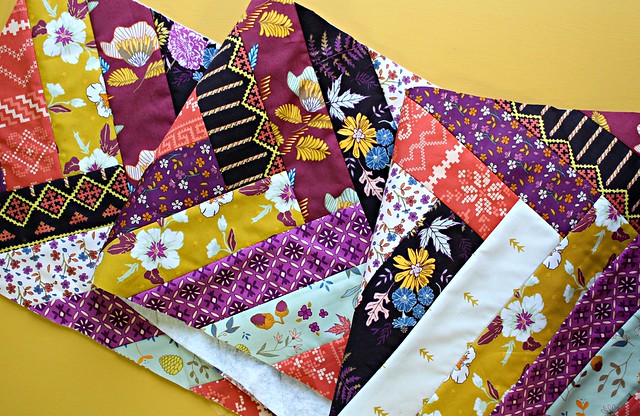
6. Continue adding fabric strips, placing each new fabric strip on top of the other with right sides facing, matching up the raw edges. Attach with 1/4" seam, fold over, and continue to press or smooth each new fabric added until you reach the end of the batting


IMG_5904

IMG_5906

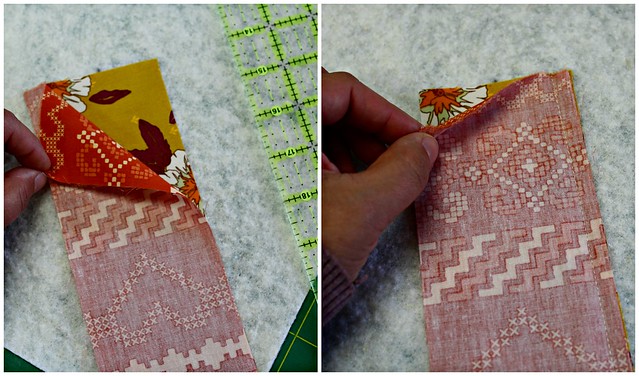
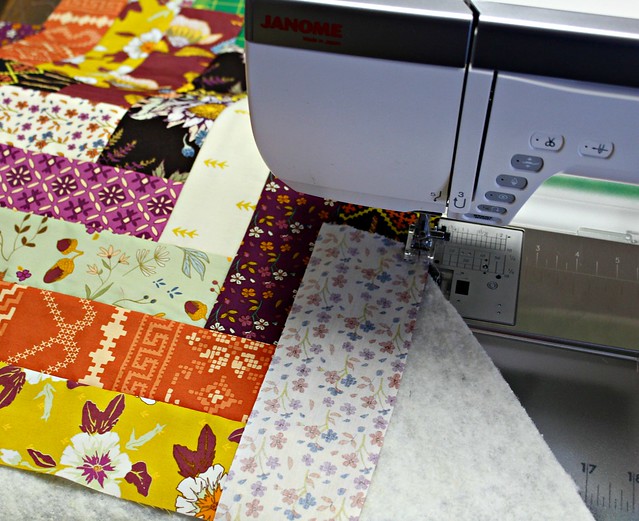
7. After you've completed that starting point to anchor the first braid, you'll sew your first braid to the right side of those first fabrics, placing a new fabric strip with right sides facing, matching up the raw edges as shown below. Attach with 1/4" seam, fold over, and smooth with hand to press

IMG_5907

IMG_5910

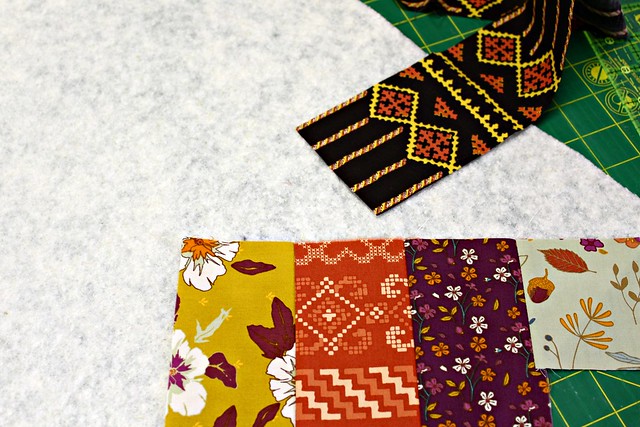
8. Continue sewing strips to the left and then the right of the braid. Match the fabric strips from the center each time

IMG_5920

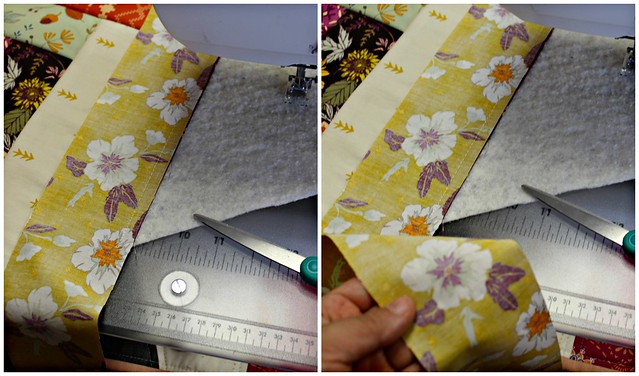
Below you can see how I kept the WOF length to my fabric strips and trimmed away the access length as I added each new strip.

img_5921

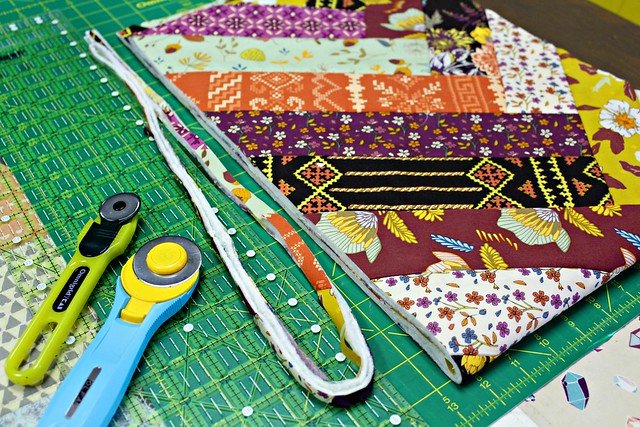
9. When finished with a panel, press well. Use a mat, ruler, and rotary cutter to trim away the overhang of fabric from each side of the panel and square up to measure 12.5" x 72". Repeat until all 5 panels are trimmed to size

IMG_5861

IMG_5930

IMG_5862

Sew Panels Together:

10
. Take two panels and place them rights together. Using sewing pins to secure their place and sew along one side keeping a 1/4" seam allowance. Repeat this with the remaining panels to create your Friendship Braid quilt top

IMG_5933

IMG_5871

11. Press the seams open on the back side and press the front side of each panel well

IMG_5892

IMG_5957

Quilt Backing, Basting and Binding:

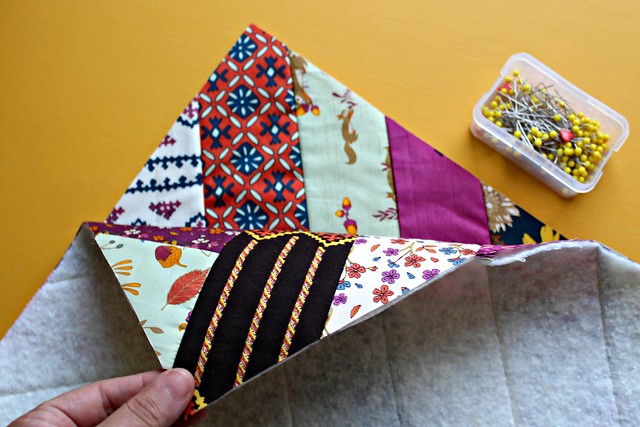
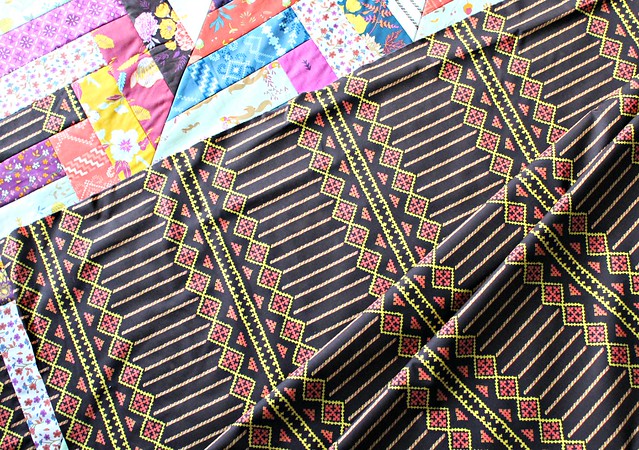
12. Piece together fabrics for the quilt back to measure at least 2" bigger than the quilt top on all sides and baste it to the quilted quilt front.  I use Therm O Web's SpraynBond basting spray for this, however pin basting works

IMG_5963

IMG_5970

IMG_5966(942)

13. For a simple finish: Working your way down from the top of the quilt to the bottom, simply sew about 1/4" from the seam lines (when adding this stitching it IS recommended that you do use a Walking Foot). Continue this on both sides of each seam running from the top of the quilt to the bottom, to attach your quilt backing fabric

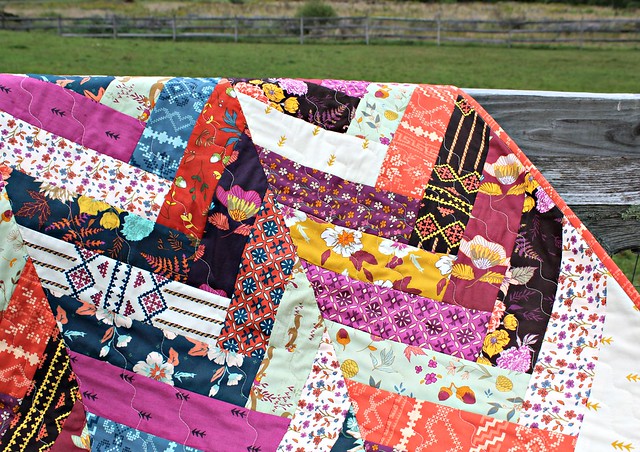
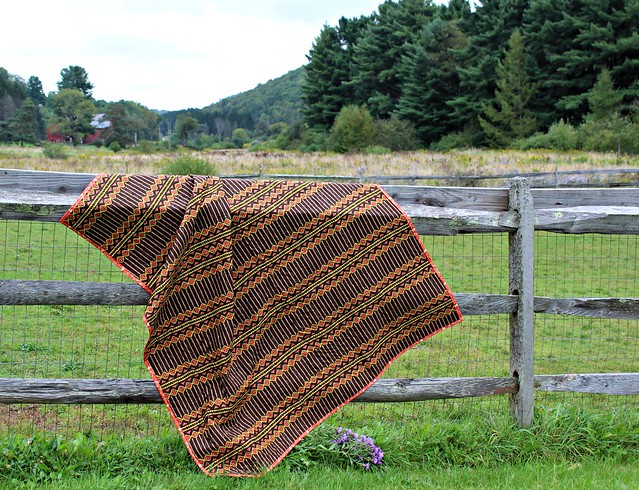
I chose to attach my quilt back and add my final quilting by using the built-in wavy quilt stitch that comes with my Janome.
________________

Below shows a close up look from a previously made Quick Quilt As You GO of what the simple stitches will look like from both the front and the back side of the quilt

Close up -- Front

Close up -- Back
__________________

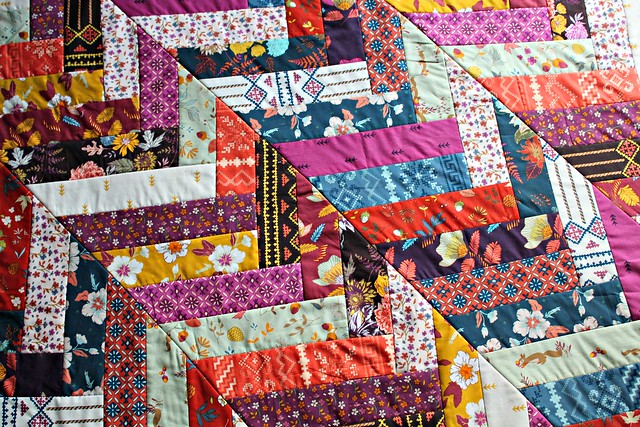
Below you can see an up close look at how the wavy quilting stitches look.

IMG_6094

14. Machine or hand bind the quilt using your preferred method

IMG_6098

IMG_6100

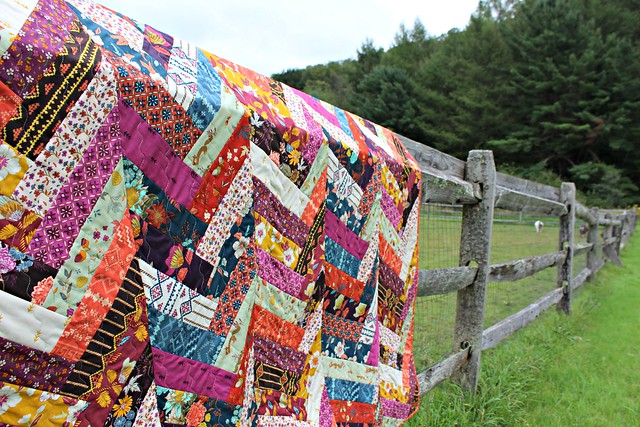
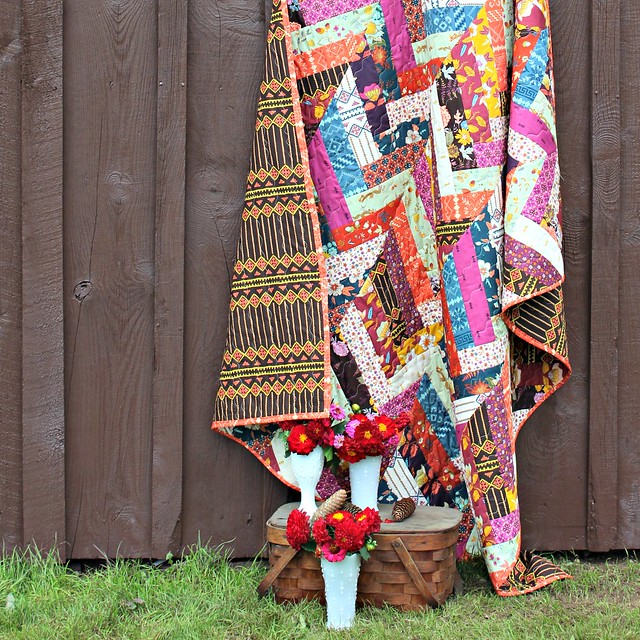
Hooray! Your Autumn Vibes Friendship Braid QAYG Quilt is finished!

IMG_6085

IMG_6067

IMG_6045

Thank you so much for stopping by today and for all the love you've already shown my Autumn Vibes fabric collection here, on Instagram and on Facebook! I really hope you enjoy this tutorial!

Do you think you'll give it a try

If you do, please be sure to share with the hashtag #FriendshipBraidQAYG, there you can see examples of many other projects using this pattern, and be sure to tag me @MaureenCracknell so I can see!

xx Maureen