Showing posts with label quilted pillow. Show all posts

Tuesday, May 28, 2019

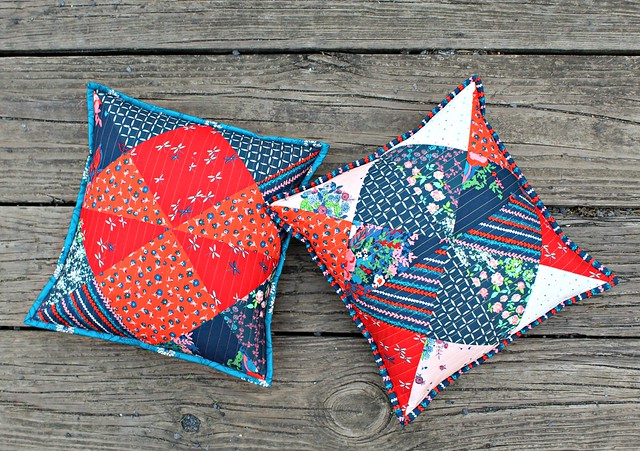
An Hourglass Quilted Pillow {Tutorial} & News!

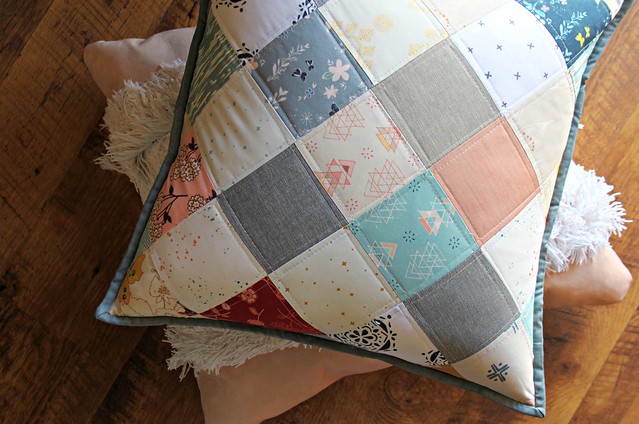
Hourglass Pillow Cover

Hiya friends,

Today my intention was to simply share this new tutorial with you all, as I've finally been back to sewing for about a week now after badly injuring my knee and then my finger, but unfortunately now I'm dealing with more troubles. On Saturday evening around 7pm I was scrolling through my personal Facebook feed when I received a pop-up that read, "session has timed out." I immediately  tried to log back in and it said that my account had been disabled. I then panicked and went to my Instagram app and I was logged out of there, as well, and my login info was coming up "no user." While I restarted my phone, I opened my laptop and tried to login with no luck still, so I checked my email and at 6:46pm I had received a Login Alert Facebook email that showed a suspicious login from "near Elk Grove Village, IL" and I live in Pennsylvania. I read and followed all of the proper dispute claims for being hacked and/or mistakenly disabled through both social media platforms and I finally heard back yesterday morning that both accounts were permanently disabled. What??!! I attempted to respond to that email and I received one final email saying that "your account has been permanently disabled for not following the community standards. Unfortunately, we won't be able to reactivate it for any reason. This will be our last email regarding your account." Now if you read through what one would have to do to have their account permanently disabled, please believe that in NO WAY have I ever or would I ever do anything harmful to anyone on social media! I have simply used it as a way to stay connected to family & friends and now all those videos and photos of my growing three children are gone. I used as a way to build community through a shared love of fabric and sewing and now all 131,000+ Maureen Cracknell Handmade Facebook Page followers are gone. I used it to post pretty pictures and to share news, new fabric & projects of my own work and the work of so many wonderful makers and now all 30,200+ Maureen Cracknell Instagram followers are gone. Years of memories, friendships and hard work. Gone. It's heartbreaking to say the least. I'm trying to hold onto hope that somehow it will all be restored, but I've also decided to move forward with a new Instagram @MaureenCracknellHandmade and I hope you'll find me there! Please, please everyone add two-step verification to your social media accounts. I was not cautious and I have lost everything I've shared for the past ten years!

I don't know that I will attempt to rebuild on Facebook for several reasons, but my making and sharing will continue and it does feel pretty perfect that I just so happened to have a brand new tutorial prepared to share today!

IMG_8439

My dear friend and fellow AGF fabric designer, Sharon Holland, has a stunning new collection just hitting stores with a LookBook due out later today for, Everlasting! I'm so happy to have been back to sewing just in time to make this set of pillows to contribute and I hope you love them as much as I do!

Everlasting by Sharon Holland rolls

What you'll need:
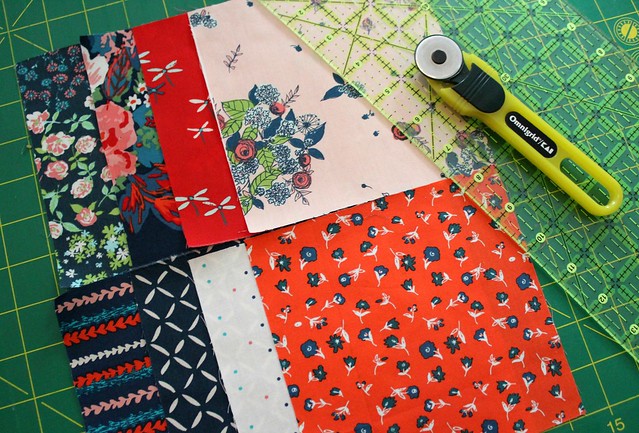
  • 8  - 6" charms of fabrics of your choosing, four blue/navy and four red/peach/cream
  • 2 - 11.5" X 15" cuts for the pillow backing fabric
  •  Hobbs Tuscany Cotton Batting for pillow front and back pieces
  • 1/4 yd of binding for finishing the pillow 
  • 1 - 14" pillow insert
  • Coordinating Thread
  • Rotary Cutter/Mat/Ruler

IMG_8381

Steps: 

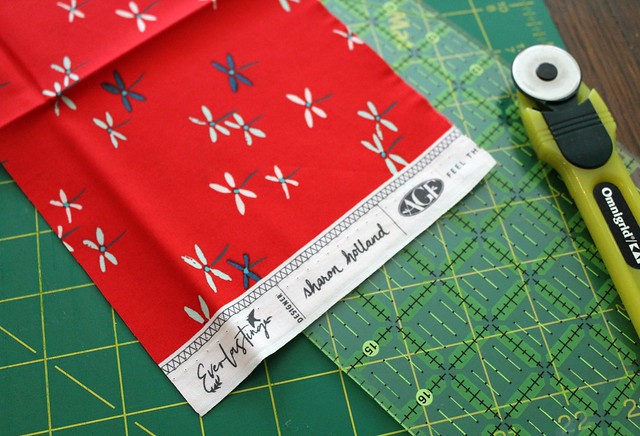
1. Cut eight 6" charm squares from the fabrics you've chosen for the pillow front
IMG_8383

IMG_8388

2. With right sides facing, pin and sew together two blue prints using a 1/4″ seam allowance. Repeat with the two remaining blue squares, pressing all seams open as you go

IMG_8394

3. Sew the two sets of two blue squares together, with rights sides facing to create a four patch block. Repeat this for the second set of four red/peach/cream 6" charm squares. When finished you'll have two, four patch blocks

IMG_8395

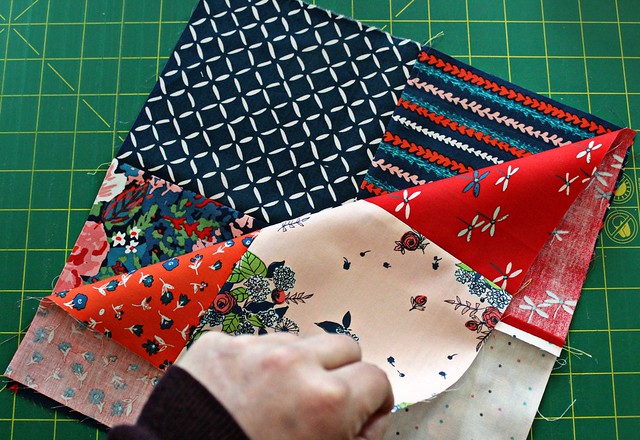
4. With right sides facing, place the two four patch blocks together, pin and sew around all four edges sewing a 1/4" from the very out edge
IMG_8398

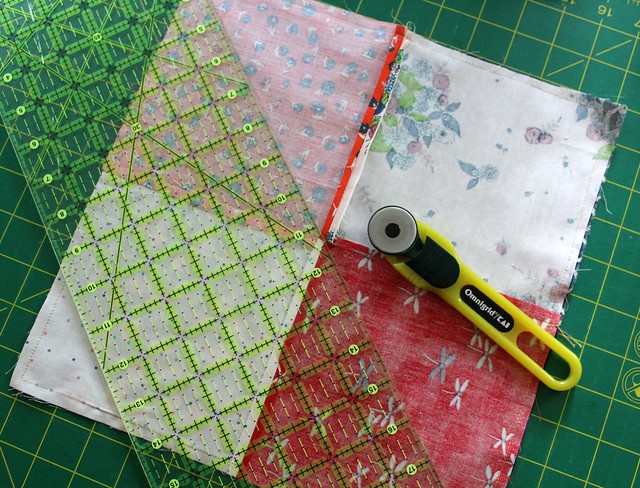
5. Use a ruler and place it across the middle of the sewn square. Be sure to position the ruler to ensure the cutting will pass through the point where the stitches meet at each opposing corner. Once the ruler is in place, make the cut using a rotary cutter. Repeat across the other direction to create four triangles
IMG_8401

IMG_8403

6. Press with seams open, trim away any exposed seam allowances, and square up each block to make four nice and neat 8" hourglass blocks

IMG_8407

7. Arrange the four blocks in a layout keeping the blue/navy prints at the center and the red/peach/cream on the outside or visa versa. With right sides facing, pin and sew using a 1/4″ seam allowance two blocks together using a straight stitch. Repeat with the two remaining blocks, pressing all seams open as you go
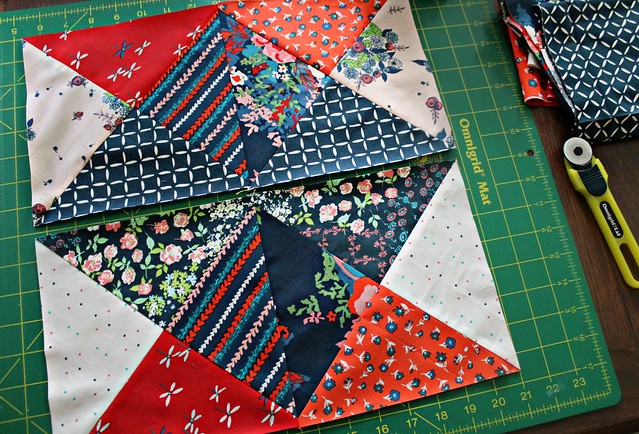
IMG_8409

8. Sew the two sets of two blocks together, with rights sides facing to create the patchwork pillow front and place the pieced pillow front onto a piece of batting so the wrong side of the pillow front is facing the right side of the batting. Baste using your preference with spray or pins

IMG_8412

9. With stitches space a 1/2" a part, quilt the pillow front to the batting. Trim away excess batting to finish a pillow top that measures a 15" square

IMG_8414

10.  To prepare back pieces, using one of the pillow back fabrics measuring 11.5" x 15", baste to a piece of cotton batting measuring the same size and fold over one of the sides measuring 15" a 1/4", press, fold over again a 1/4", press. Sew along inner folded edge and along the outer edge, staying close to the fold. This will create the double seam finish. Repeat this step with the other pillow back fabric

Tallinn Pillow Back

11. Place the pillow backing fabrics onto the wrong side of the quilted pillow front. Sew a basting stitch all the way around the very outer edge of the pillow layers to attach them. Finish the pillow using the 1/4 yd of binding just as you would adding binding to a quilt
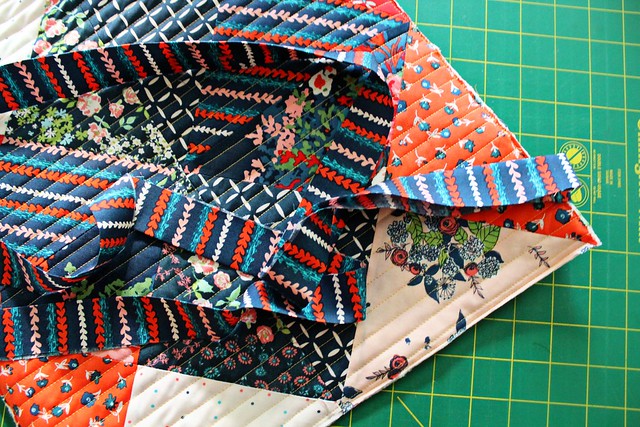
IMG_8416

Insert your pillow form and now you have a very cute Hourglass Quilted Pillow!

IMG_8422

IMG_8424

I hope you love these hourglass quilted pillows as much as I do, but honestly with Sharon's Everlasting fabrics it's impossible not to create something you'll love! My Everlasting sewing didn't stop with this pretty pair of pillows, I'll have another project in the LookBook that I'll be back to share this week! If you give this tutorial a try and you post on your social media, don't forget to share with me on my new Instagram @MaureenCracknellHandmade!

xo, Maureen

Monday, November 20, 2017

AGF Quilt Block Tour of Makers ~ A Love Story Moroccan Pillow!

AGF Quilt Block Tour Moroccan Pillow in Love Story

Love Story Moroccan Pillow

Several weeks ago I was invited to join the Art Gallery Fabrics Quilt Block Collection Tour hosted by my friend, Sharon McConnell of Color Girl Quilts!

AGF Quilt Block Collection Blog Tour

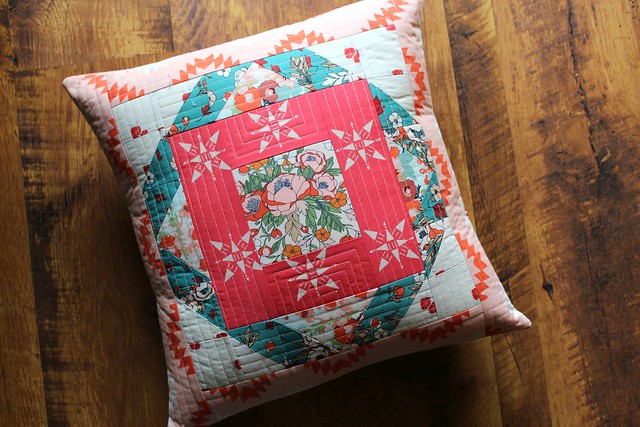
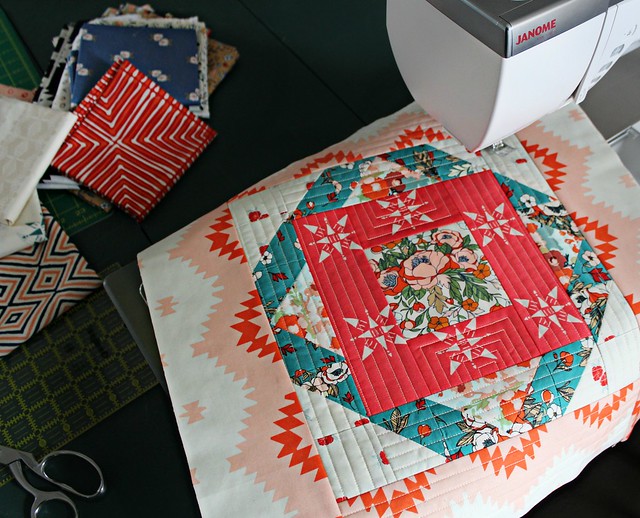
I was asked to choose one block from AGF's collection of quilt block YouTube video tutorials to make and share as a finished project today. I chose one of my favorites from the bunch, the Moroccan quilt block!

AGF Quilt Block Tour -- Moroccan Quilt Block

The Moroccan block is perfect for fussy cutting from a favorite fabric and instructions include two fun techniques -- the a make eight at a time half square triangles and flying geese using the corner triangle method. I chose to make my Moroccan block using several pretty prints from my brand new Love Story collection!

AGF Quilt Block Tour in Love Story

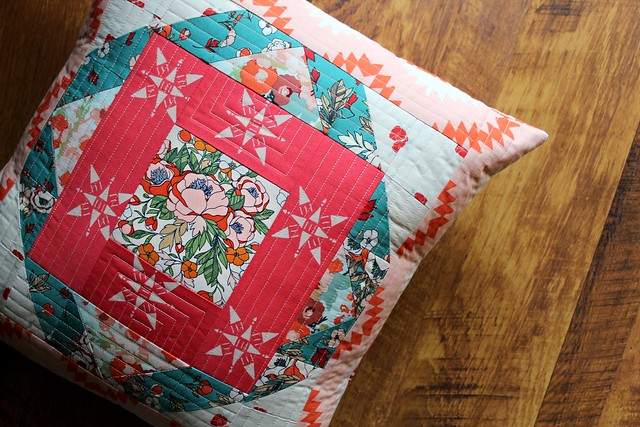
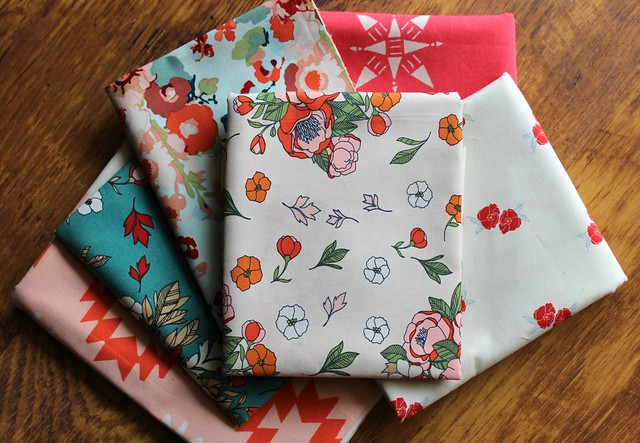
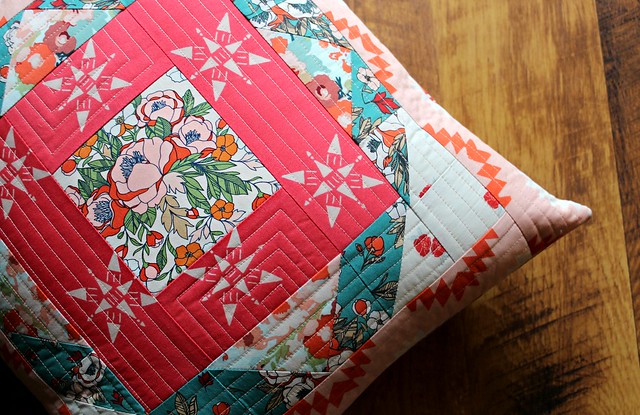
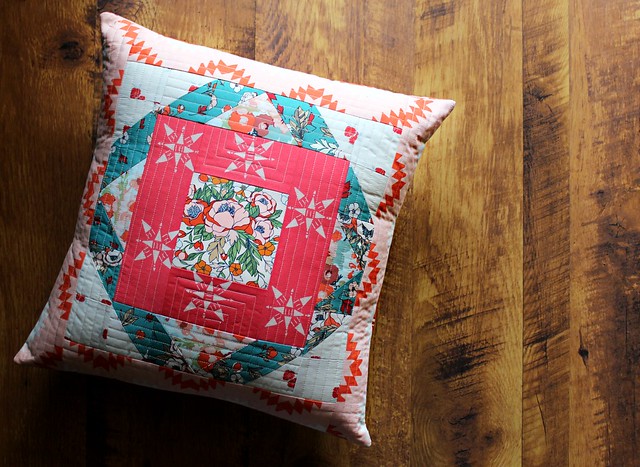
For my Moroccan block I began by fussy cutting a floral cluster from Love Story Soulmate Blooms to be my center fabric and framed that print in Compassion Ruby. Next I made my HSTs and flying geese units using Love Story prints -- Reflection of Love Light,  Soulmate Blooms in teal and Flower Stamp Charm. I LOVE this pretty combination of reds, peach, aqua & teal!

AGF Moroccan Quilt Block in Love Story

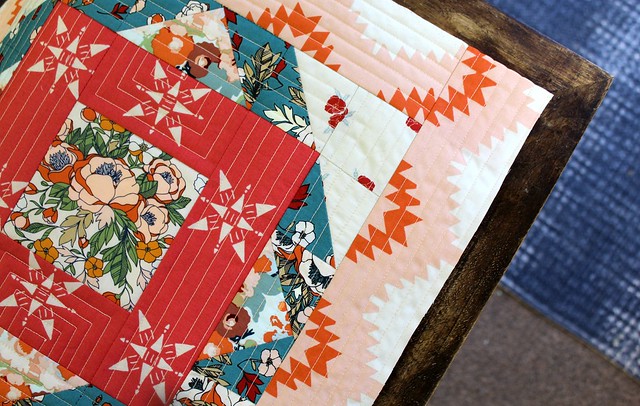
Once my block was complete I added a 3" border in Daring Tribal Sunset to turn my Morrocan block into a pillow!

AGF Moraccan Block in Love Story

I basted my pillow top to a layer of Hobbs cotton batting and added lots of quilting using an Aurifil 40wt in Light Beige.

I'm so happy with how my Love Story Moroccan pillow turned out!

AGF Quilt Block Collection Tour Project -- A Love Story Moroccan Pillow

Love Story Moroccan Pillow

My Love Story collection should be shipping to stores any day! I hope you check out the Art Gallery Fabrics YouTube Channel for the Moroccan quilt block video tutorial that I used today, along with lots of other beautiful quilt blocks! Be sure visit the rest of the makers who've joined the AGF Quilt Block Tour to see what each of these talented sewing gals have made!

November 13 ~ Color Girl Quilts @colorgirlquilts
November 14 ~ Karen O’Connor @ladykquilts
November 16 ~ Amy Friend @duringquiettime
November 17 ~ Kate Basti @katebasti
November 18 ~ Yvonne Fuchs @quiltingjetgirl
November 19 ~ AnneMarie Chany @genxquilters
November 20 ~ ME @maureencracknell
November 21 ~ Sharon Holland @sharonhollanddesigns
November 22 ~ Lucy Brennan @charmaboutyou

Happy Sewing! xo Maureen
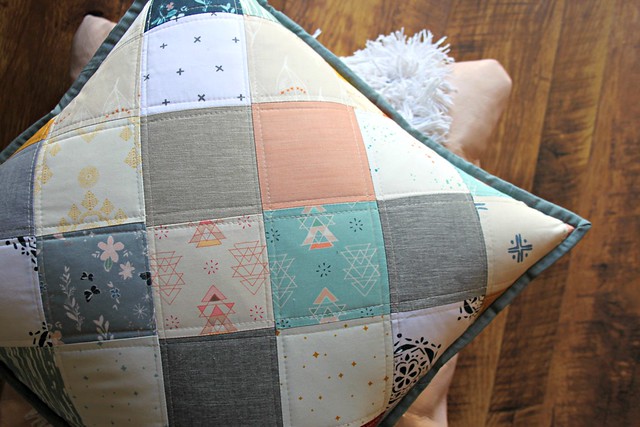
Tuesday, August 29, 2017

Bundle Inspired & GIVEAWAY!

Strings Pillow

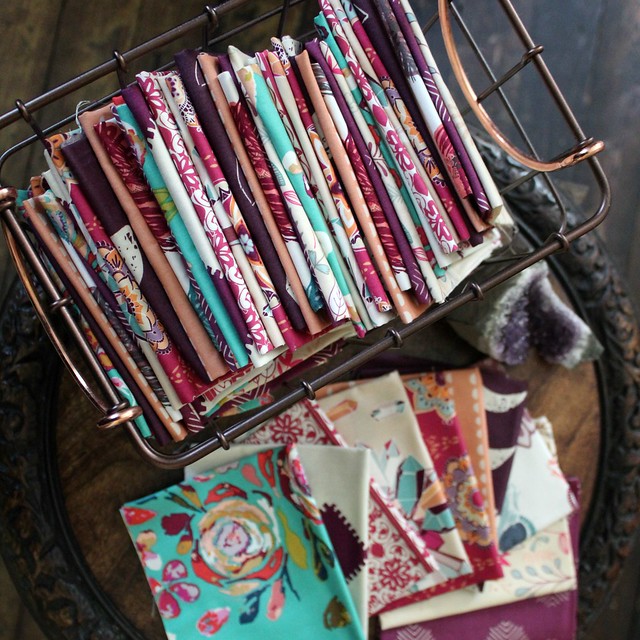
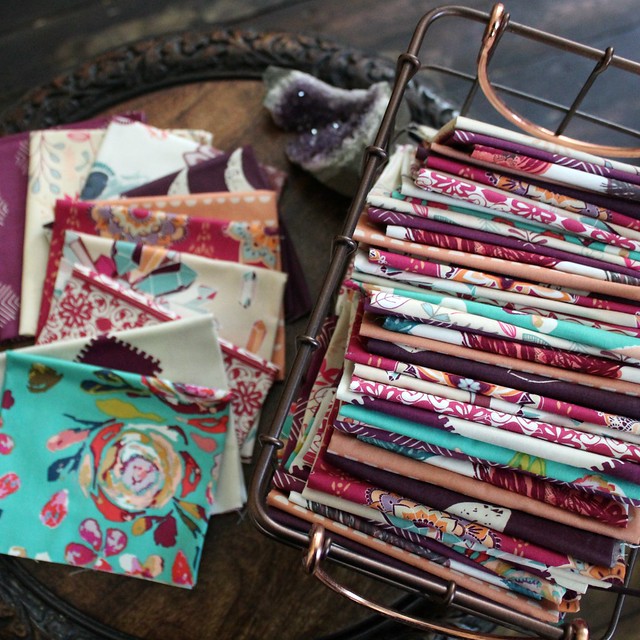
Choosing colors and fabrics is one of my favorite parts of sewing! This Summer I was ridiculously happy when I pulled together this group of fabrics. My new Swifting Flora BOHO had recently arrived and the intense aqua color had me looking at this fabric design in a new way. I started pulling from my various collections, new and not so new and I fell in love with this grouping of fabrics! So much so, that every week or so I plan to curate a custom bundle to share, along with an inspirational project and Giveaway. I'm hoping it'll inspire you to combine prints from my various collections for fun new patchwork!

So for this first bundle, we have: Swifting Flora Boho (BOHO Fusions), Clarity Moments Stellar, Deepest Purpose Intense, Crystal Awakening, Mandala Harmony Vivid, Stay Humble Sunset (All from Soulful), Lunation Dark, Bird of Night Mist (Both from Nightfall) and Wreathed Whiff (Fleet & Flourish) -- All fabrics are linked and available at Fabric.com!

Soulful + Moons + BOHO Fusions

The sewing time I enjoy during the school year came to a halt like never before this Summer, and so a chance to create something with this pretty bundle was put on hold until just yesterday. Since making a pillow is always so satisfying and a doable afternoon project, this was just what I needed to revive my quilty soul!

Soulful , Moons & Boho

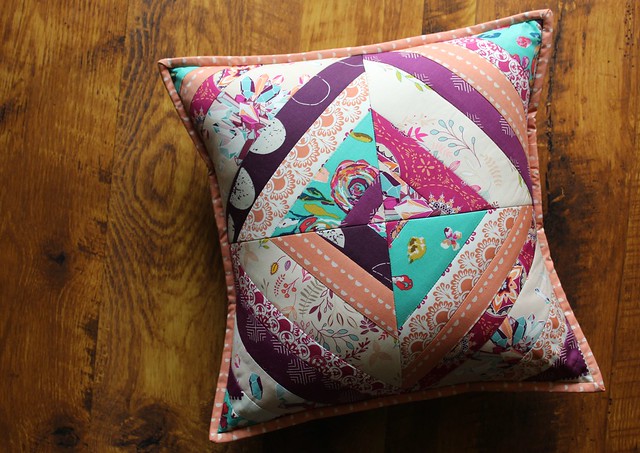
I trimmed four cotton batting scraps to 8.5" squares and cut a variety of fabric string widths from my bundle. Using Quick Quilt As You Go, I added my strips to the batting, trimming the access length away and attached my four qayg string squares to finish my happy, colorful pillow top!

Strings Pillow Binding

I prefer to bind my pillows and I love the way my Stay Humble little half moons print looks as binding cut on the straight grain!

Strings Crystal Corner

The pillow back is finished envelope style with overlapping layers of cotton batting and my Here & Now Purpurite print from Soulful. Peach & Plum is one of my favorite new Fall color combinations, I love it!

Backed in Here & Now

Stitching up this beautiful pillow was the simplest way to instantly regain my sewing mojo and express the creativity that this bundle inspired!

Strings Pillow 2

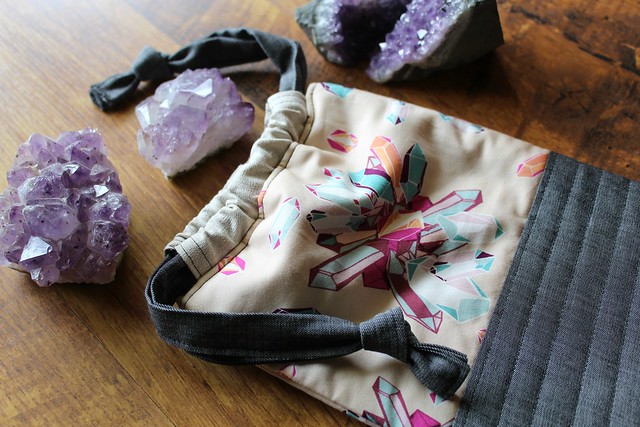
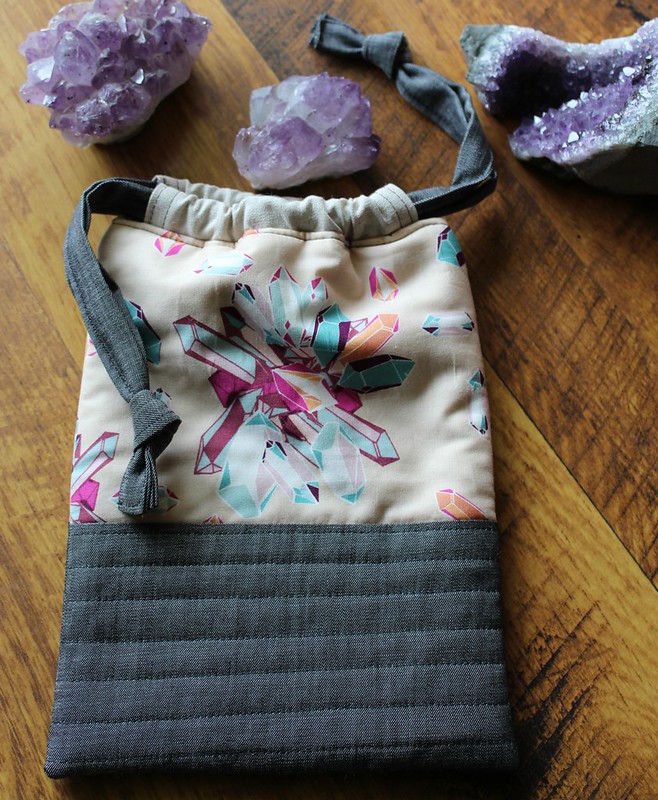
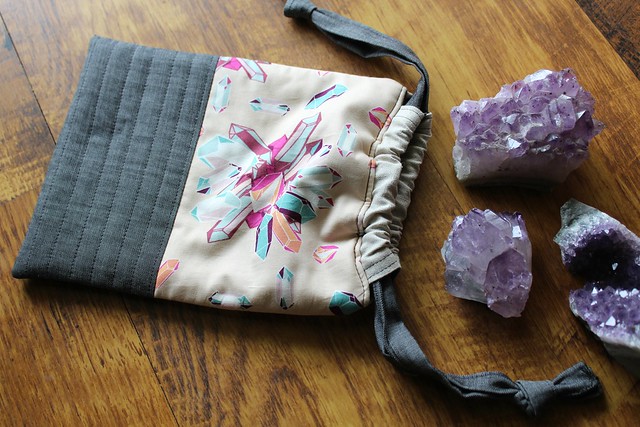
And I didn't stop there! I also whipped up another little drawstring pouch for holding our collection of amethyst crystals, featuring more of my crystal Awaking print because it's just too perfect!

Crystal Awaking Drawstring Bag

Crystal Awakening Bag

Crystal Awaking Drawstring

Bundle Giveaway!

Since my Giveaway for this bundle was first offered on Instagram and many of you don't use IG, I saved one bundle to Giveaway right here when I shared the projects these fabrics inspired, and TODAY IS THE DAY!

TO ENTER: Simply leave a comment letting me know what you'd make with this bundle! One commenter will be chosen at random this Friday (9/1) and will be contacted via email, so be sure to include an email with each comment.

Thank you to all who entered the Giveaway. This week's random winner is commenter, Brenda. Congratulations, I will be in touch shortly!

xoxo Maureen
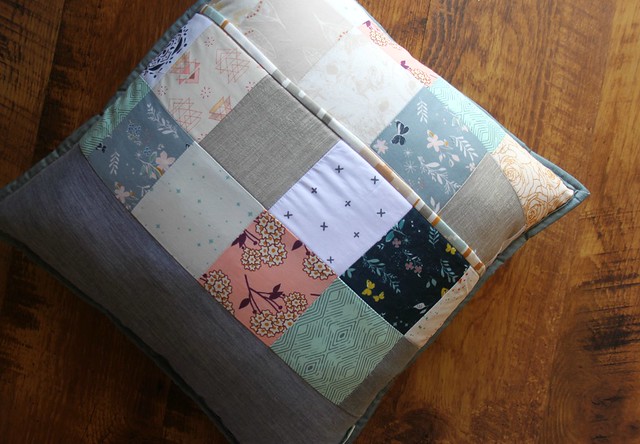
Tuesday, December 20, 2016

A Wind Chime Pillow : :

Garden Dreamer Wind Chime Pillow

With each new fabric collection comes a new free quilt pattern that works perfectly for the theme and prints that make up the collection, for Garden Dreamer that's my Wind Chime Quilt! This pattern was inspired by thoughts of being in the garden, looking up at the wind chimes and spinners dancing in the breeze. It's a simple pattern and I love the movement of these blocks!

Mini Wind Chime Blocks

To match the Wind Chime Quilt that will be showcased in my upcoming Garden Dreamer LookBook I made a mini version to finish and share as today's pillow!

Garden Dreamer Wind Chime Pillow

The pillow front is made up of four 8.5" wind chime blocks, pieced together and densely quilted with a pretty pale peach 50wt Aurifil thread, finished as a cover to fill with a 16" insert. I'd love to make a second one using a different variety of Garden Dreamer prints. I think the next one needs some Bumble Beez & Buzz!

Garden Dreamer Wind Chime Pillow

The pillow back pieces are made up of leftover strips and patchwork squares from my other LookBook projects. As usual, I love it just as much as the front!

Garden Dreamer Wind Chime Pillow Back

My most favorite thing about this pillow has to be the Twinklestar Berry binding! The color choice of this print was influenced by one of my favorite garden perennials, the Pow Wow Wild Berry Echinacea Purple Coneflower. I've already made an extra large roll of this binding to use on my next quilt. It's such a vibrant shade of purple and adds just the right pop to this pillow!

Garden Dreamer Wind Chime Pillow

I have so many projects planned for this collection! Come January I'll have a steady stream of Garden Dreamer finishes to share here, but first there's more holiday sewing to finish up, including a new Janome tutorial. I'll be back soon with details, if you liked yesterday's Buffalo Plaid Stocking, I think you'll enjoy this one!

♡ Maureen 
Friday, November 18, 2016

A Winter Patchwork Pillow : :

A Winter Patchwork Pillow

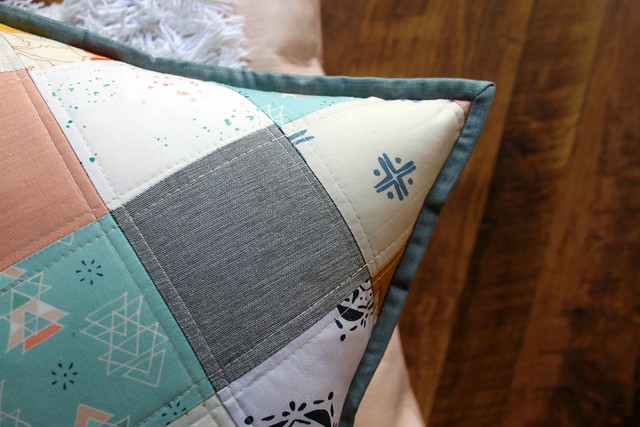
I love the combination of fabrics that I chose to make yesterday's patchwork stockings so much, that I had to make a patchwork pillow, too!

A Winter Patchwork Pillow

A Winter Patchwork Pillow

A Winter Patchwork Pillow

A Winter Patchwork Pillow

A Winter Patchwork Pillow

This one will join my stockings and the other items I've recently listed in my Etsy!

I wish you all a lovely weekend! ♡ Maureen