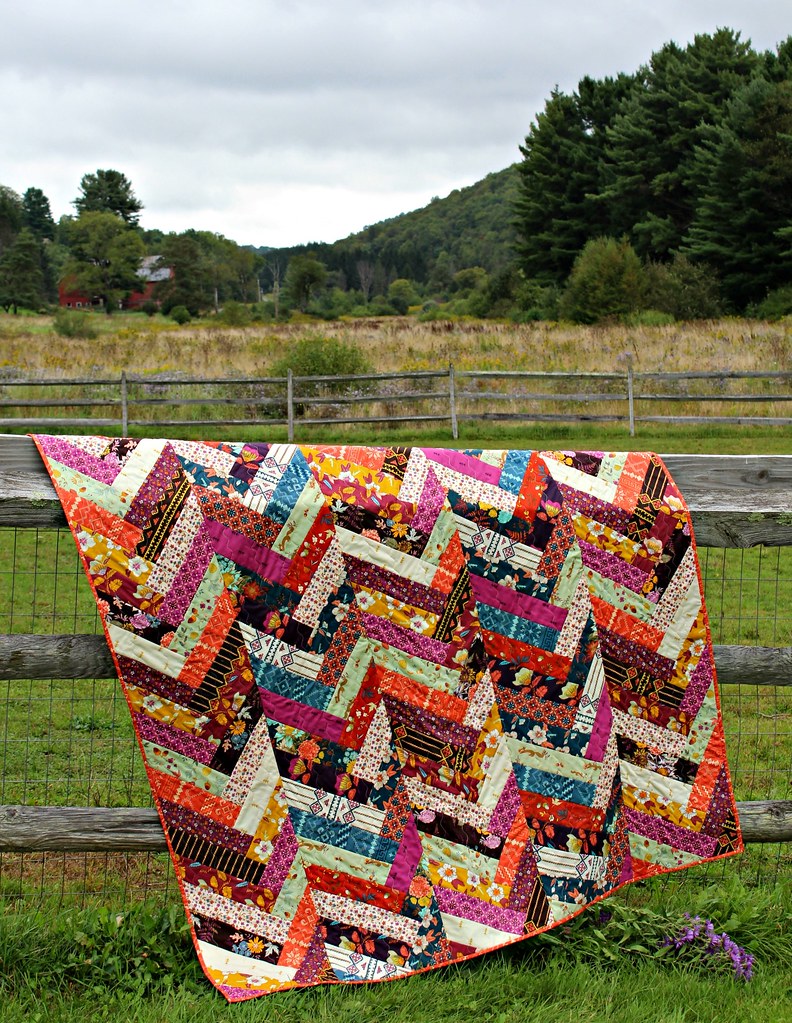
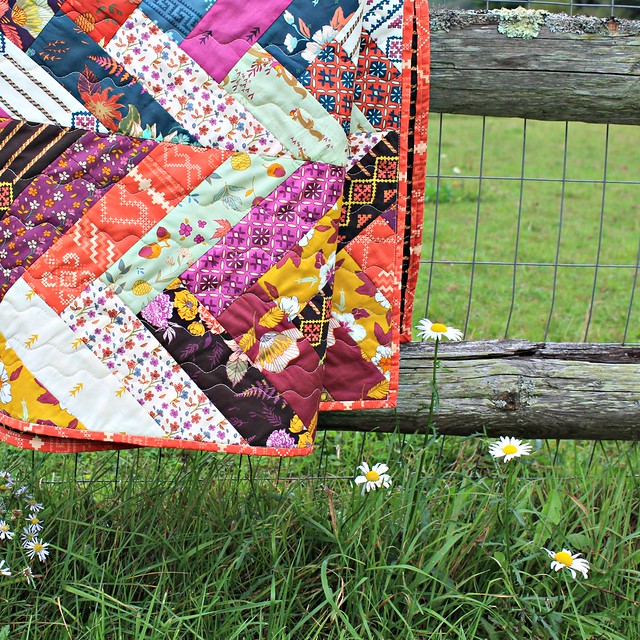
Hello, friends! I've been meaning to pop in here to explain why I haven't been blogging much so far this year. Long story short, I dedicated the entire month of January to working on my fabric collections for Art Gallery, and then the day before I was to get back to sewing and sharing here, I injured myself pretty good! I was jumping on a trampoline, came down wrong and ended up badly spraining the ligaments in my right knee and completely tearing my ACL. It's been rough! I'm on crutches and in a leg brace to heal the sprains so I can have ACL reconstruction surgery on March 21st, and then after the surgery there will be a couple of month's recovery time. Today is one month since the injury and still, the two things that bother me the most are stairs and sewing. Most of the day is spent elevating my knee and icing it because it's still very swollen.
As a way to stay creative during this injury, I set a goal for myself to make at least one bag a day. Most days I've been able to, some days I cannot and other days I have made two! This small goal has helped me stay positive and productive during this difficult time! You're welcome to join me in making a new bag anytime and can follow along on my Instagram @MaureenCracknell and the hashtag #MCHbagchallenge!
So here I am, finally back today and excited to share my project for my talented friend, Mathew Boudreaux aka Mister Domestic's Aura Blog Party!
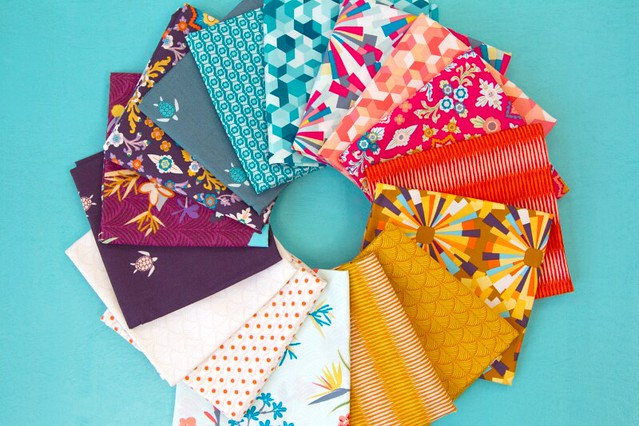
Mathew AKA Mister Domestic is an Angles by AGF designer and Aura is his second fabric collection, inspired by a trip that he and his daughter Helena took to Hawaii!
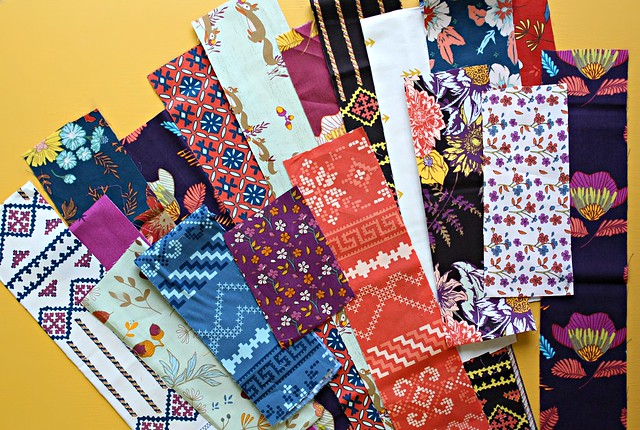
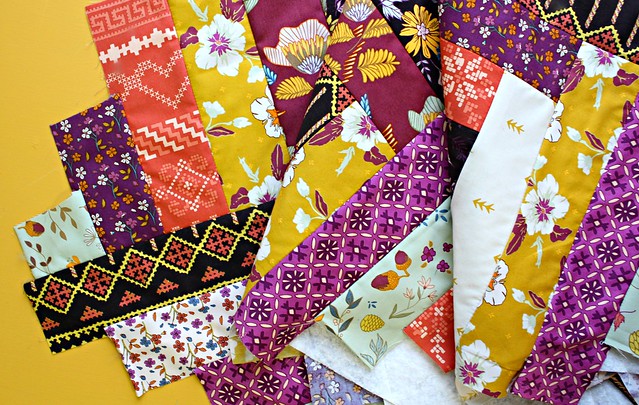
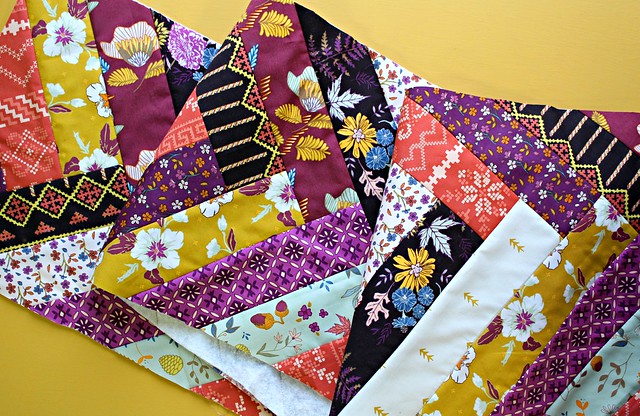
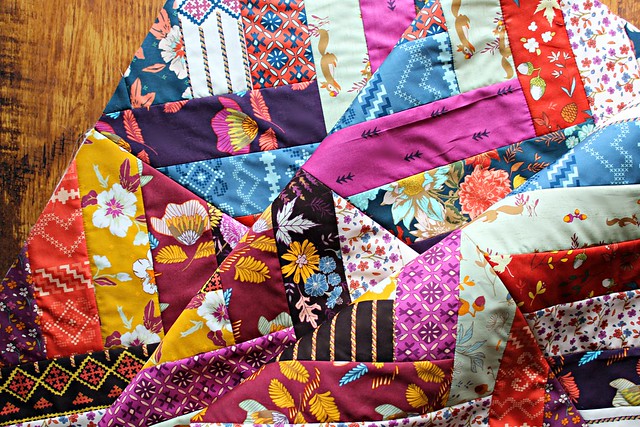
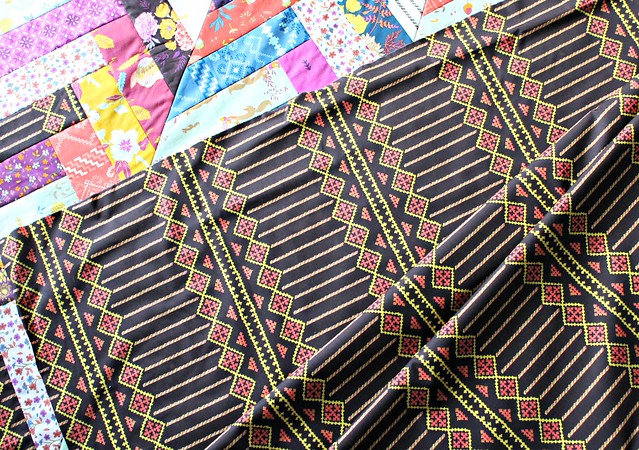
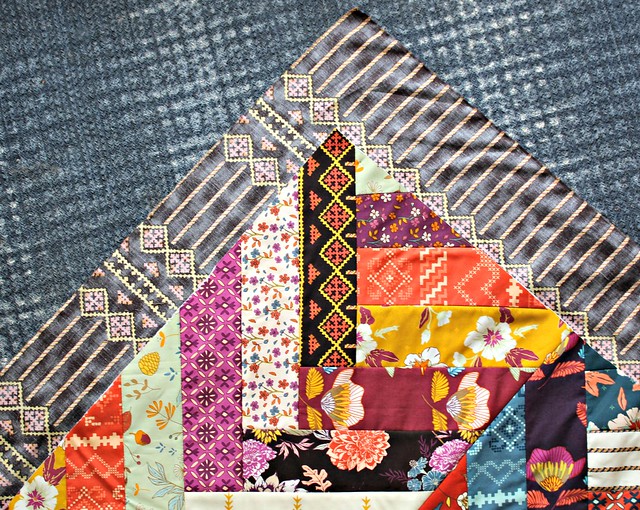
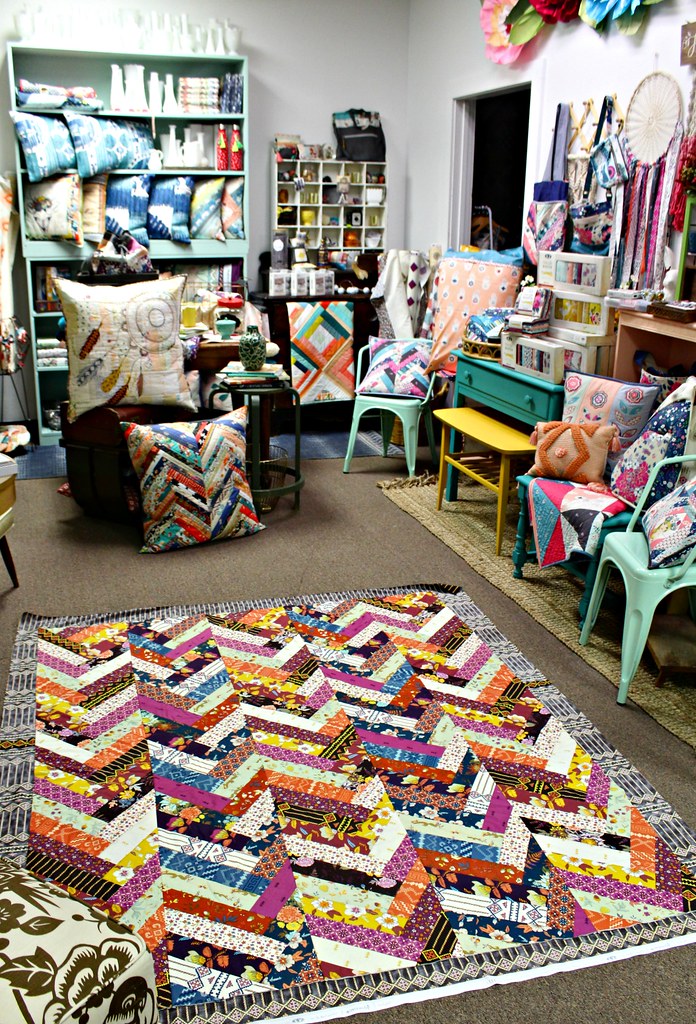
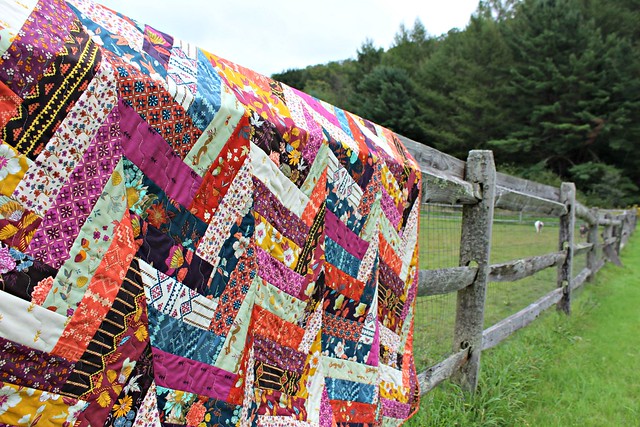
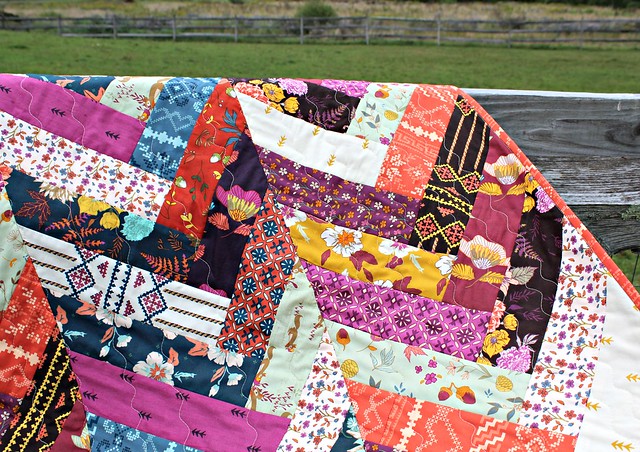
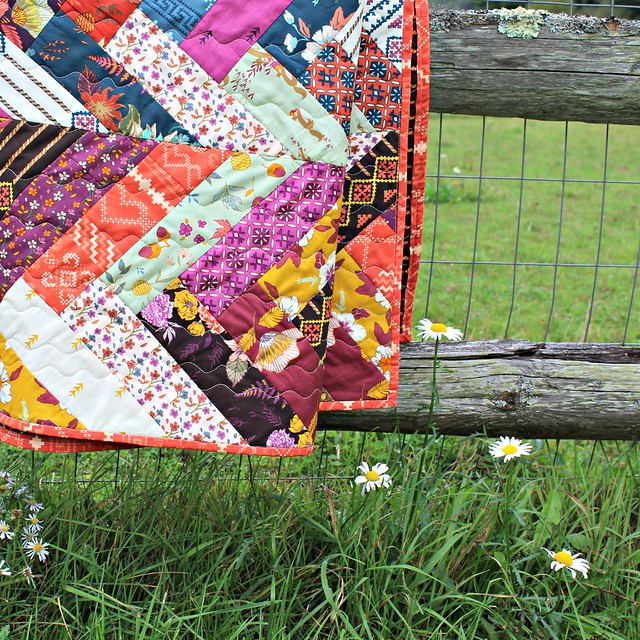
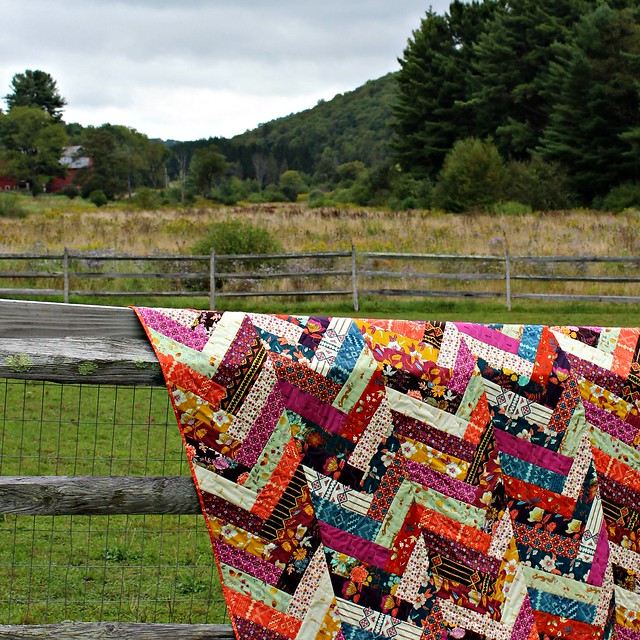
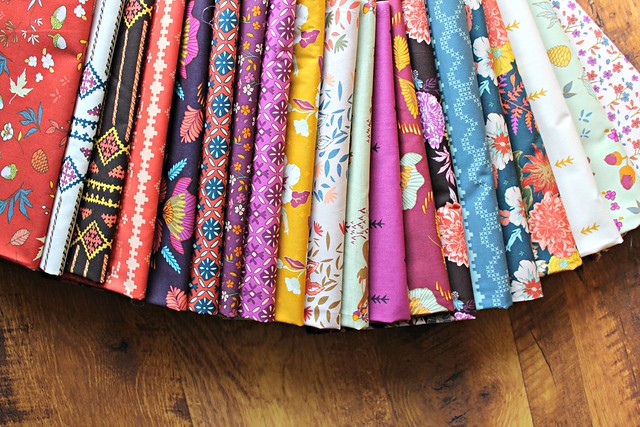
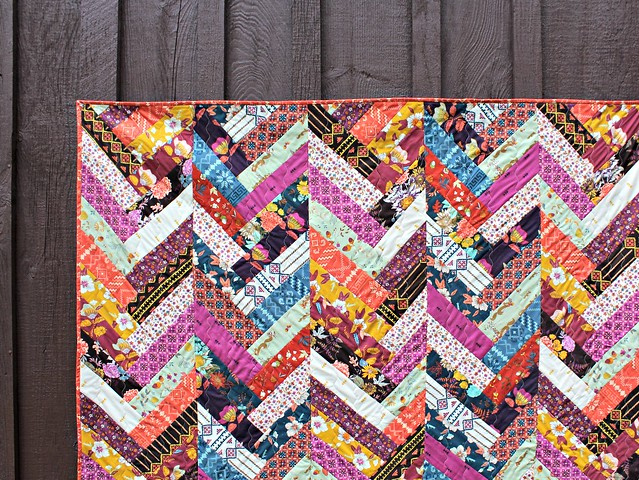
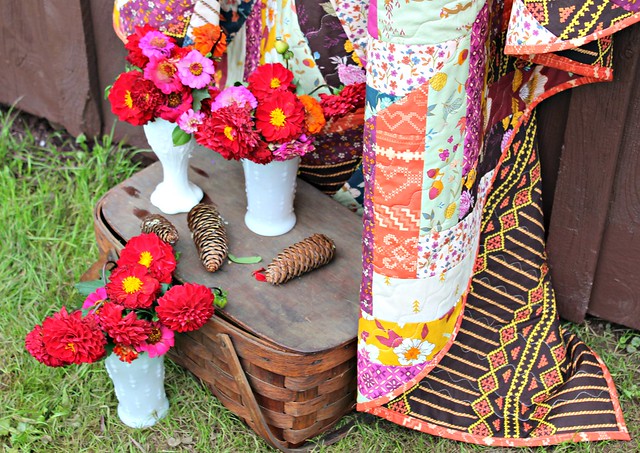
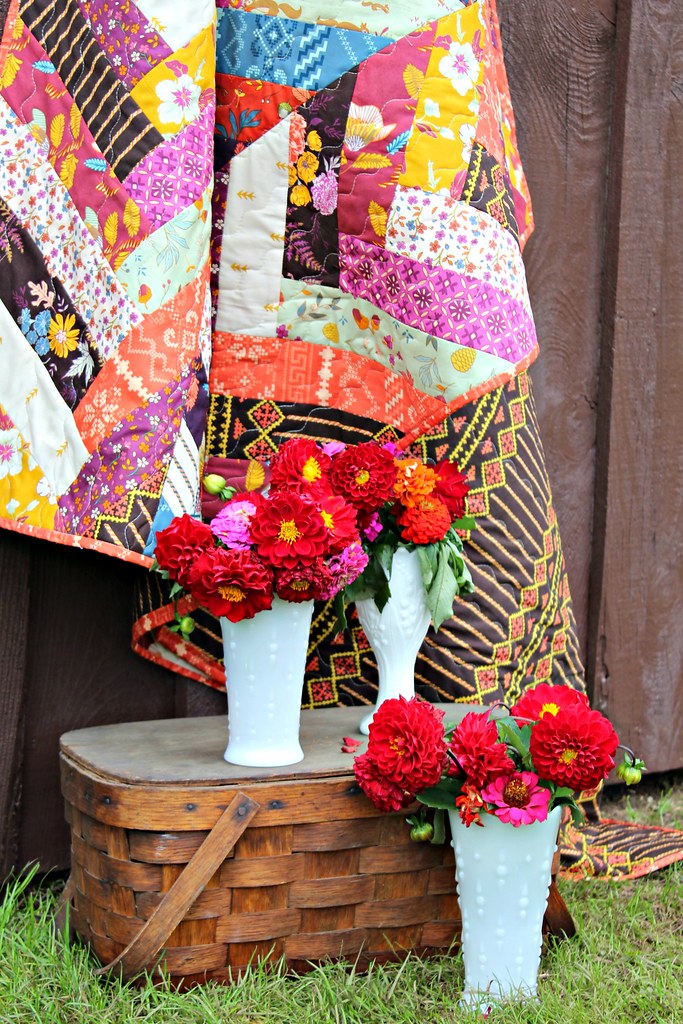
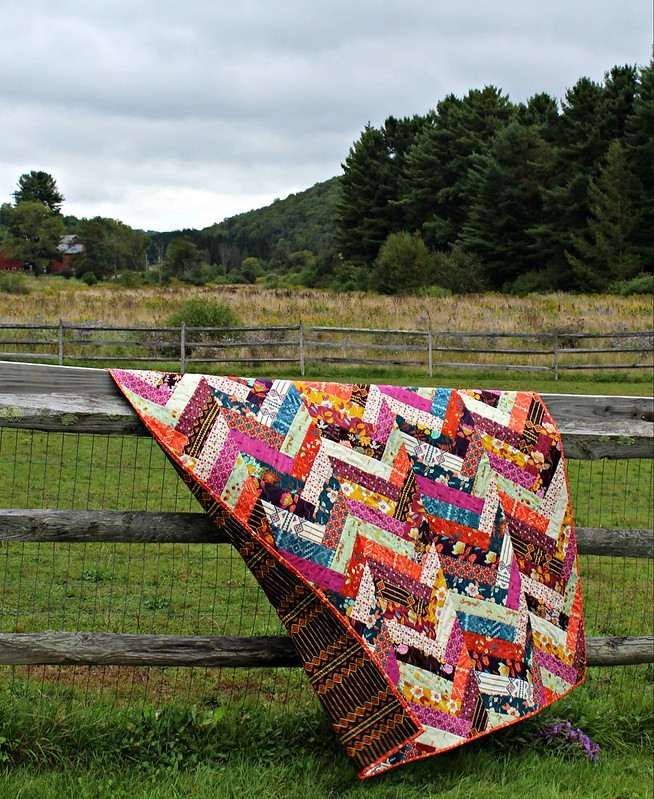
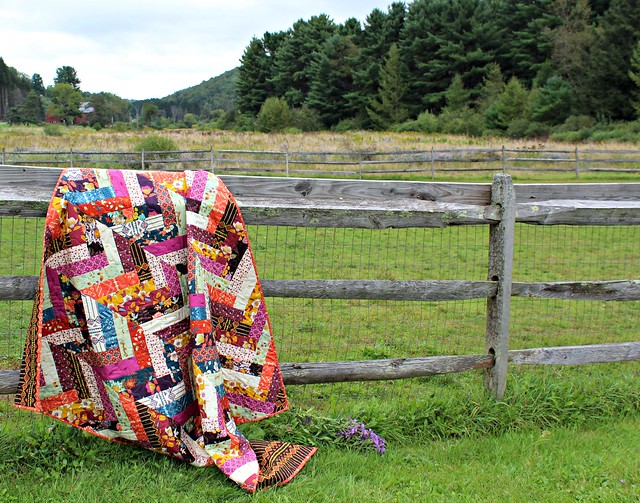
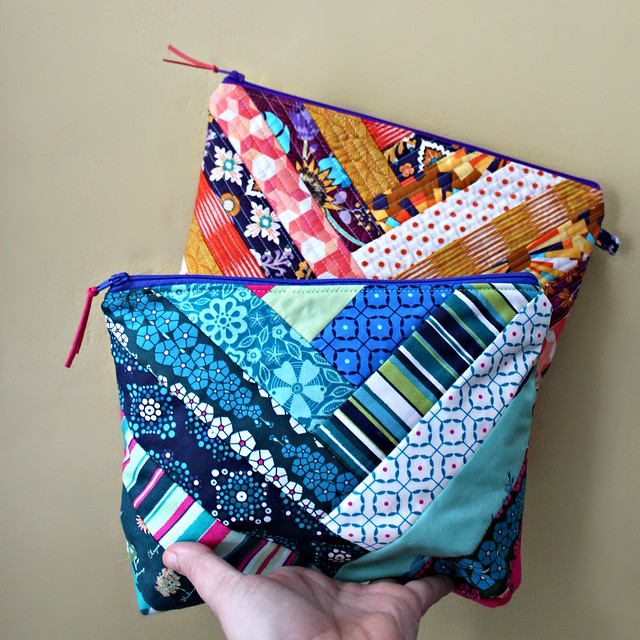
For my blog party project I chose several of my favorite Aura prints in vibrant yellows, coral and purple and I made one of my quilt as you go flat bottom lined zipper pouch bags and I love how it turned out!

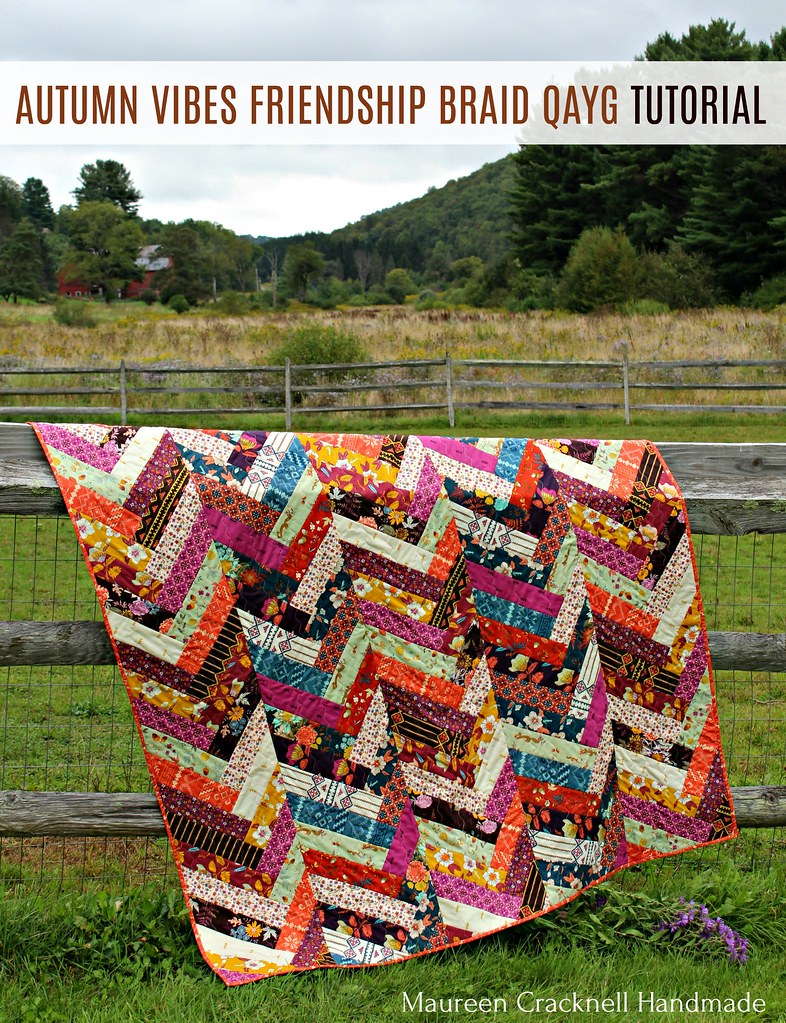
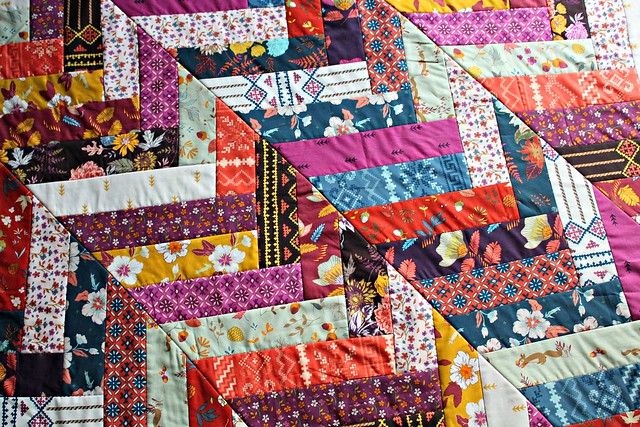
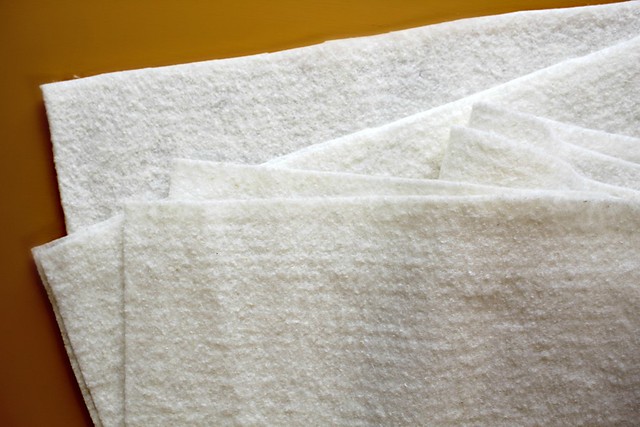
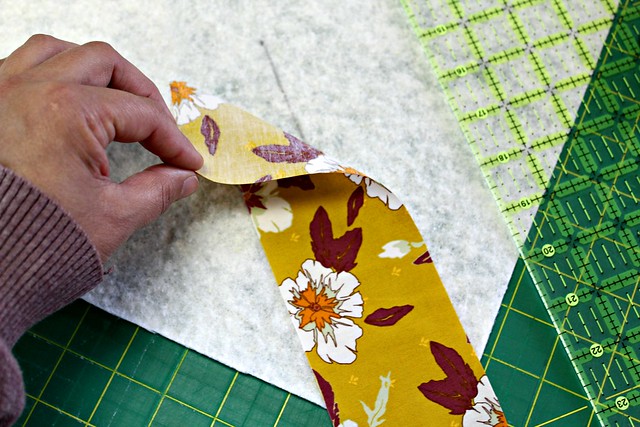
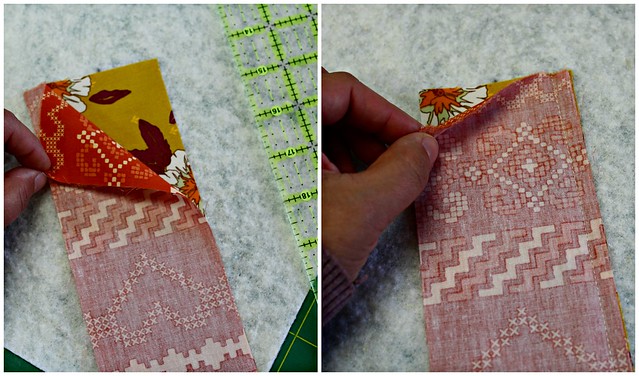
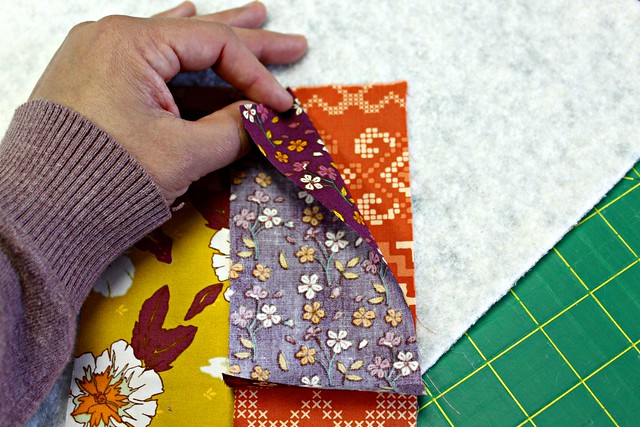
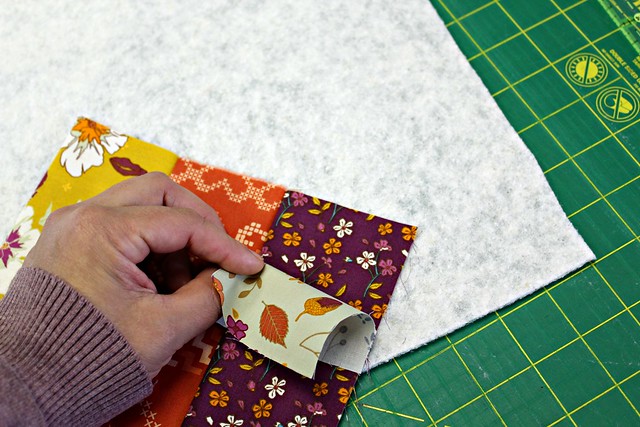
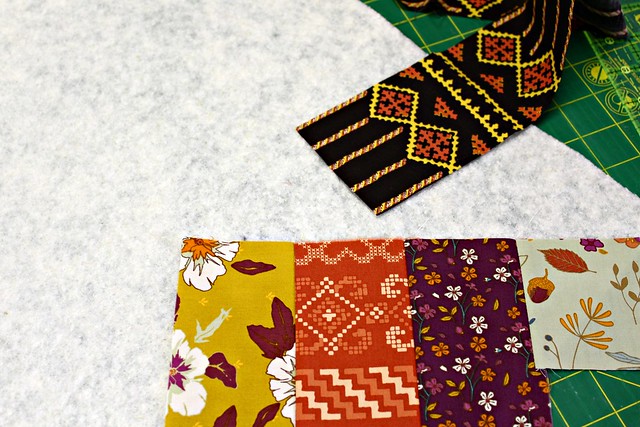
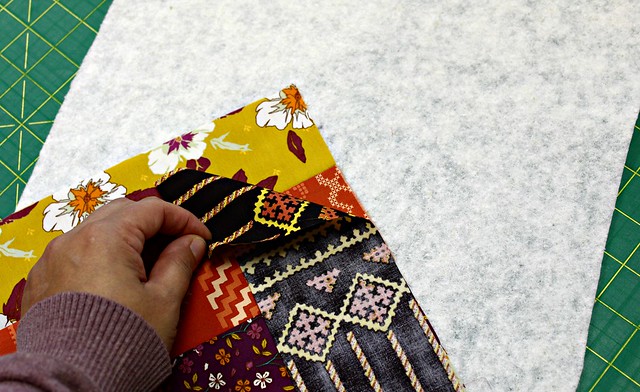
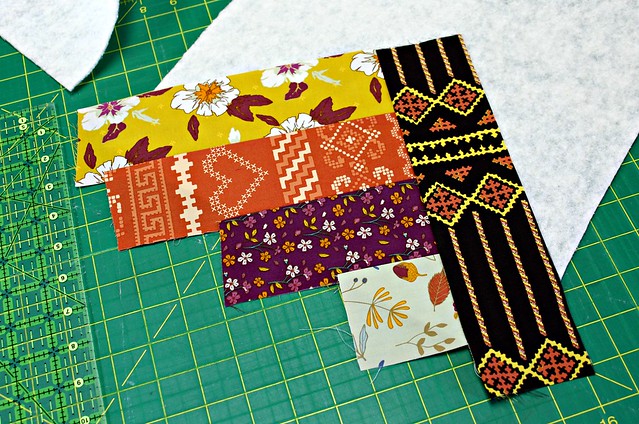
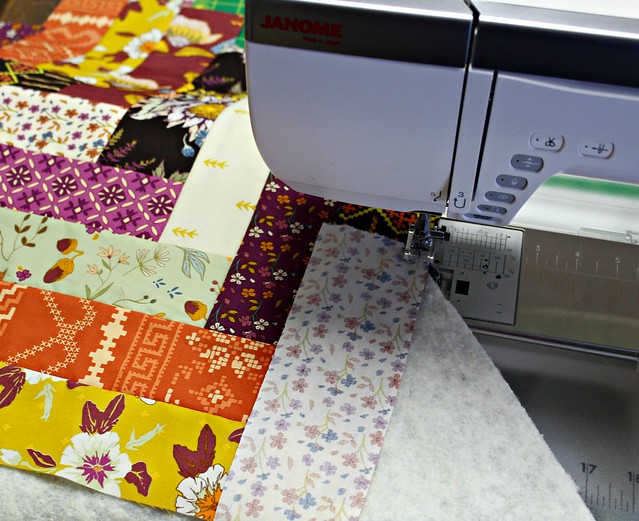
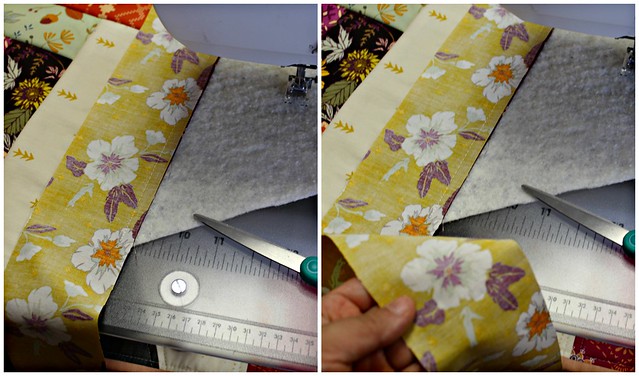
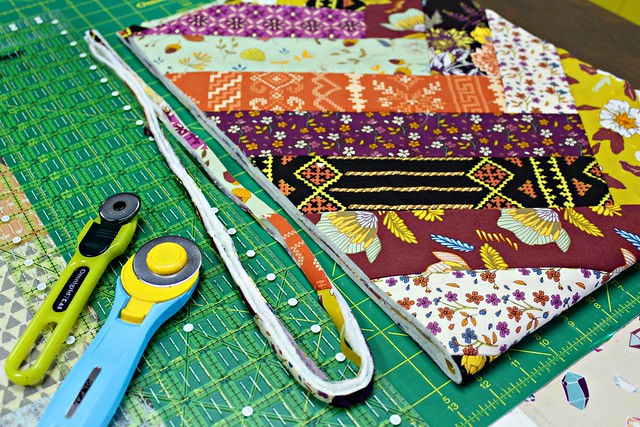
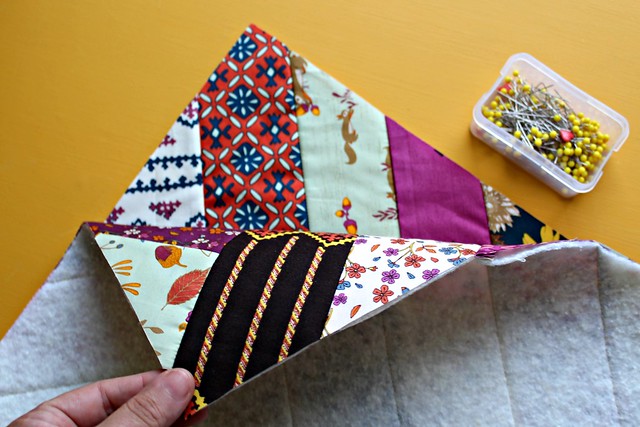
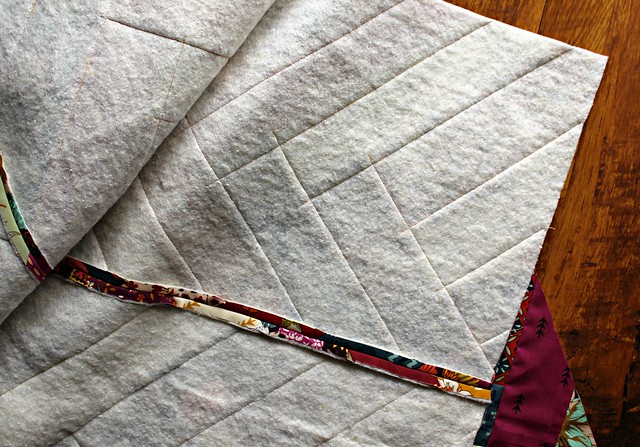
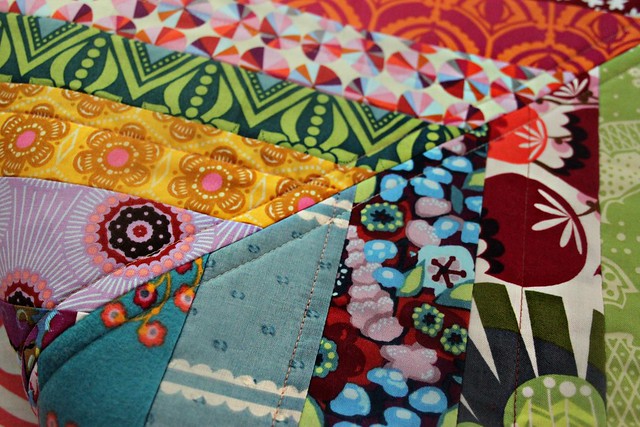
The front side is made up of 1.5" strips of Aura and the friendship braid Quick Quilt As You Go pattern that I share a tutorial for here -- Friendship Braid QAYG. This bag has a cushiony layer of Hobbs Tuscany cotton batting, a colorful zipper, and is lined with a pretty Aura print!
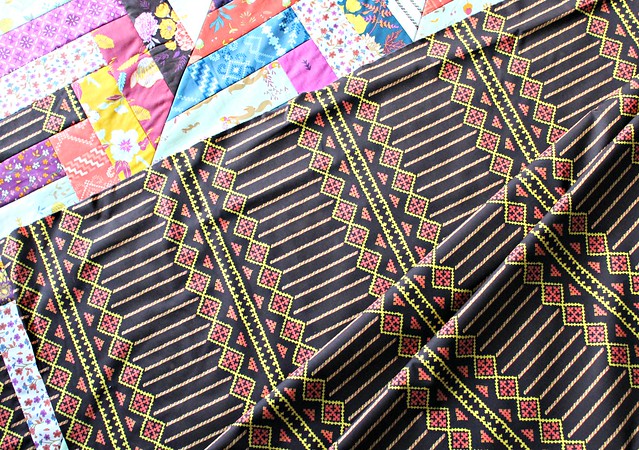
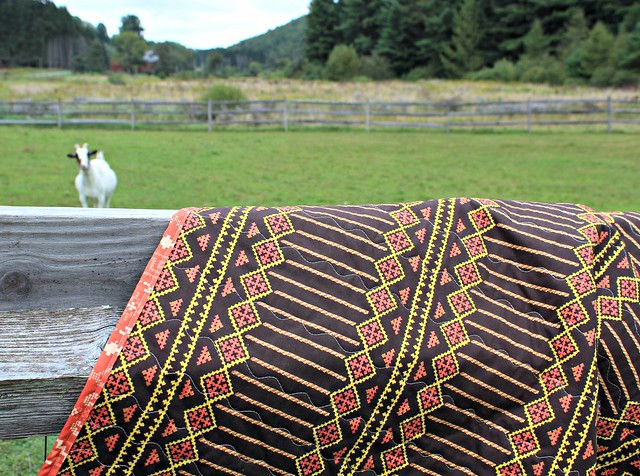
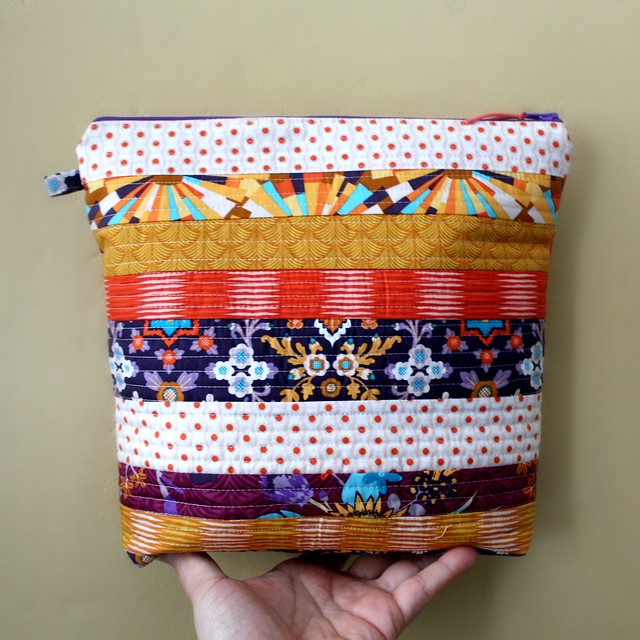
The back is a simple striping of the same fabrics that I chose for the front. This collection is so good for quilt as you go patchwork!
I hope you're inspired by my stop on Mister Domestic's Aura Tour! It's such an honor to be amongst this amazing line up of designers:
MISTER DOMESTIC’S AURA BLOG PARTY
Monday February 11: Amanda Woodruff of A Crafty Fox
Tuesday February 12: Kylie Gersekowski of Little Moo Designs
Wednesday February 13: Sharon Holland
Thursday February 14: Kim Niedzwiecki of Go Go Kim
Saturday February 16: Sarah Maxwell of Fearless with Fabric
Sunday February 17: Natalie Santini of Hungry Hippie Sews
Monday February 18: Carolina Moore of Always Expect Moore
Tuesday February 19: Isabelle Selak of South Bay Bella Studio
Wednesday February 20: Elizabeth Chappell of Quilters’ Candy
Monday February 25: Tara Curtis of Wefty Needle
Tuesday February 26: Monica Tetteh of That’s Sew Monica
Wednesday February 27: Nicholas Ball of Quilts from the Attic
Thursday February 28: Lucy Brennan of Charm About You
Friday March 1: Robbin Flockhart of Sew Farm Quilter
Saturday March 2: Evie Jespersen of EV Quilts
Sunday March 3: Kelly Liddle of Jeliquilts
Monday March 4: ME of Maureen Cracknell Handmade
Tuesday March 5: HollyAnne Knight of String and Story
Wednesday March 6: Mimi Goodwin of Mimi G Style
Thursday March 7: Angela Wolf of Fashion Sewing with Angela Wolf
Friday March 8: Kitty Wilkin of Night Quilter
Saturday March 9: Sharon Burgess of Lilabelle Lane Creations
Sunday March 10: Emily Dennis of Quilty Love
Monday March 11: Sheri Cifaldi-Morrill of Whole Circle Studio
Tuesday March 12: Elina Temmes of Elina Temmes
Wednesday March 13: Jennifer Strauser of Dizzy Quilter
Thursday March 14: Saija Kiiskinen of Saija Kiiskinen
Friday March 15: Brittany Jones of Brittany J Jones
Saturday March 16: Jodi Godfrey of Tales of Cloth
Sunday March 17: Kim Niedzwiecki of Go Go Kim
Monday March 18: Sharon McConnell of Color Girl Quilts
___________________
I hope to finish up a second bag just like this one for tomorrow's bag of the day, and I'll be sending these two off to Mathew & Helena!
xo Maureen
As a way to stay creative during this injury, I set a goal for myself to make at least one bag a day. Most days I've been able to, some days I cannot and other days I have made two! This small goal has helped me stay positive and productive during this difficult time! You're welcome to join me in making a new bag anytime and can follow along on my Instagram @MaureenCracknell and the hashtag #MCHbagchallenge!
So here I am, finally back today and excited to share my project for my talented friend, Mathew Boudreaux aka Mister Domestic's Aura Blog Party!
Mathew AKA Mister Domestic is an Angles by AGF designer and Aura is his second fabric collection, inspired by a trip that he and his daughter Helena took to Hawaii!
For my blog party project I chose several of my favorite Aura prints in vibrant yellows, coral and purple and I made one of my quilt as you go flat bottom lined zipper pouch bags and I love how it turned out!
The front side is made up of 1.5" strips of Aura and the friendship braid Quick Quilt As You Go pattern that I share a tutorial for here -- Friendship Braid QAYG. This bag has a cushiony layer of Hobbs Tuscany cotton batting, a colorful zipper, and is lined with a pretty Aura print!
The back is a simple striping of the same fabrics that I chose for the front. This collection is so good for quilt as you go patchwork!
I hope you're inspired by my stop on Mister Domestic's Aura Tour! It's such an honor to be amongst this amazing line up of designers:
MISTER DOMESTIC’S AURA BLOG PARTY
Monday February 11: Amanda Woodruff of A Crafty Fox
Tuesday February 12: Kylie Gersekowski of Little Moo Designs
Wednesday February 13: Sharon Holland
Thursday February 14: Kim Niedzwiecki of Go Go Kim
Saturday February 16: Sarah Maxwell of Fearless with Fabric
Sunday February 17: Natalie Santini of Hungry Hippie Sews
Monday February 18: Carolina Moore of Always Expect Moore
Tuesday February 19: Isabelle Selak of South Bay Bella Studio
Wednesday February 20: Elizabeth Chappell of Quilters’ Candy
Monday February 25: Tara Curtis of Wefty Needle
Tuesday February 26: Monica Tetteh of That’s Sew Monica
Wednesday February 27: Nicholas Ball of Quilts from the Attic
Thursday February 28: Lucy Brennan of Charm About You
Friday March 1: Robbin Flockhart of Sew Farm Quilter
Saturday March 2: Evie Jespersen of EV Quilts
Sunday March 3: Kelly Liddle of Jeliquilts
Monday March 4: ME of Maureen Cracknell Handmade
Tuesday March 5: HollyAnne Knight of String and Story
Wednesday March 6: Mimi Goodwin of Mimi G Style
Thursday March 7: Angela Wolf of Fashion Sewing with Angela Wolf
Friday March 8: Kitty Wilkin of Night Quilter
Saturday March 9: Sharon Burgess of Lilabelle Lane Creations
Sunday March 10: Emily Dennis of Quilty Love
Monday March 11: Sheri Cifaldi-Morrill of Whole Circle Studio
Tuesday March 12: Elina Temmes of Elina Temmes
Wednesday March 13: Jennifer Strauser of Dizzy Quilter
Thursday March 14: Saija Kiiskinen of Saija Kiiskinen
Friday March 15: Brittany Jones of Brittany J Jones
Saturday March 16: Jodi Godfrey of Tales of Cloth
Sunday March 17: Kim Niedzwiecki of Go Go Kim
Monday March 18: Sharon McConnell of Color Girl Quilts
___________________
I hope to finish up a second bag just like this one for tomorrow's bag of the day, and I'll be sending these two off to Mathew & Helena!
xo Maureen