Showing posts with label autumn vibes fabrics. Show all posts

Thursday, October 17, 2019

An Autumn Feels Quilt Top

IMG_9708

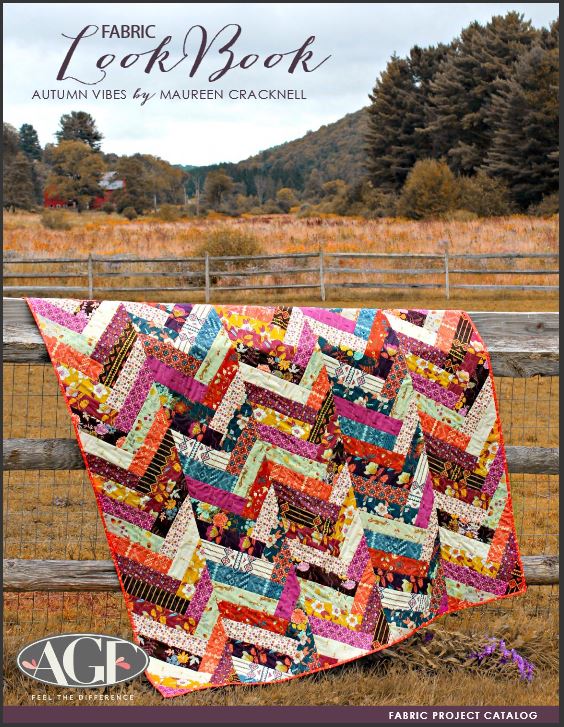
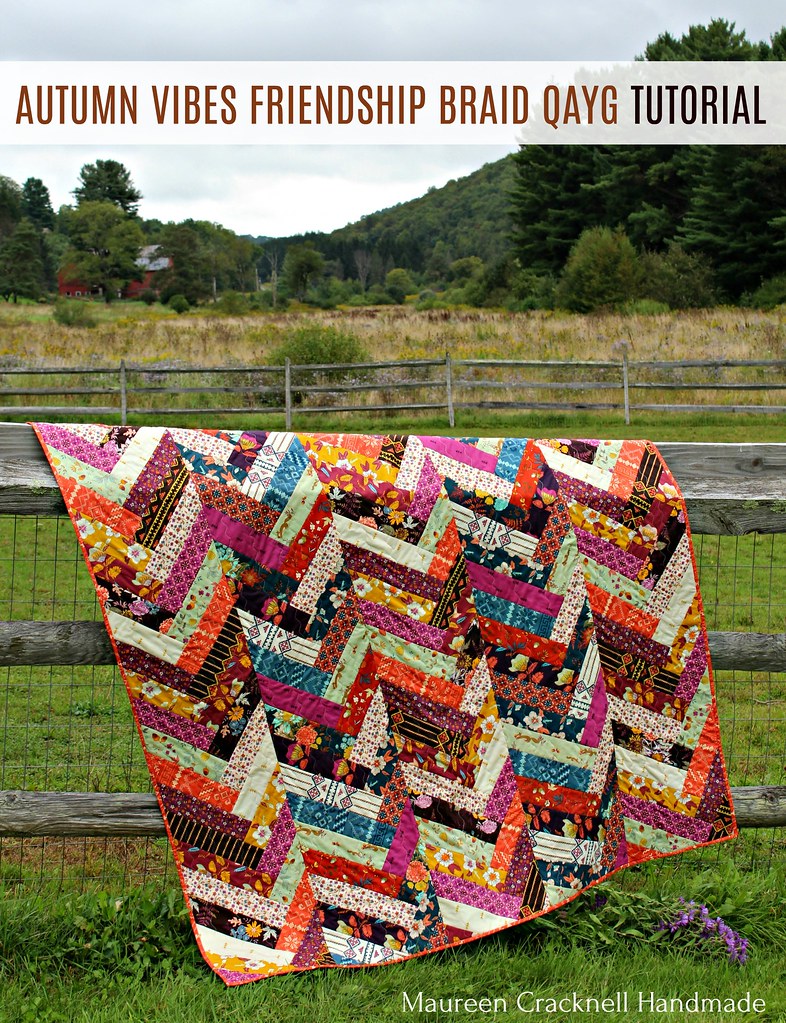
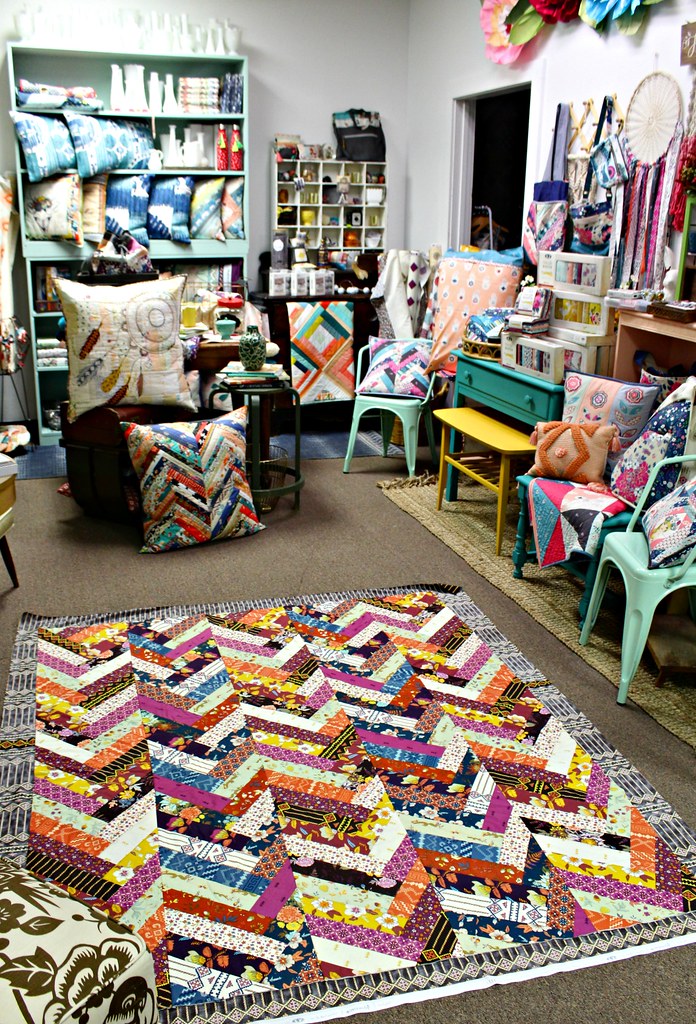
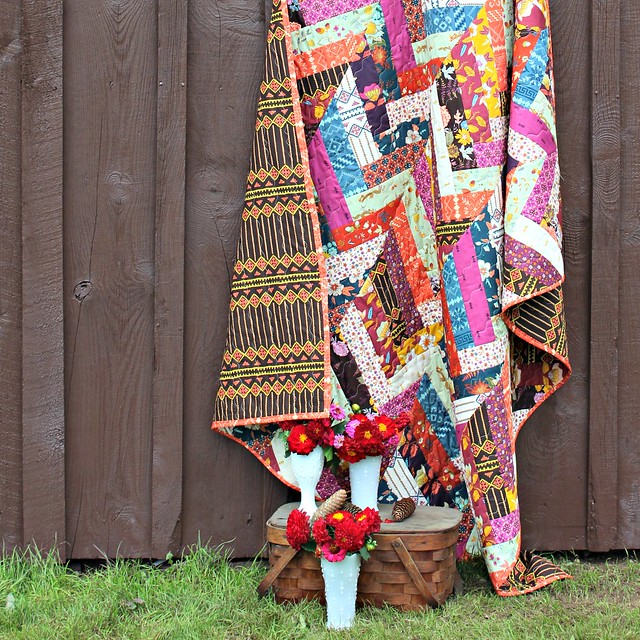
If you follow me on Instagram you may have already seen this quilt top, but I definitely think it's worth sharing more pictures and details here on the blog and I hope you agree!

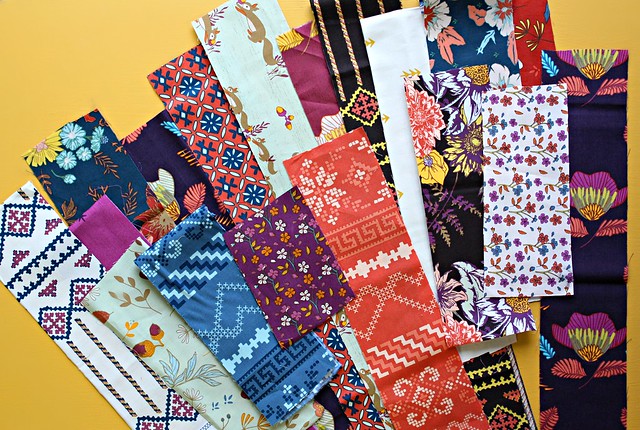
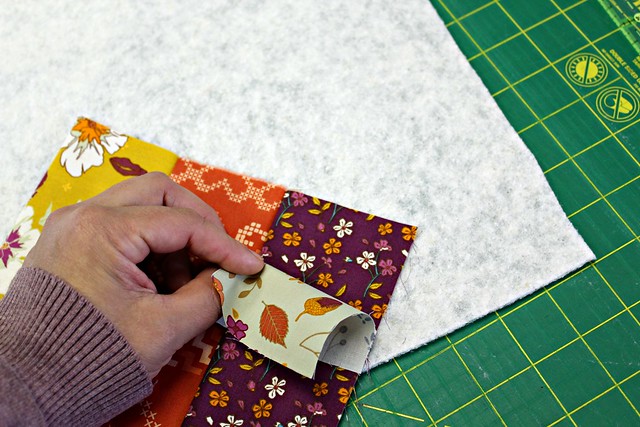
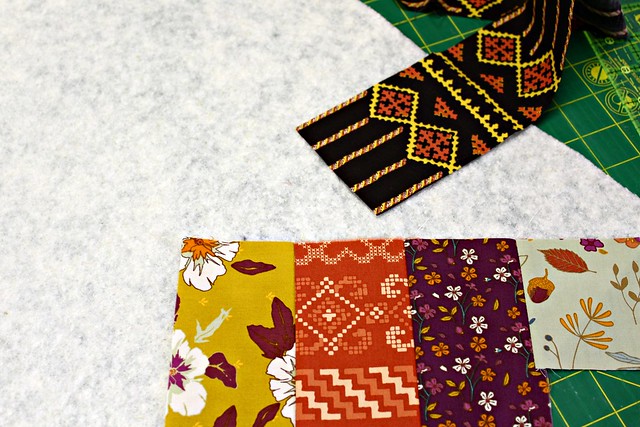
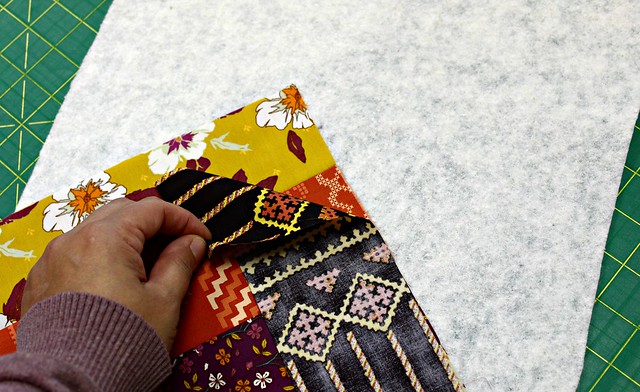
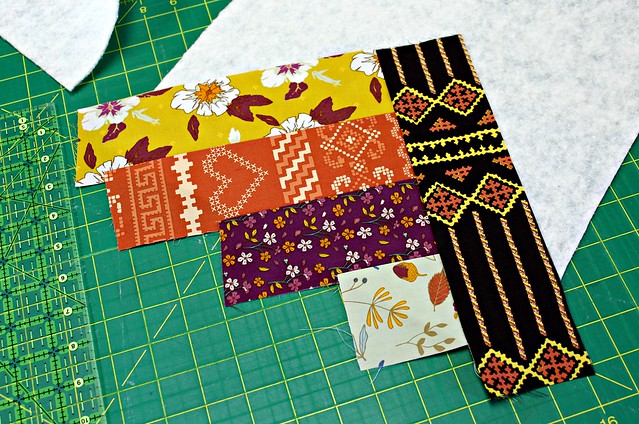
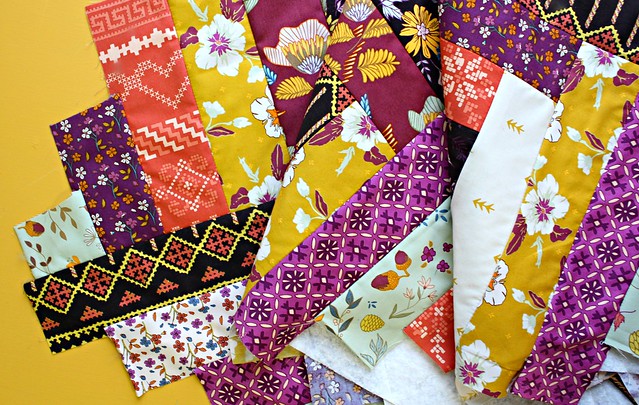
This quilt began with the beautiful eight-piece Autumn Feels Bundle that Brooke Becker of Lady Belle Fabric curated for her shop including a few of my prints along with five coordinating prints by fellow AGF designers. As soon as I saw it I knew I had to make a quilt top!

Lady Belle Fabrics Autumn Feels Bundle

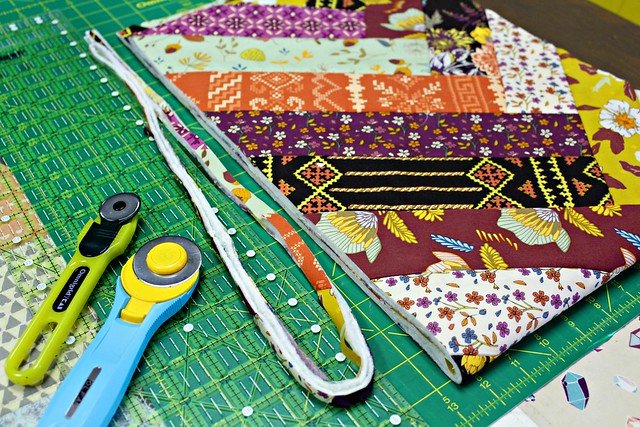
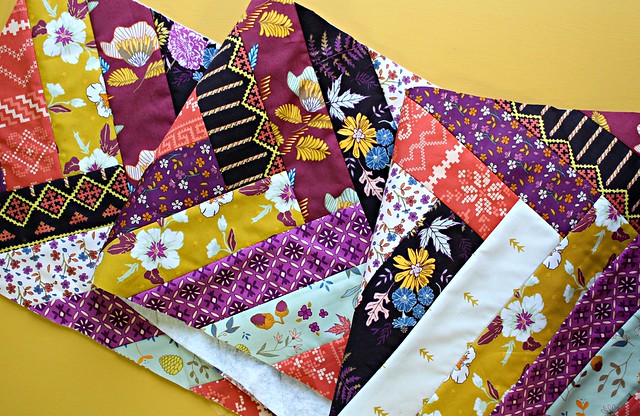
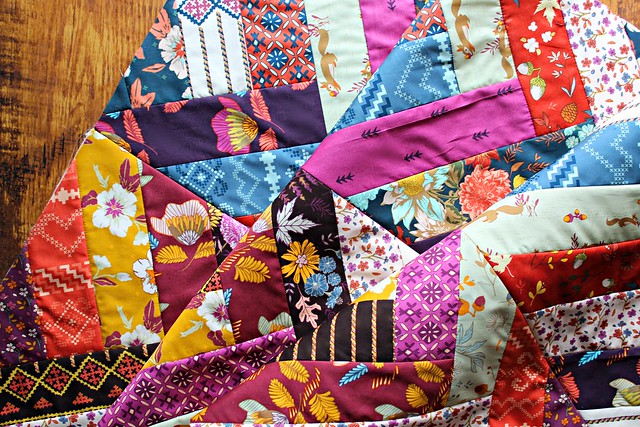
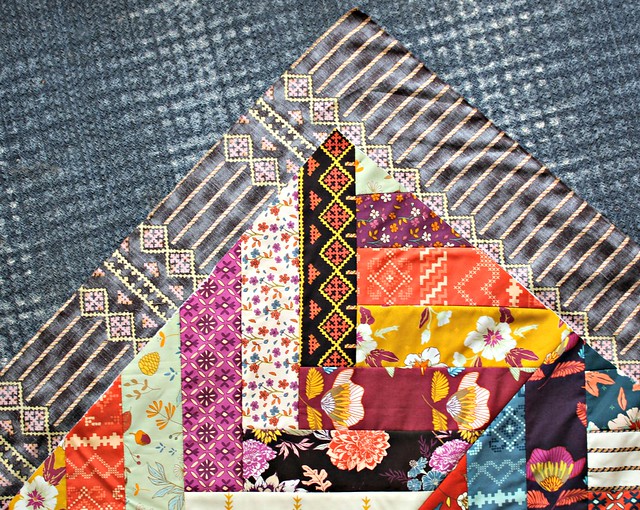
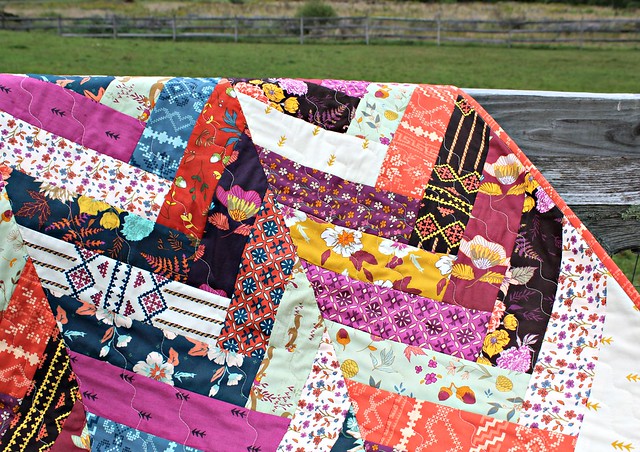
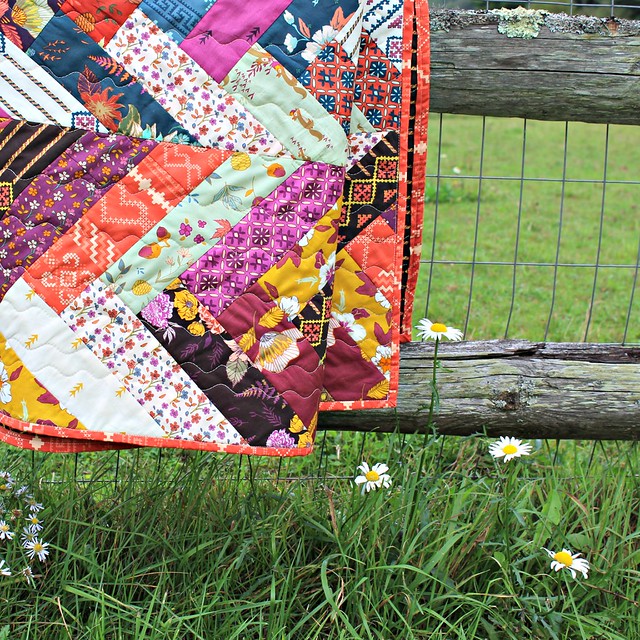
At first I thought I'd make more of the scrappy bear paw blocks that I had just finished making with Enchanted Voyage, which you'll see soon in next week's LookBook, but when the time came to cut into this bundle I remembered a quilt that my friend Heidi Staples had made a few years back, her Big Bear Cabin Quilt, and I knew that would be perfection!

IMG_9800

When I made this quilt top I wasn't aware that Heidi had published her Big Bear Cabin Quilt in her latest book published with Lucky Spool, Patchwork USA, which I've since ordered. So, my quilt is completely inspired by Heidi's original quilt that she blogged back in 2016 with adjusted measurements to make a larger throw size quilt top with a scrappy twist!

IMG_9803

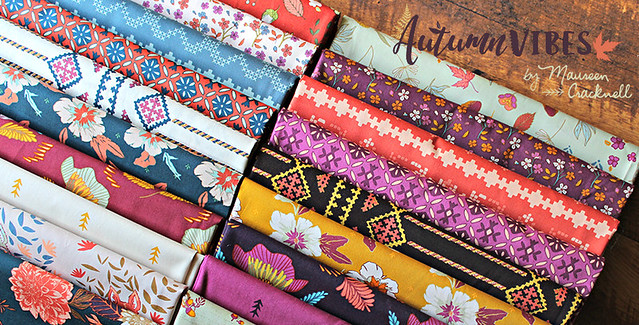
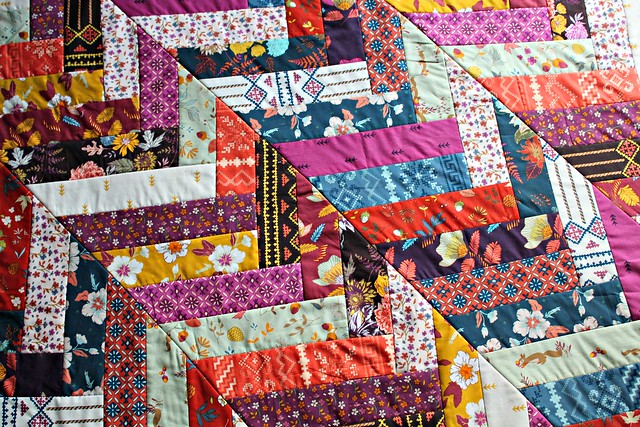
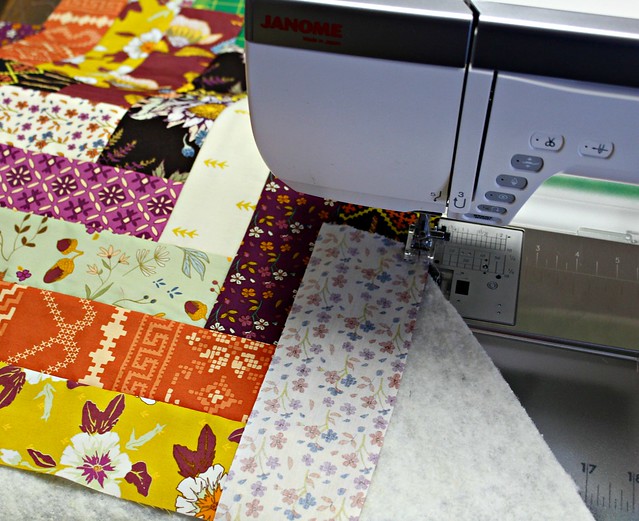
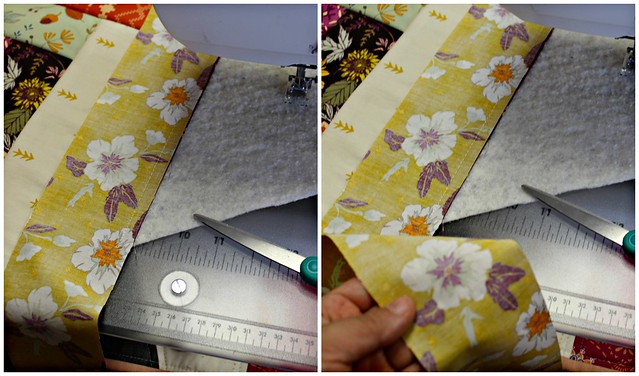
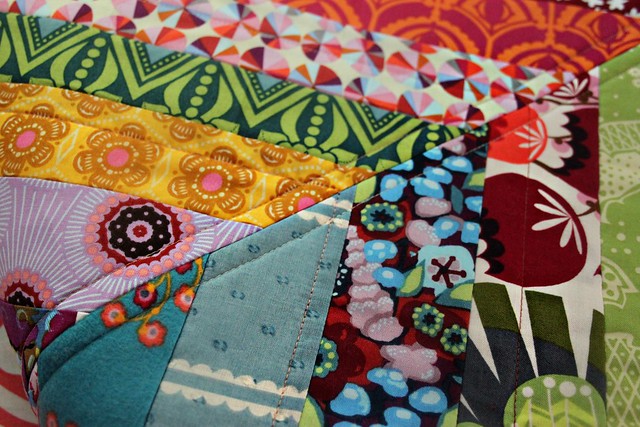
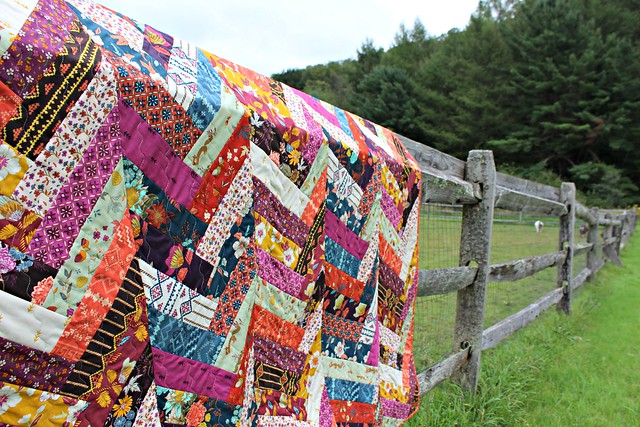
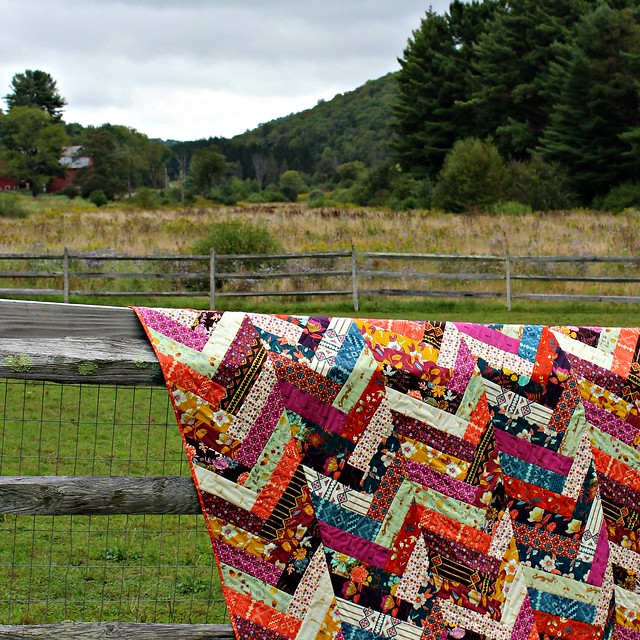
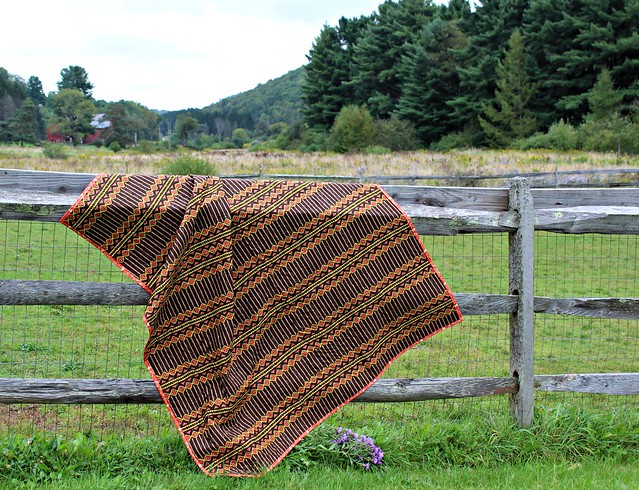
In addition to Lady Belle's Autumn Feels bundle I added in secondary colorways of several of the prints that I luckily had in my stash, prints from my Autumn Vibes collection, brand new prints from Enchanted Voyage and lots of low volumes. From start to finish, from pulling the prints from my stash to having a completed quilt top, it took me just one full day of sewing to make. I LOVE a quick quilt top and I was so happy to finish just in time for Kevin and I to take it to photograph on a short trip to the lake the next day on his day off, a beautiful Autumn day!

IMG_9728

Before this season is over, I have hopes of making some more things with this Autumn Feels bundle and this is absolutely one of those quilt tops that I can't wait to make again, so I may just make another if I have enough fabrics leftover. Brooke also turned this bundle into a simple, stunning patchwork quilt top that you'll have to check it on her Instagram, it's so, SO pretty!

If you love this bundle as much as I do you can find it in the Lady Belle Fabric shop here -- Autumn Feels Bundle, and tomorrow I have a Giveaway planned for Autumn Feels both here and on my Instagram so be sure to stop back!

IMG_9718

xo Maureen

Thursday, October 25, 2018

Hello, October!

I can't believe more than a full month has past since I last shared here on the blog. For several years now I've enjoyed blogging regularly. Starting my day with a quick blog post to share newly stashed fabrics, a project plan, a celebratory finish or exciting news has been habit for me. When so many of my personal favorite folks in this industry shifted to fast moving, visual platforms of social media and eliminated blogging from their daily routines, I completely understood but, I made a solemn promise to myself to try my best to keep up with this blog. At times it's been impossible to find a moment in the day to share what I want. Other days, the much lower engagement would discourage me from wanting to continue posting here. While on one hand I'm not quite sure how I inadvertently missed a full month of posts, I see the long list of today's to-do's before me and I have my answer. But I've missed it here, without a doubt, so it feels good to start today playing a little catch-up!

Just after my last post, when my Autumn Vibes LookBook was just about to be released, I got sick with a bad sore throat that quickly turned into pneumonia,  again. I had tons to share, but I was much too miserable. Project plans and posts came to a halt, and honestly those couple of weeks are a complete blur to me. So let's start there, have you seen my Autumn Vibes LookBook?

LookBook Cover

I'm excited to officially invite you all to browse through it's sixty-eight pages filled with beautiful sewing projects perfect for Autumn Vibes! From small patchwork to 90" square quilts, you'll find all the inspiration you'll need for Autumn Vibes sewing!

Autumn Vibes Banner - Fabrics

I made quite a few seasonal inspired projects, that I haven't yet had a chance to blog in detail, that I'm really looking forward to sharing more about in the days ahead. Between now and Thanksgiving I'm going to try my best to get through them all, since so many will make the perfect décor or hostess gift for the holiday!

Autumn Vibes Tea Towel and Acorn Patchwork Trivet

In other news, Art Gallery recently launched a series of brand new Color Master products! It was such fun to be surprised by AGF with our Designer Palette's, did you see the announcements?

Designer's Palette Maureen Cracknell Edition No. 1

I'm so excited to share that AGF has created a collector’s box of fabrics like no other! Each Designer's Palette includes a hand-picked selection of fabric just perfect for makers to use for their creative projects. Each palette is a colorful, unique group of AGF’s signature quality cotton paired with an original and collectible box made exclusively for them! Color Master Designer’s Palette include some of the very best of each designer’s fabrics, in groups of ten prints available in two choices: Fat Quarters or Half Yards, as Bundles or Boxes!

The Maureen Cracknell Edition No. 1 includes ten pretty prints from Nightfall, Garden Dreamer and Flower Child that together creates a pretty color palette perfect for your sewing needs. I have plans to create a project or two with these select prints in mind, so stay tuned for that!

Designer's Palette Maureen Cracknell Edition No. 1

Lastly, today I need to share what I'm right in the thick of these days -- Quilt Market sewing! In just a little more than a week I need to complete, photograph and display all the samples I've been busy stitching up with my next collection due out this December, Sun Kissed! Although I'm not able to attend International Quilt Market in Houston, I'm putting together a studio display to showcase this line and I'm so thrilled with how it's coming together! I've been sharing little peeks when I can in my Instagram stories, so be sure to follow me there to get a first look at this upcoming collection. It's so much fun!

Sun Kissed COMING SOON December 2018

There's so much more I'd love to share today, but not to overwhelm you, I think that's a good start to my blog return. I hope you're as excited about these announcements as I am! The backlog of projects I have to share is in the dozens, so be sure to stop back on Monday when I'm planning a fresh start to a full week of blogging. I'll have to organize a Fabric Friday Giveaway for old times sake!

xo Maureen

Friday, September 21, 2018

Autumn Vibes Friendship Braid Tutorial : :

IMG_6083 (833)

This project tutorial is a Quick Quilt As You Go style quilt, made with long panels rather than traditional blocks. We'll be using cotton batting as our foundation for easy string quilt piecing. I think you'll be very surprised with just how simple and quickly this method of quilting comes together, especially those of you who have taken my Crafty class, Quick Quilt As You Go!

Fabric and Materials Required : :
  • a variety of fabrics totaling 7.5 yards cut 3" x wof (suggested) or cut into 3" x 12.5" ( I used approximately 250 pieces, using nineteen different prints from a half yard bundle of my Autumn Vibes collection)
  • 5 - 13" x 74" panels (I cut mine slightly larger than trim to size after fabrics are added) of Tuscany Cotton a 100% cotton batting by Hobbs Quilt Batting 
  • thread & sewing pins
  • fabrics for quilt backing (4.5 yards) and quilt binding (1/2 yard cut into 7 strips 2.5" x wof )
  • rotary cutter/large cutting mat/ruler set
* Notes for Quick Quilt As You Go *  
  • Synthetic batting is NOT suggested, only use a 100% cotton or natural fiber batting, such as silk, bamboo or wool. It is important to be able to press the batting with a hot iron and steam
  • Use a standard loft batting. The #1 question I receive about this QAYG is folks wanting to know if there is bulk at the seams. My answer is NO, not to a noticeable degree. I absolutely wouldn't spend my sewing time making a quilt that was poorly constructed or that wasn't comfortable!
  • Quilt panels can be made in any size! The measurements I'm sharing for this tutorial makes a 60" x 72" throw size quilt. Please feel free to adjust that to your own desired length and width.
  • To get the look of my quilt, use Autumn Vibes By the Chimney to make three panels and Autumn Vibes Fresh Night Breeze to make two panels, then alternate the panels when you sew them together

IMG_5957

Now, let's get started!  
    .   .   .   .   .   .   .   .   .   .   .   .   .   .   .   .   .   .   .   .   .   .   .    .

Preparing the Batting Panels:

1. To make the batting panels for the foundation piecing, cut 5 - batting strips measuring 13" x 74". I make mine slightly oversized for a little extra wiggle room and then I square them to 12.5" x 72" once they are pieced with fabric strips

IMG_5856

2. Place one batting panel on the cutting mat at a time, matching one of the long edges to the horizontal grid on the mat. With a ruler matched up as shown in the photo below, mark one line from the corner that's about 7" long to help start the proper angle when adding the first fabric strips. Once those first fabrics are added, you'll keep that angel naturally as you piece. Repeat this step making sure you mark all five batting panels with this line to use as your starting guide

IMG_5894

Adding the Fabric Strips:

3. Prepare the fabric strips by cutting fabrics into 3" x WOF strips and trim away the access length as you add the fabrics for less waste OR subcut the WOF strips into 12.5″ strips. For this quilt I used approximately 250 strips measuring on average 3" x 12.5" with a few measuring less in length for the beginning and end of my panels where that much length isn't necessary. I cut my 3" x WOF strips from a 1/2 yard bundle of Autumn Vibes, minus the Foxes in Fall print. You will need a total of 7.5 yards of fabrics for this 60" x 72" throw quilt top

IMG_5843

4. Using that first mark as your guide, begin by placing that first fabric right side up onto the batting, then place the next strip right side down onto that first strip, matching up the edges. Using a 1/4" seam allowance, sew along the raw edge. Since you're sewing the fabrics to the batting as your foundation, you'll be permanently setting the fabric strips in place

IMG_5896

img_5899

5. Fold over the top fabric strip and either press with iron or you can simply smooth it down flat with your hand. The fabrics stick nicely to the cotton batting, therefor I'm comfortable carefully folding over the fabric strips and just smoothing them with my hand as I go and pressing with a hot iron just a few times while I work my way down the panel

IMG_5902

6. Continue adding fabric strips, placing each new fabric strip on top of the other with right sides facing, matching up the raw edges. Attach with 1/4" seam, fold over, and continue to press or smooth each new fabric added until you reach the end of the batting


IMG_5904

IMG_5906

7. After you've completed that starting point to anchor the first braid, you'll sew your first braid to the right side of those first fabrics, placing a new fabric strip with right sides facing, matching up the raw edges as shown below. Attach with 1/4" seam, fold over, and smooth with hand to press

IMG_5907

IMG_5910

8. Continue sewing strips to the left and then the right of the braid. Match the fabric strips from the center each time

IMG_5920

Below you can see how I kept the WOF length to my fabric strips and trimmed away the access length as I added each new strip.

img_5921

9. When finished with a panel, press well. Use a mat, ruler, and rotary cutter to trim away the overhang of fabric from each side of the panel and square up to measure 12.5" x 72". Repeat until all 5 panels are trimmed to size

IMG_5861

IMG_5930

IMG_5862

Sew Panels Together:

10
. Take two panels and place them rights together. Using sewing pins to secure their place and sew along one side keeping a 1/4" seam allowance. Repeat this with the remaining panels to create your Friendship Braid quilt top

IMG_5933

IMG_5871

11. Press the seams open on the back side and press the front side of each panel well

IMG_5892

IMG_5957

Quilt Backing, Basting and Binding:

12. Piece together fabrics for the quilt back to measure at least 2" bigger than the quilt top on all sides and baste it to the quilted quilt front.  I use Therm O Web's SpraynBond basting spray for this, however pin basting works

IMG_5963

IMG_5970

IMG_5966(942)

13. For a simple finish: Working your way down from the top of the quilt to the bottom, simply sew about 1/4" from the seam lines (when adding this stitching it IS recommended that you do use a Walking Foot). Continue this on both sides of each seam running from the top of the quilt to the bottom, to attach your quilt backing fabric

I chose to attach my quilt back and add my final quilting by using the built-in wavy quilt stitch that comes with my Janome.
________________

Below shows a close up look from a previously made Quick Quilt As You GO of what the simple stitches will look like from both the front and the back side of the quilt

Close up -- Front

Close up -- Back
__________________

Below you can see an up close look at how the wavy quilting stitches look.

IMG_6094

14. Machine or hand bind the quilt using your preferred method

IMG_6098

IMG_6100

Hooray! Your Autumn Vibes Friendship Braid QAYG Quilt is finished!

IMG_6085

IMG_6067

IMG_6045

Thank you so much for stopping by today and for all the love you've already shown my Autumn Vibes fabric collection here, on Instagram and on Facebook! I really hope you enjoy this tutorial!

Do you think you'll give it a try

If you do, please be sure to share with the hashtag #FriendshipBraidQAYG, there you can see examples of many other projects using this pattern, and be sure to tag me @MaureenCracknell so I can see!

xx Maureen