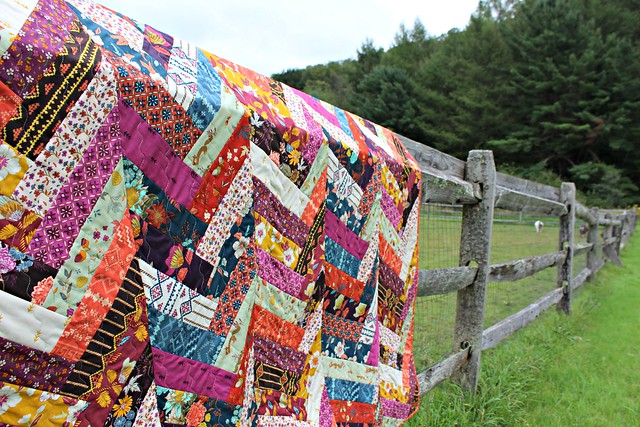
Showing posts with label friendship braid. Show all posts

Wednesday, September 4, 2019

New Bags!

I 've mentioned before that this year started off rough with me badly injuring my right knee. In between my sprained ligaments healing and reconstruction surgery, there were a couple of weeks where I was able to sew, very slowly, and during that time I had challenged myself to try my best to make a bag a day. I came pretty close to that goal and it was just what I needed to stay creative and feeling somewhat productive. The bag challenge was helpful and I realized just how much I love to make them, which absolutely kept my spirits up during such a difficult time! The bags I make aren't very complicated, which makes them fun. Often times they're made from scraps leftover from larger projects which feels good to use, the construction is simple and they're always quilted. Today I thought I'd share a few of my recent quilted bag finishes!

IMG_9333

Inspired by tomorrow's Friday Fabric Giveaway with my new sponsor Fabric Stork for Alexandra Bordallo's adorable Dew & Moss collection for AGF, I pulled a few favorites from my Dew & Moss bundle and added in some colorful prints by Sharon Holland, Pat Bravo and Amy Sinibaldi to make a cheerful new drawstring bag!

IMG_9386

I love the way the photo of my fabric pull was arranged so much that I decided to keep the prints in the same order while piecing my bag. Such a pretty ombre effect, don't you think!? You may have seen the drawstring bag I shared last week made in this same style and I should let you know that I've decided to make at least six to display on a vintage accordion peg rack that I have in the shop side of my studio that I've been working on filling with inventory. Besides the zip bags I often make, I love making these non-zip, drawstring bags with handles!

IMG_9374

I still haven't sourced or made the perfect drawstrings just yet, but I'm getting closer! For these I used an AGF denim and finished the ends of them with Dritz Fray Check, to seals the unfinished ends of my drawstrings. When the Fray Check dries, which I left over night to dry after they were threaded through my bag, the ends harden slightly and think this may be the way I go from now on. I'll definitely keep you updated on that!

IMG_9377

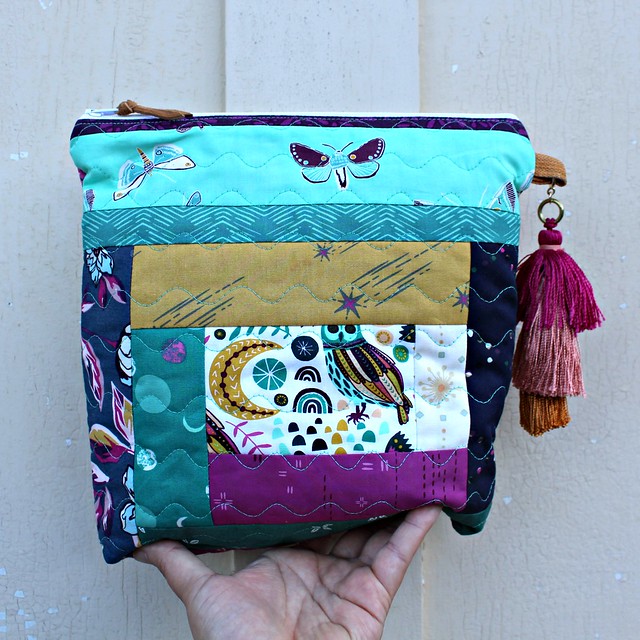
The other three bags I made are zipper pouch bags using my Quick Quilt As You technique. This first one I shared on my Instagram yesterday and received lots of love! I've made several using this pattern that's a modified version of a qayg quilt block I made for my Craftsy (now Bluprint class). I love the combination of the flying geese with fabric strips. This is definitely a pattern I plan to make into a quilt!

IMG_9344

The back features prints from my Mystical Land and Nightfall collections combined with a few prints from the Lugu collection by Jessica Swift. I adore Jessica's moths and owls!
IMG_9347

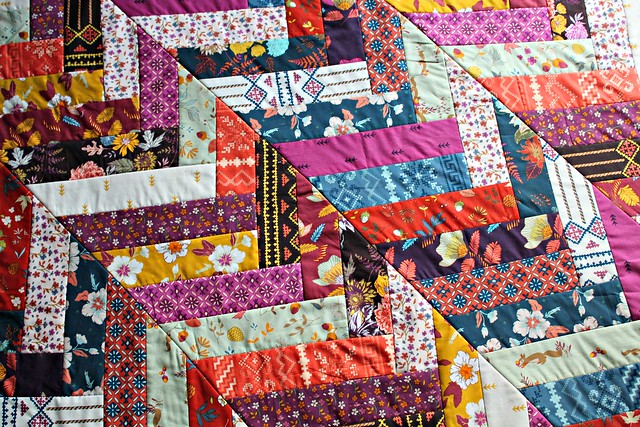
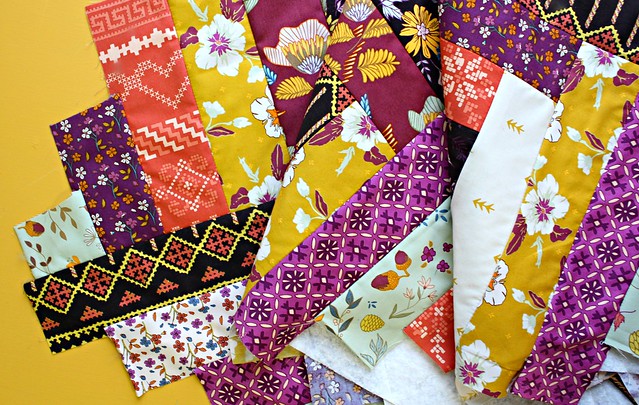
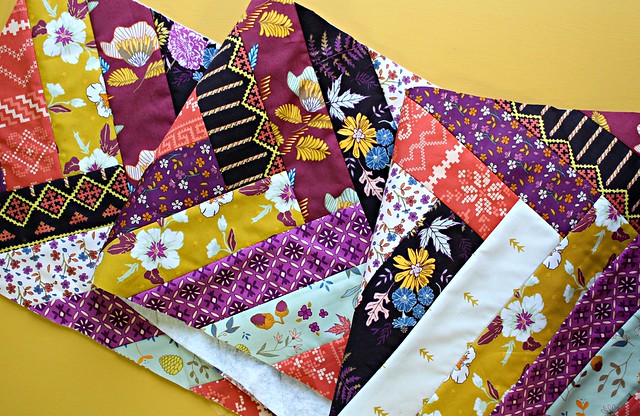
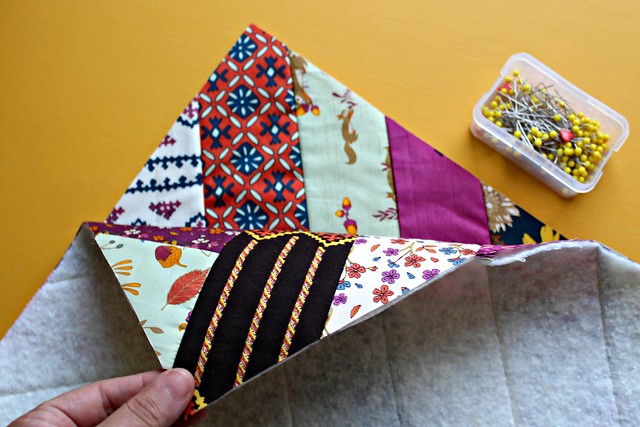
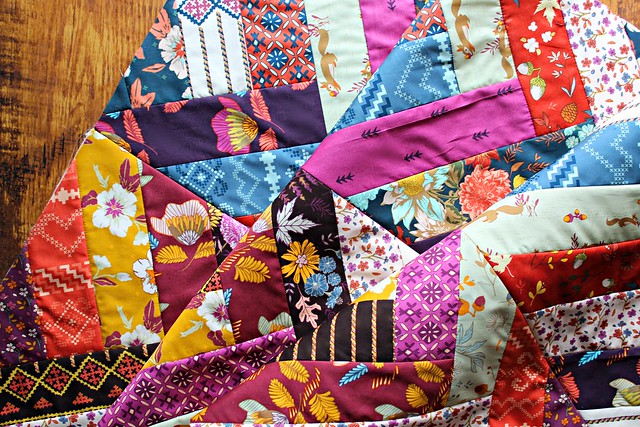
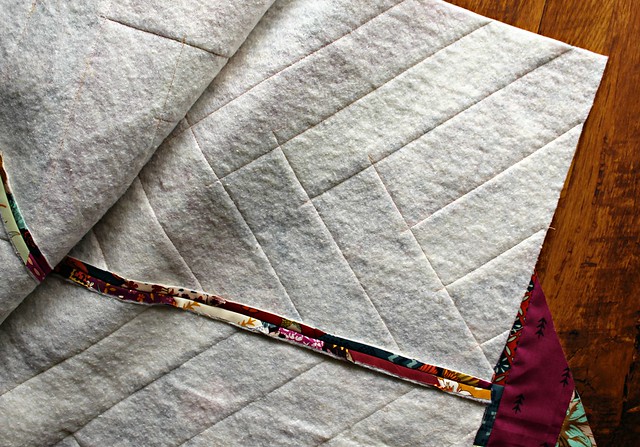
The final two bags include many of the same fabrics but this time I used my Friendship Braid QAYG! Each strip is pieced and straight line quilted to a layer of Hobbs cotton batting with an aqua 50wt Aurifil thread that I finally just ran out of. I swear those large spools last forever!

IMG_9351

The back is just a simple striping of the same fabrics but this time I used a wavy stitch that comes as a built-in stitch on my Janome. I set the stitch length and width at the greatest options and it goes super quick and looks great!

IMG_9353

Now you'll all have to let me know which of these new bags is your favorite? It will help me decide which to make more of for my shop, which I really appreciate!

xo Maureen

Friday, September 21, 2018

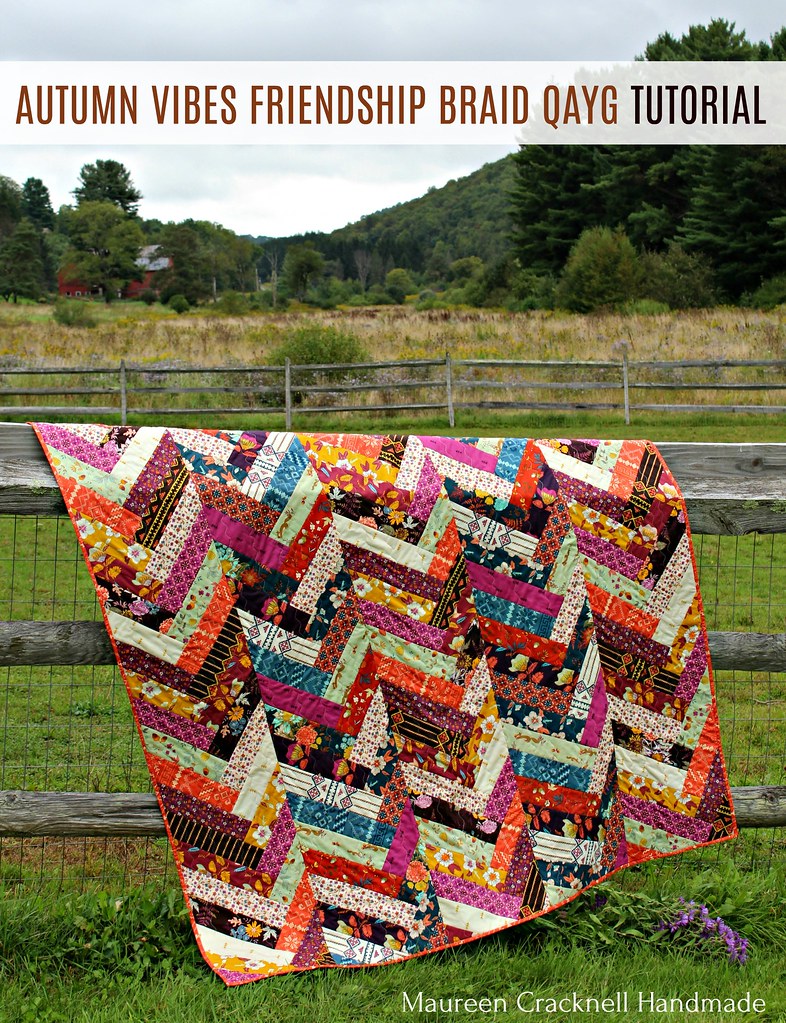
Autumn Vibes Friendship Braid Tutorial : :

IMG_6083 (833)

This project tutorial is a Quick Quilt As You Go style quilt, made with long panels rather than traditional blocks. We'll be using cotton batting as our foundation for easy string quilt piecing. I think you'll be very surprised with just how simple and quickly this method of quilting comes together, especially those of you who have taken my Crafty class, Quick Quilt As You Go!

Fabric and Materials Required : :
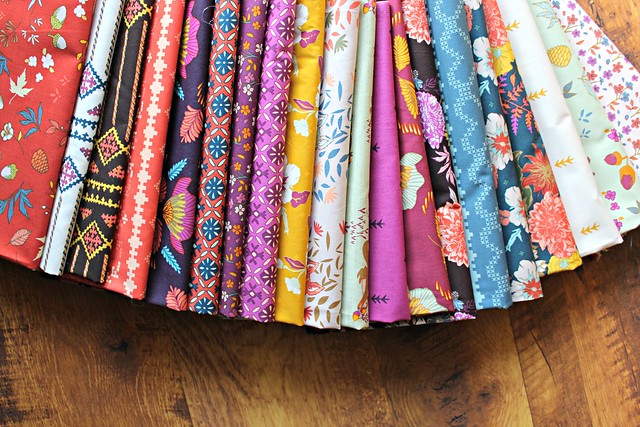
  • a variety of fabrics totaling 7.5 yards cut 3" x wof (suggested) or cut into 3" x 12.5" ( I used approximately 250 pieces, using nineteen different prints from a half yard bundle of my Autumn Vibes collection)
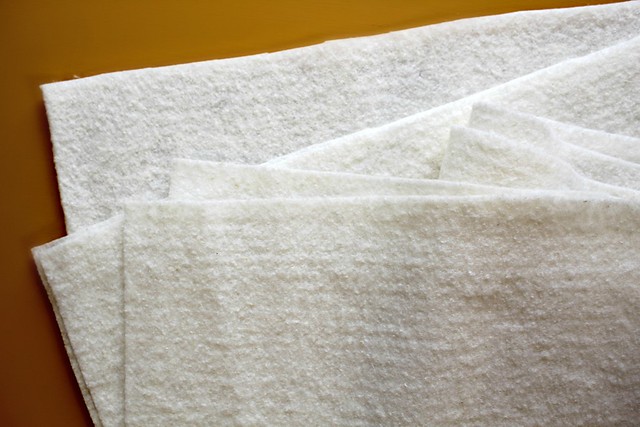
  • 5 - 13" x 74" panels (I cut mine slightly larger than trim to size after fabrics are added) of Tuscany Cotton a 100% cotton batting by Hobbs Quilt Batting 
  • thread & sewing pins
  • fabrics for quilt backing (4.5 yards) and quilt binding (1/2 yard cut into 7 strips 2.5" x wof )
  • rotary cutter/large cutting mat/ruler set
* Notes for Quick Quilt As You Go *  
  • Synthetic batting is NOT suggested, only use a 100% cotton or natural fiber batting, such as silk, bamboo or wool. It is important to be able to press the batting with a hot iron and steam
  • Use a standard loft batting. The #1 question I receive about this QAYG is folks wanting to know if there is bulk at the seams. My answer is NO, not to a noticeable degree. I absolutely wouldn't spend my sewing time making a quilt that was poorly constructed or that wasn't comfortable!
  • Quilt panels can be made in any size! The measurements I'm sharing for this tutorial makes a 60" x 72" throw size quilt. Please feel free to adjust that to your own desired length and width.
  • To get the look of my quilt, use Autumn Vibes By the Chimney to make three panels and Autumn Vibes Fresh Night Breeze to make two panels, then alternate the panels when you sew them together

IMG_5957

Now, let's get started!  
    .   .   .   .   .   .   .   .   .   .   .   .   .   .   .   .   .   .   .   .   .   .   .    .

Preparing the Batting Panels:

1. To make the batting panels for the foundation piecing, cut 5 - batting strips measuring 13" x 74". I make mine slightly oversized for a little extra wiggle room and then I square them to 12.5" x 72" once they are pieced with fabric strips

IMG_5856

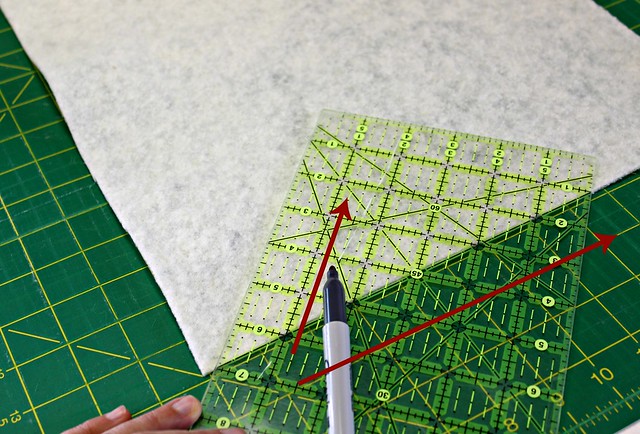
2. Place one batting panel on the cutting mat at a time, matching one of the long edges to the horizontal grid on the mat. With a ruler matched up as shown in the photo below, mark one line from the corner that's about 7" long to help start the proper angle when adding the first fabric strips. Once those first fabrics are added, you'll keep that angel naturally as you piece. Repeat this step making sure you mark all five batting panels with this line to use as your starting guide

IMG_5894

Adding the Fabric Strips:

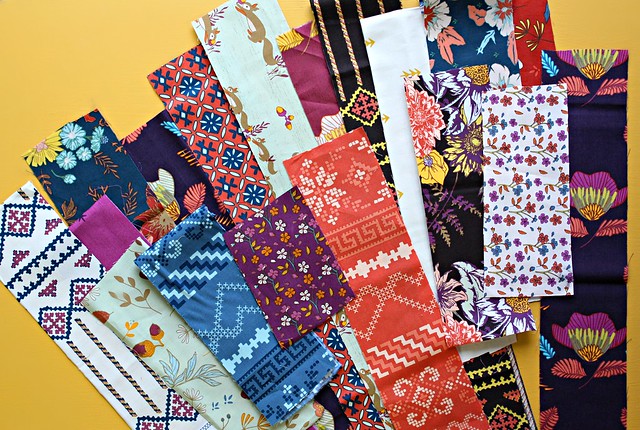
3. Prepare the fabric strips by cutting fabrics into 3" x WOF strips and trim away the access length as you add the fabrics for less waste OR subcut the WOF strips into 12.5″ strips. For this quilt I used approximately 250 strips measuring on average 3" x 12.5" with a few measuring less in length for the beginning and end of my panels where that much length isn't necessary. I cut my 3" x WOF strips from a 1/2 yard bundle of Autumn Vibes, minus the Foxes in Fall print. You will need a total of 7.5 yards of fabrics for this 60" x 72" throw quilt top

IMG_5843

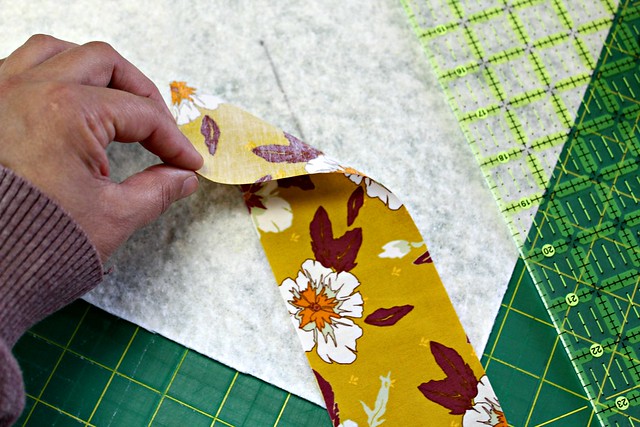
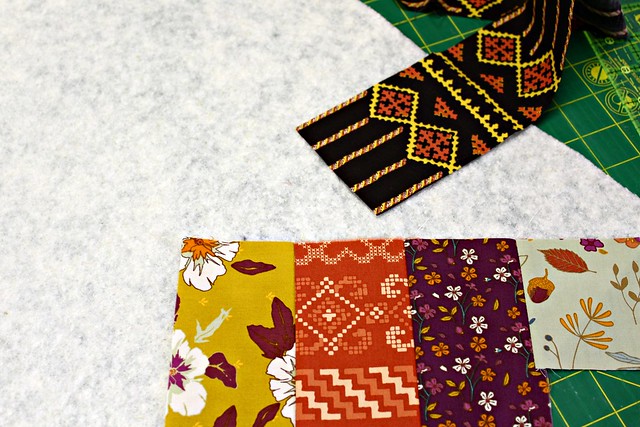
4. Using that first mark as your guide, begin by placing that first fabric right side up onto the batting, then place the next strip right side down onto that first strip, matching up the edges. Using a 1/4" seam allowance, sew along the raw edge. Since you're sewing the fabrics to the batting as your foundation, you'll be permanently setting the fabric strips in place

IMG_5896

img_5899

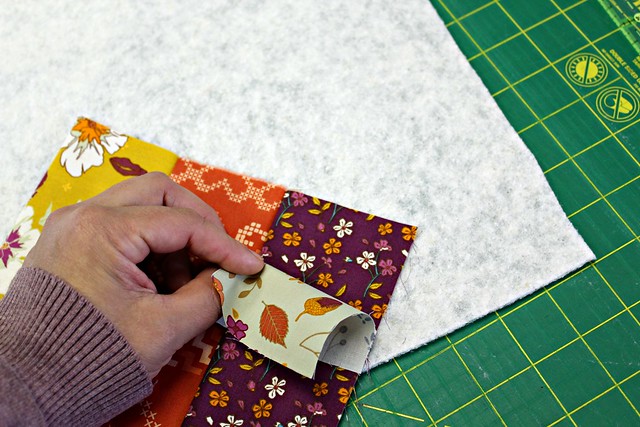
5. Fold over the top fabric strip and either press with iron or you can simply smooth it down flat with your hand. The fabrics stick nicely to the cotton batting, therefor I'm comfortable carefully folding over the fabric strips and just smoothing them with my hand as I go and pressing with a hot iron just a few times while I work my way down the panel

IMG_5902

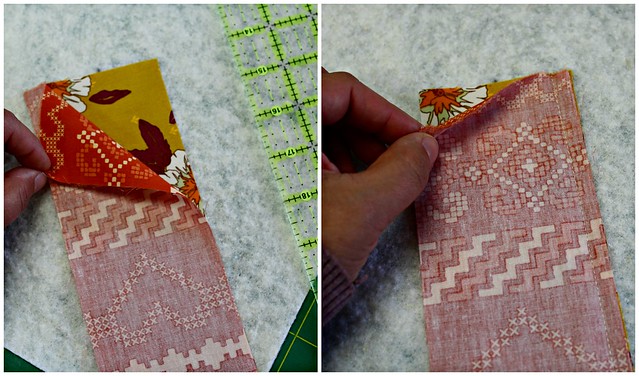
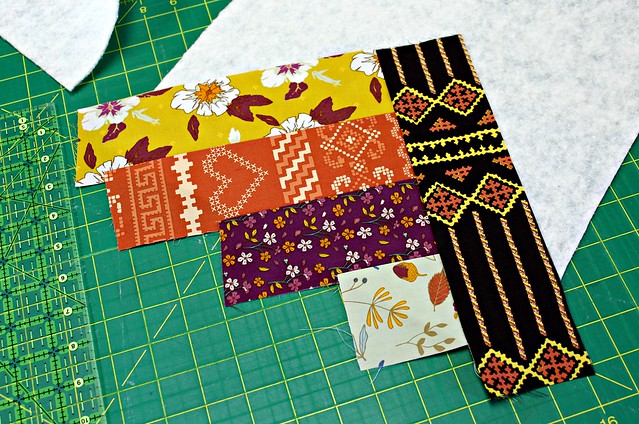
6. Continue adding fabric strips, placing each new fabric strip on top of the other with right sides facing, matching up the raw edges. Attach with 1/4" seam, fold over, and continue to press or smooth each new fabric added until you reach the end of the batting


IMG_5904

IMG_5906

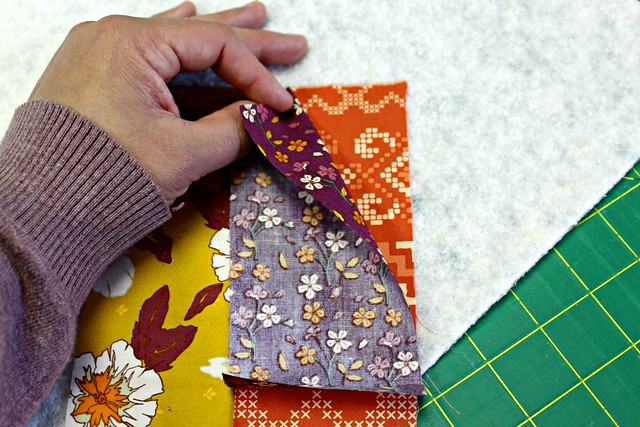
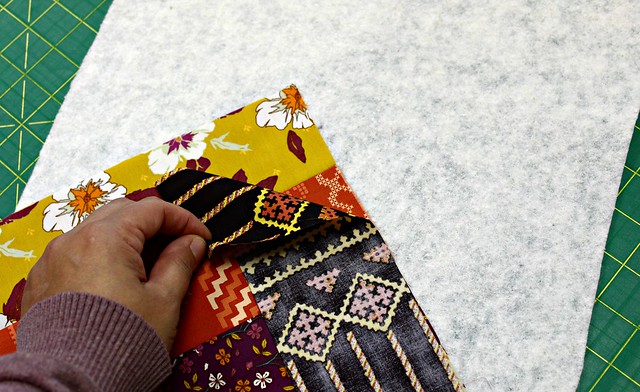
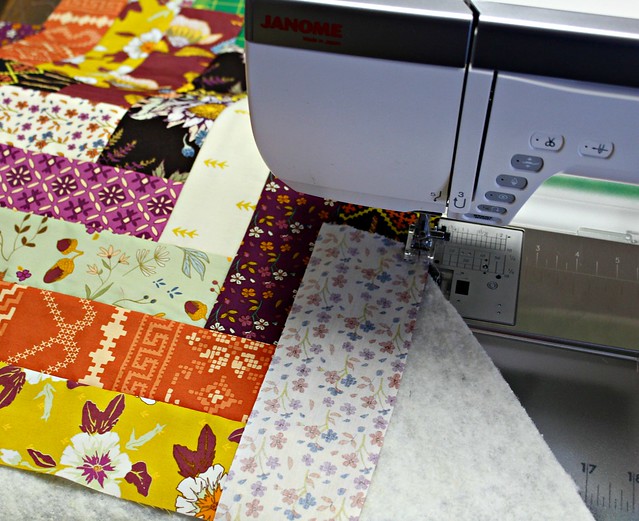
7. After you've completed that starting point to anchor the first braid, you'll sew your first braid to the right side of those first fabrics, placing a new fabric strip with right sides facing, matching up the raw edges as shown below. Attach with 1/4" seam, fold over, and smooth with hand to press

IMG_5907

IMG_5910

8. Continue sewing strips to the left and then the right of the braid. Match the fabric strips from the center each time

IMG_5920

Below you can see how I kept the WOF length to my fabric strips and trimmed away the access length as I added each new strip.

img_5921

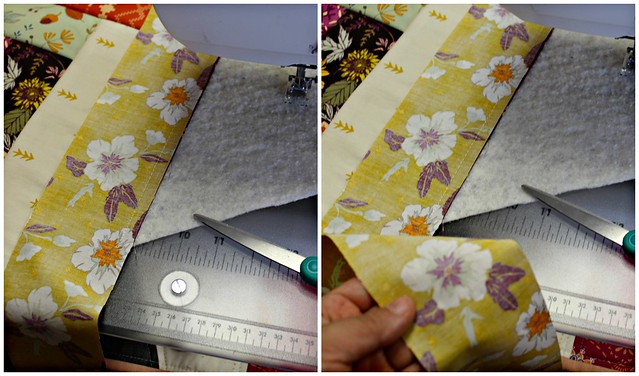
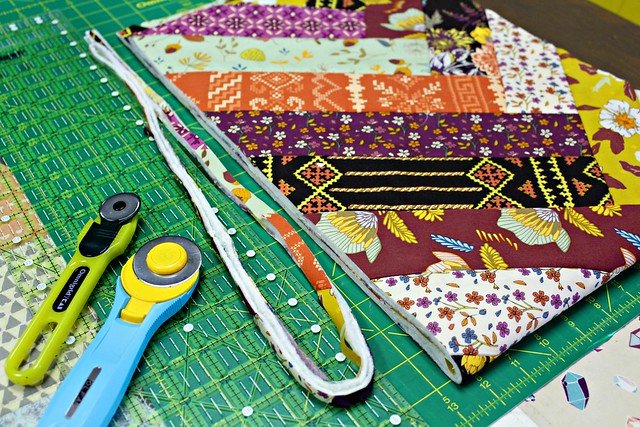
9. When finished with a panel, press well. Use a mat, ruler, and rotary cutter to trim away the overhang of fabric from each side of the panel and square up to measure 12.5" x 72". Repeat until all 5 panels are trimmed to size

IMG_5861

IMG_5930

IMG_5862

Sew Panels Together:

10
. Take two panels and place them rights together. Using sewing pins to secure their place and sew along one side keeping a 1/4" seam allowance. Repeat this with the remaining panels to create your Friendship Braid quilt top

IMG_5933

IMG_5871

11. Press the seams open on the back side and press the front side of each panel well

IMG_5892

IMG_5957

Quilt Backing, Basting and Binding:

12. Piece together fabrics for the quilt back to measure at least 2" bigger than the quilt top on all sides and baste it to the quilted quilt front.  I use Therm O Web's SpraynBond basting spray for this, however pin basting works

IMG_5963

IMG_5970

IMG_5966(942)

13. For a simple finish: Working your way down from the top of the quilt to the bottom, simply sew about 1/4" from the seam lines (when adding this stitching it IS recommended that you do use a Walking Foot). Continue this on both sides of each seam running from the top of the quilt to the bottom, to attach your quilt backing fabric

I chose to attach my quilt back and add my final quilting by using the built-in wavy quilt stitch that comes with my Janome.
________________

Below shows a close up look from a previously made Quick Quilt As You GO of what the simple stitches will look like from both the front and the back side of the quilt

Close up -- Front

Close up -- Back
__________________

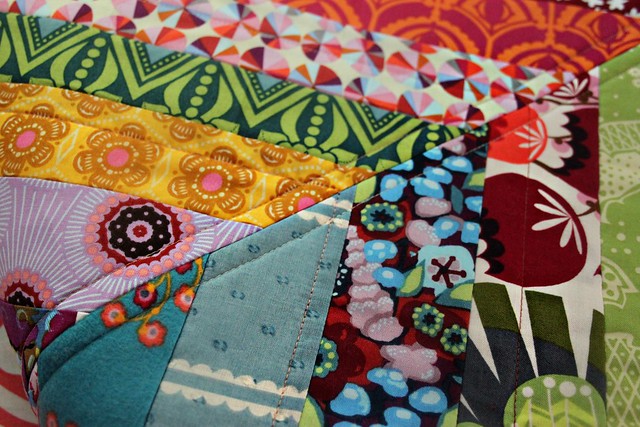
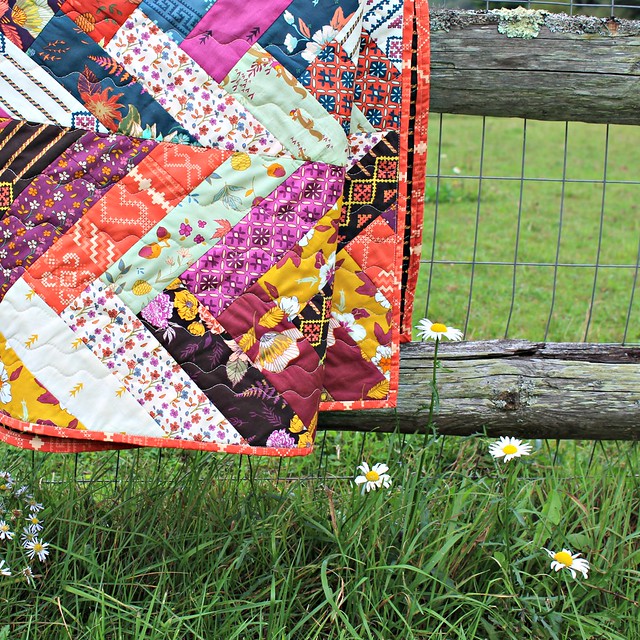
Below you can see an up close look at how the wavy quilting stitches look.

IMG_6094

14. Machine or hand bind the quilt using your preferred method

IMG_6098

IMG_6100

Hooray! Your Autumn Vibes Friendship Braid QAYG Quilt is finished!

IMG_6085

IMG_6067

IMG_6045

Thank you so much for stopping by today and for all the love you've already shown my Autumn Vibes fabric collection here, on Instagram and on Facebook! I really hope you enjoy this tutorial!

Do you think you'll give it a try

If you do, please be sure to share with the hashtag #FriendshipBraidQAYG, there you can see examples of many other projects using this pattern, and be sure to tag me @MaureenCracknell so I can see!

xx Maureen  
Tuesday, September 18, 2018

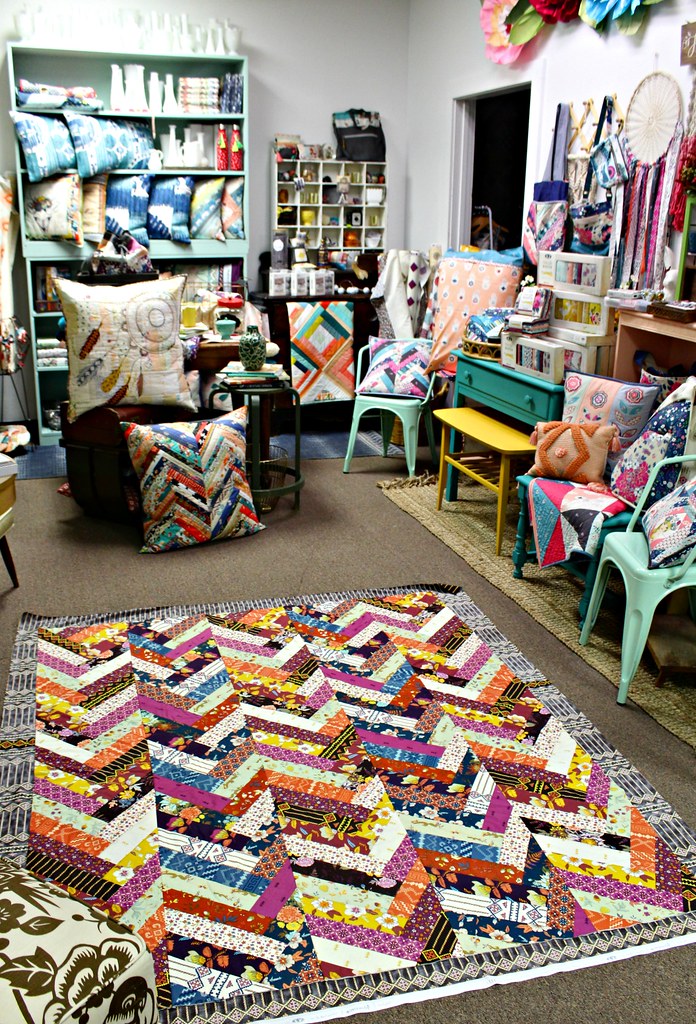
An Autumn Vibes Friendship Braid Quilt : :

IMG_6085

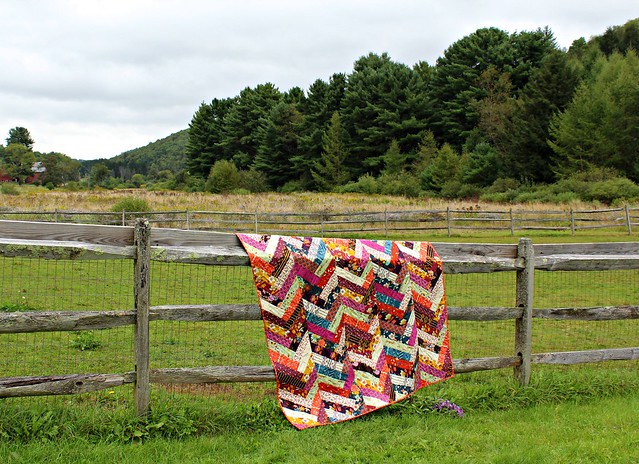
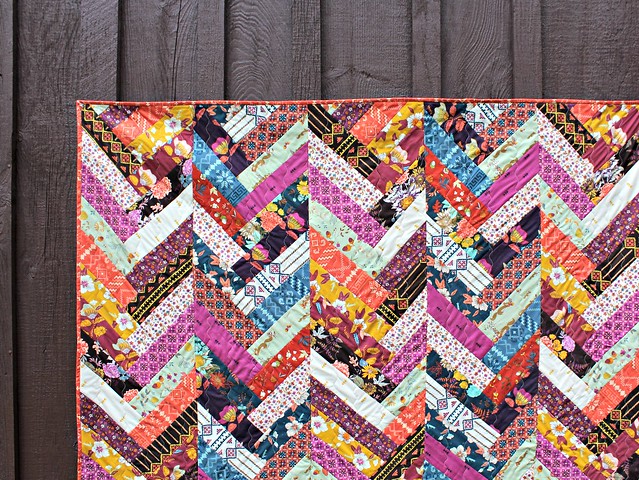
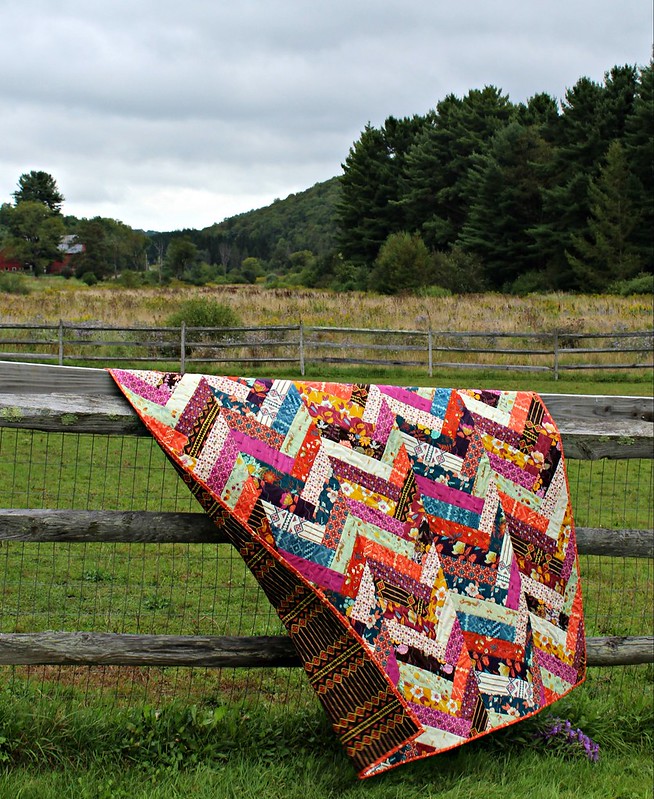
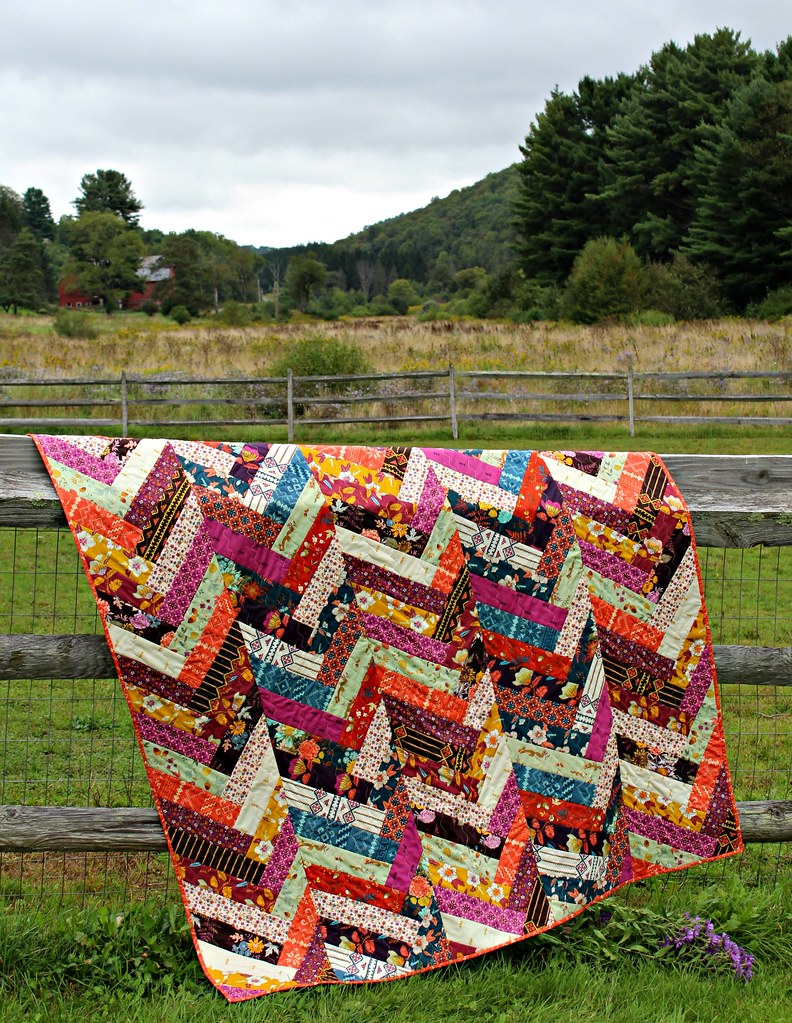
I'm so excited to share this new quilt, my Autumn Vibes Friendship Braid Quilt!

IMG_6088

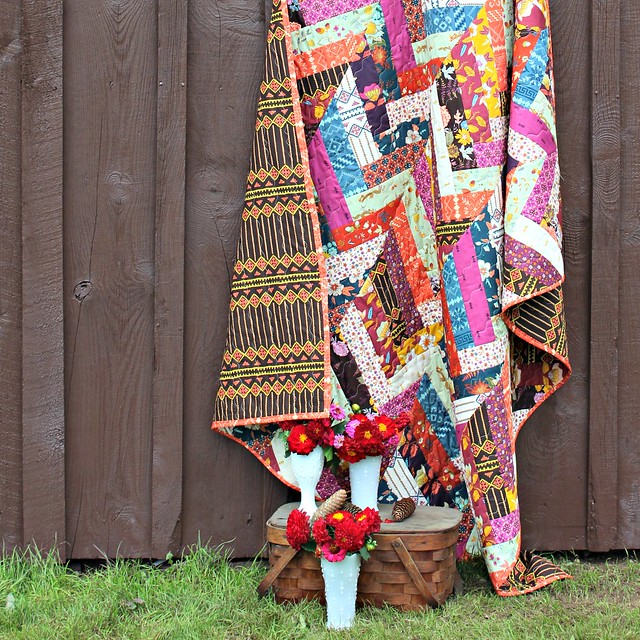
Before I share a tutorial for this new Quick Quilt As You Go, first I have to share my pretty, newly finished quilt featuring my brand new Autumn Vibes collection for Art Gallery Fabrics!

IMG_5464

When I designed this collection I tried so hard to capture the warmth and coziness of Autumn, full of prints and colors that would create the perfect quilt to leave on the sofa all season long!

This Autumn Vibes Friendship Brand Quilt is definitely the one for me!

IMG_5996

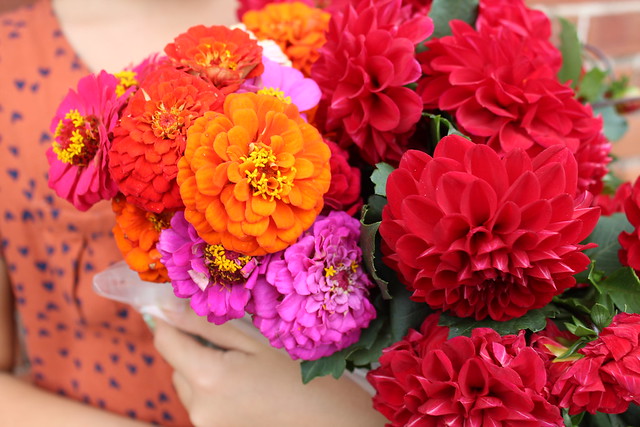
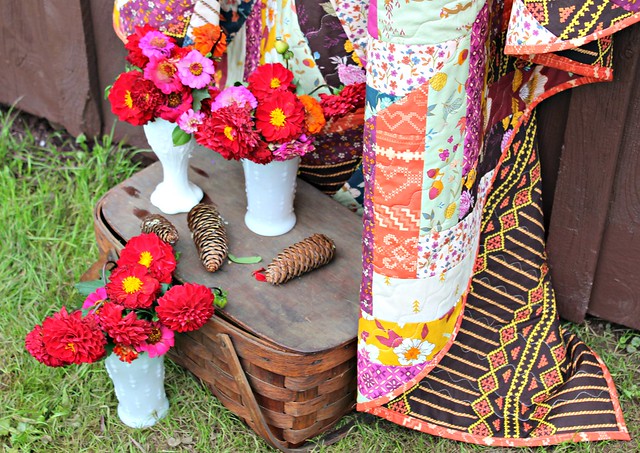
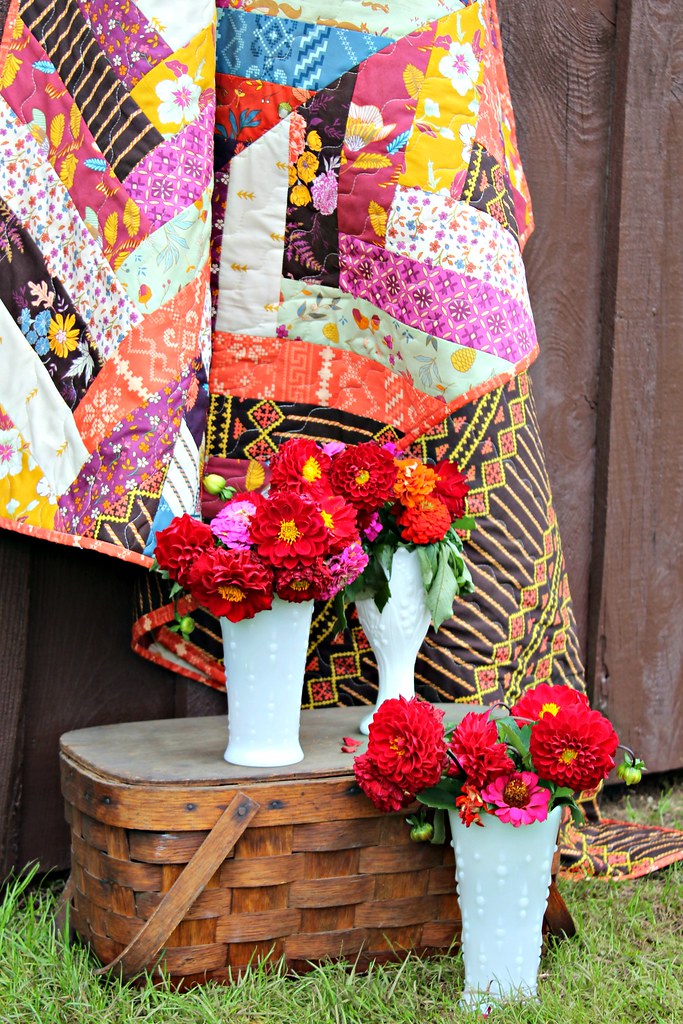
Since we're still a few weeks away from when the Fall foliage is in full flourish, on Friday I stopped by the local Farmer's Market to pick up these gorgeous, colorful Dahlia's and Zinnias to use in my photos.

IMG_5976

IMG_6050

IMG_6009

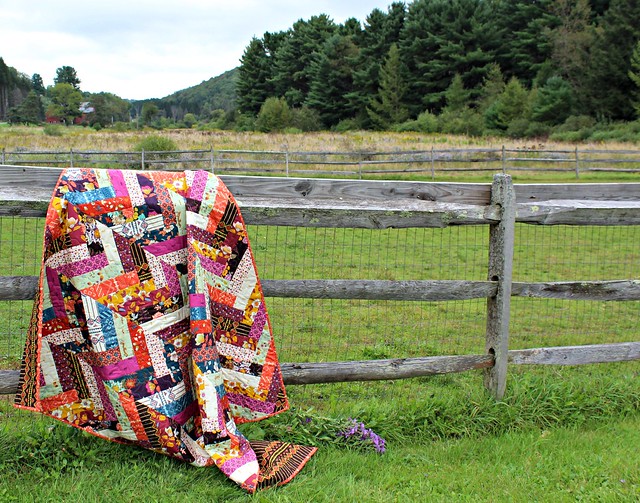
Yesterday afternoon we were able to sneak out to a favorite local spot for photographs just before the rain. The weather was changing fast and the light & cool breeze were perfect, I wish you all could have been there!
IMG_6084

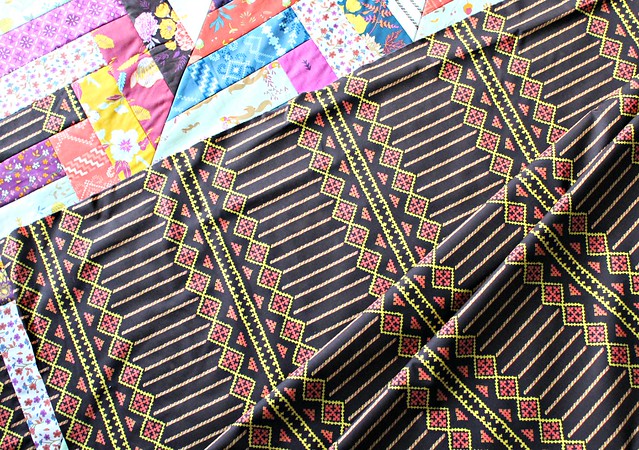
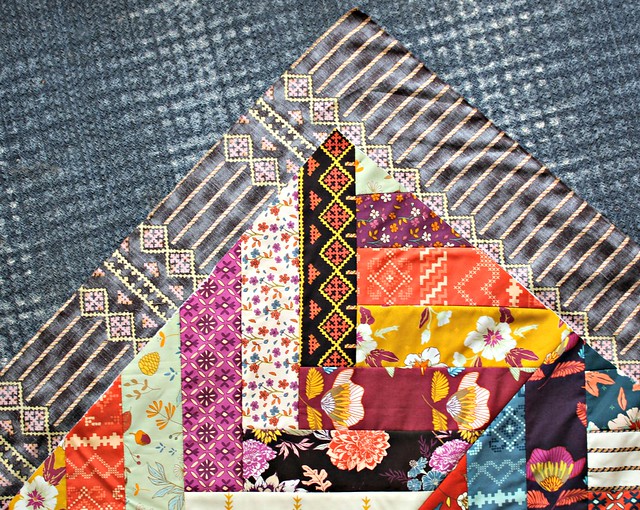
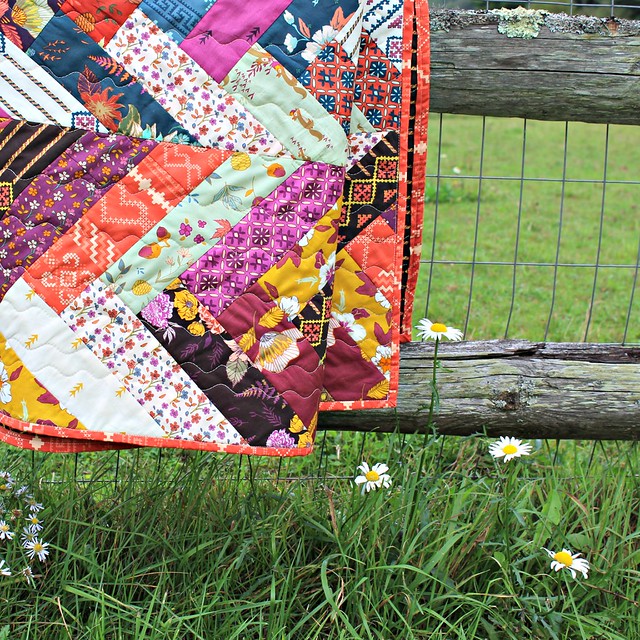
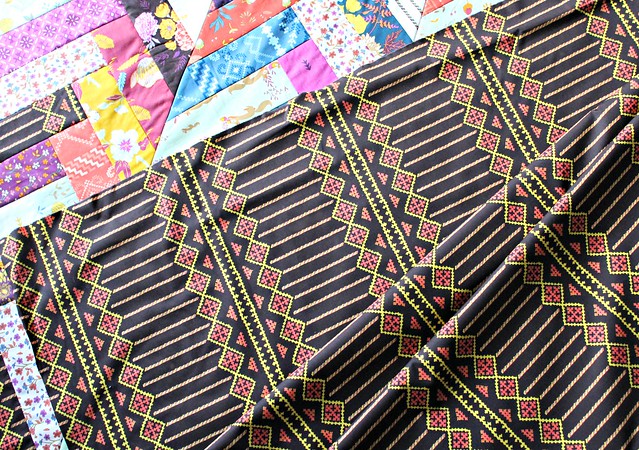
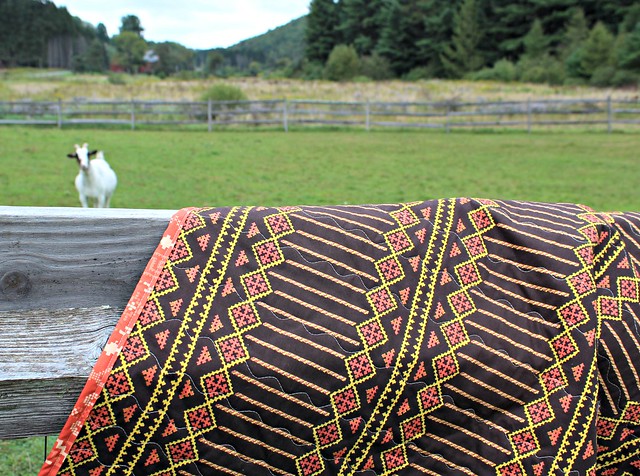
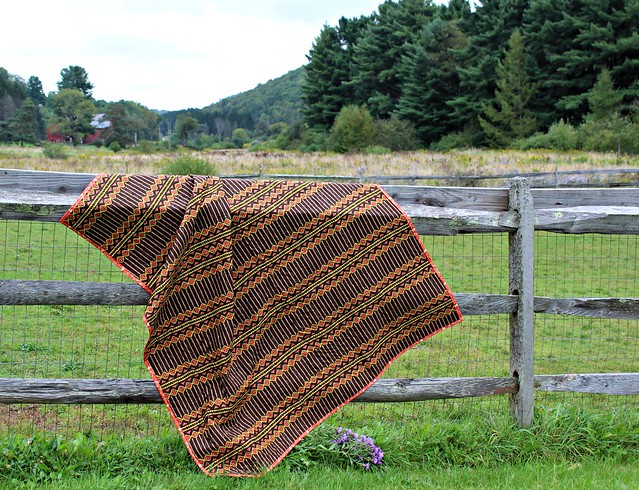
See that backing fabric peeking out? Well, that's my Autumn Vibes Harvest Trails in Walnut and I think it's my new favorite quilt backing fabric!

IMG_5963

I set out to create a design reminiscent of a vintage Kilim poncho, with a woven look and texture, and I'm so happy with how this print turned out!
IMG_6068

Mister Goat agrees!

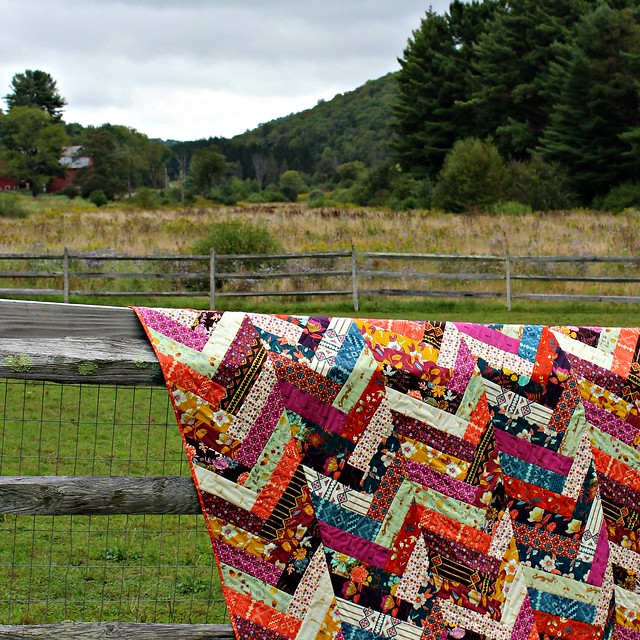
I especially LOVE the way it looks from afar in this full shot!
IMG_6067

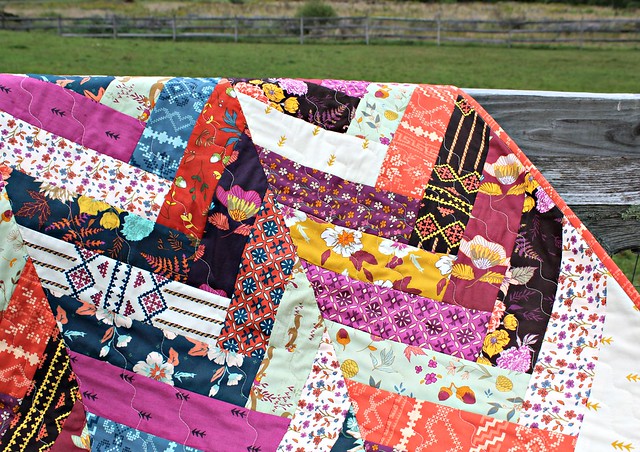
In recent weeks I've been quite obsessed with quilting using the built-in wavy stitch that's a feature of my Janome Quilt Maker 15000. It adds just the right amount of quilty goodness without much effort, which is just perfect for me! These days I'm so busy designing fabric collections that I don't often finish a quilt without having to send it out to a long-arm quilter, if I even get that far. This stitch, PLUS quick quilt as you go, makes for a very achievable quilt finish from start to finish. LOVE that!

IMG_6094

IMG_6080

IMG_6083

IMG_6100

I'm already ready to make another!

How about you, do you think you'll give this Friendship Braid QAYG pattern a try?

Autumn Vibes Friendship Braid Quilt Details:

Available for purchase: HERE
Measures: 60" x 72"
Fabrics: Autumn Vibes
Batting: Tuscany Cotton by Hobbs Quilt Batting
Thread: Aurifil 50wt cotton 

xo Maureen