Showing posts with label pillow cover. Show all posts

Wednesday, August 19, 2015

Handmade Traditions : :

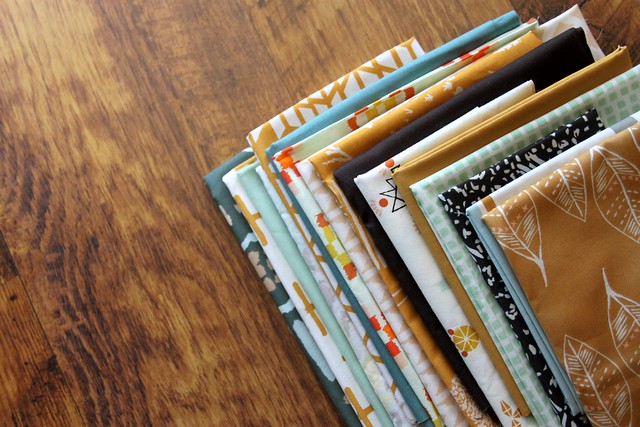
Last week I asked my baby sister to list her favorite colors, I wanted specifics, down to her favorite shade of each. For the last several years I've made her something for her birthday, a tradition I'm happy to continue! Searching my stash for her colors -- Mustard yellow, deep turquoise, light gray, pale greens, and Earthy browns, had me reaching for April Rhodes' fabric once again.

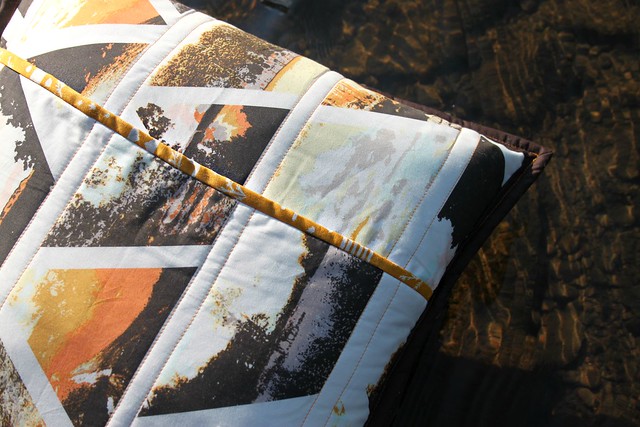
Pillow Fabrics

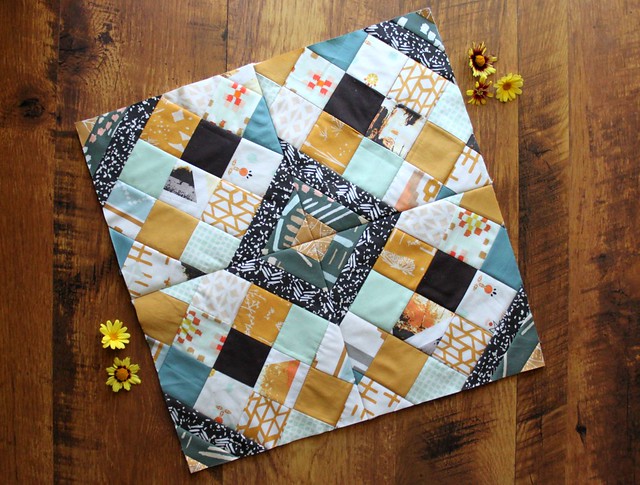
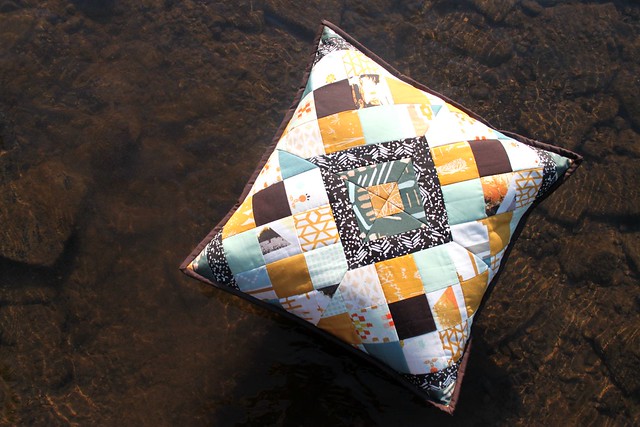
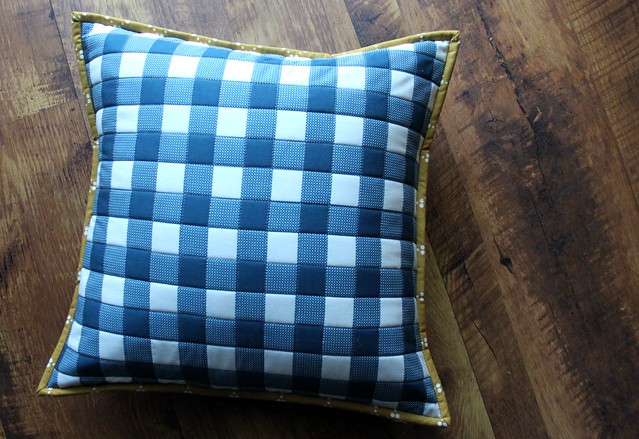
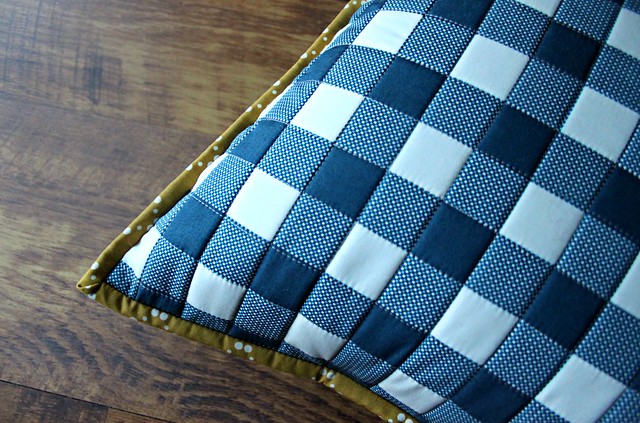
I settled on making a pillow, a mini version of a quilt pattern I plan to share soon. The patchwork design and fabrics paired up perfectly! I loved it so much that if I had the time, I would have loved to make a quilt.

Birthday Pillow Front

Birthday Pillow for Biz!

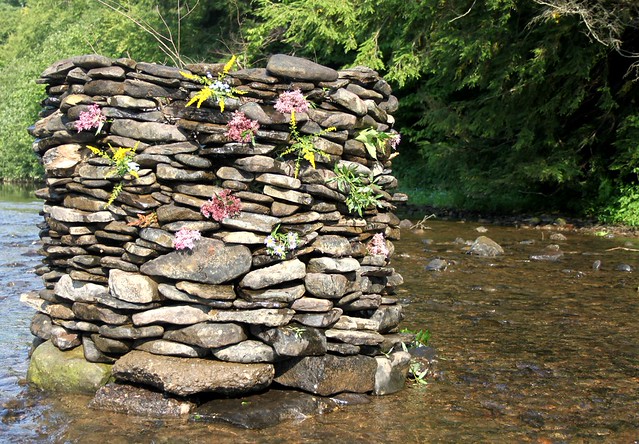
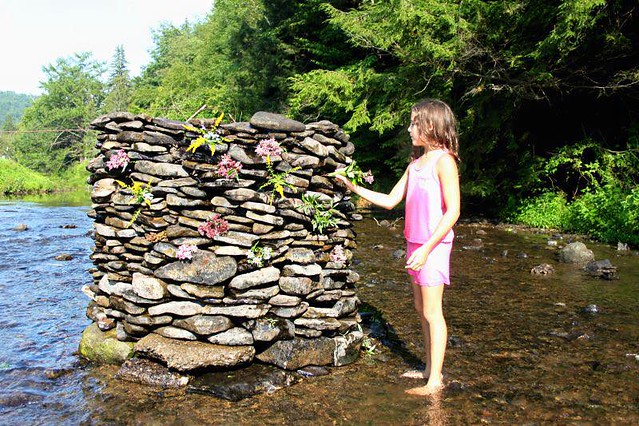
While I sewed, my husband and kids were at the nearby river. When I joined them with my finished pillow and camera I was amazed to see what they had created together! Ending the Summer with a river rock sculpture is a tradition my husband started a few years ago. It was beautiful to see Haila decorating their project with wildflowers, something I had done in previous years.

Summer's End Rock Sculpture

Haila Decorating this year's Rock Sculpture

I took photos of my finished Birthday pillow, sitting just above the moving water!

On the River

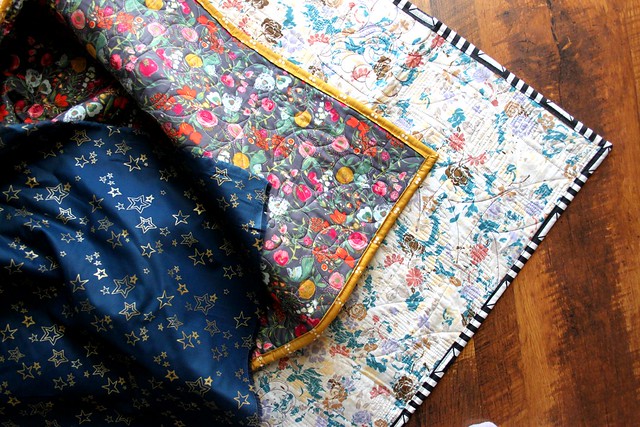
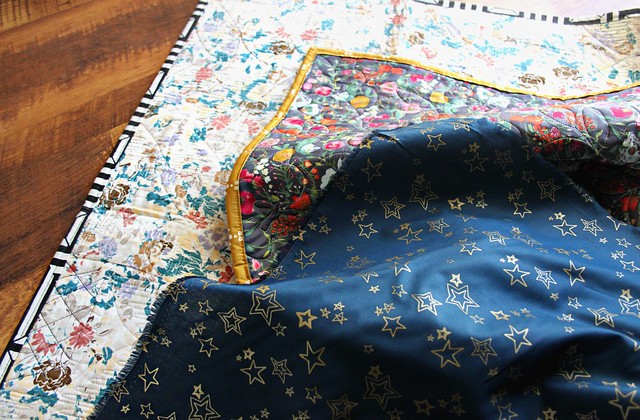
Birthday Pillow Back

My sister loved her pillow. It truly is a blessing to have so many to make for. Continuing these creative family traditions is a beautiful thing!

♡ Maureen

Wednesday, January 14, 2015

Interlude : :

Unfortunately, I still don't have any pretty new quilt photos to share here today. When we had time on Monday it was sleeting outside and so we decided to wait. I'm just so completely excited about this quilt, I can't wait to share it. It might just be my most favorite quilt yet! It's the third that I've backed with an Art Gallery voile and if I have my way, I will only back quilts with this gorgeous substrate for the rest of my quilty life. I'm such a fan!

Voile Love

My Follow the Arrow Quilt, this newest Emmy Grace collection quilt, and my Scrappy Hourglass quilt were each backed in a different voile print. The feel of this soft, fluid, lightweight cotton fabric is unparalleled, especially went quilted! I recently received a roll of my Midnight Roof print in voile from Art Gallery Fabrics and I cannot wait to back my Scrappy Bear Paw quilt with it!

Voile Love

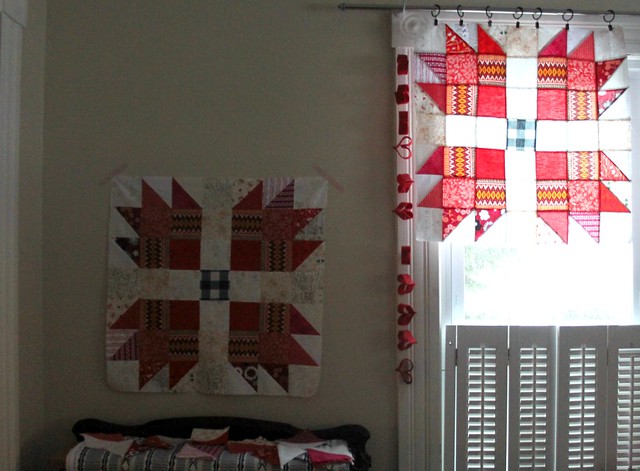
I've only completed just one more block since last week. Truthfully, I didn't enjoy piecing this one together as much as the first, most likely due to the fact that they are identical and I lack the diligence for repetition. I managed to push through, but now I'm considering a little tweak in design for my Scrappy Bear Paw plans!

Scrappy Bear Paws

Scrappy Bear Paw -- Block #2

I did, however, enjoy making a second quilted Folk Plaid pillow the other day! This time a little smaller than the first one and finished with a quilted Midnight Roof back with some left over Emmy Grace quilt binding in Ripples River. I adore this combination of denim blue and honey yellow!!

Folk Plaid blue with Ripples in River

denim blue & honey yellow

I've added it to the pile of pillows that I plan to sell soon!

Pillow Pile

And now I'm feeling the urge to start something new! Have a great day!!

♡ Maureen

Monday, January 12, 2015

A Dreamcatcher Pillow : :

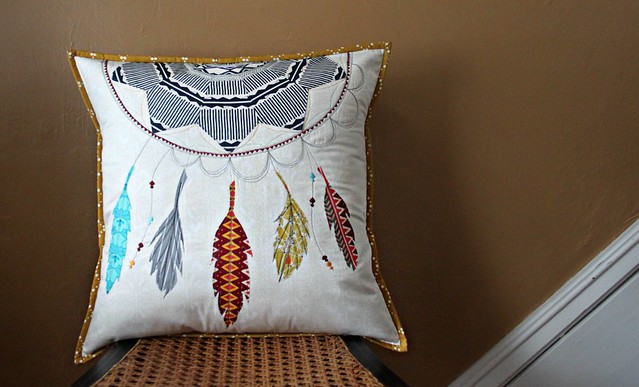
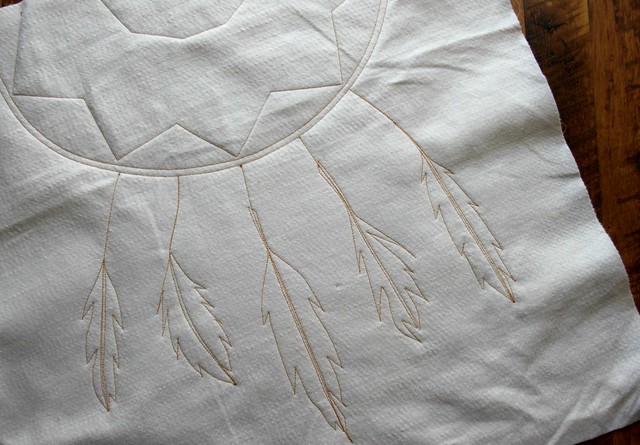
Ever since I made and shared my first Dreamcatcher Pillow I've been eager to make another. At the end of last week I finished up a new one and I have plans to create & sell many more! This pillow design is so fun for me to make! It embodies perfectly the spirit of my Wild & Free collection, and I love that I get to combine so many of my favorite techniques to create each one!

A Dreamcatcher Pillow

This one started with a Woven Path print Dresden as my dreamcatcher center. I really love making Dresdens and I don't take the time to nearly enough! Next came a batch of whimsical, hand drawn & cut feathers from the Sun Tracks print and a few other Art Gallery fabrics that I thought had great feather potential. I used HeatnBond Lite by ThermoWeb to attach each feather to my pillow top fabric and was ready to start stitching!

Dreamcatcher Pillow Beginning

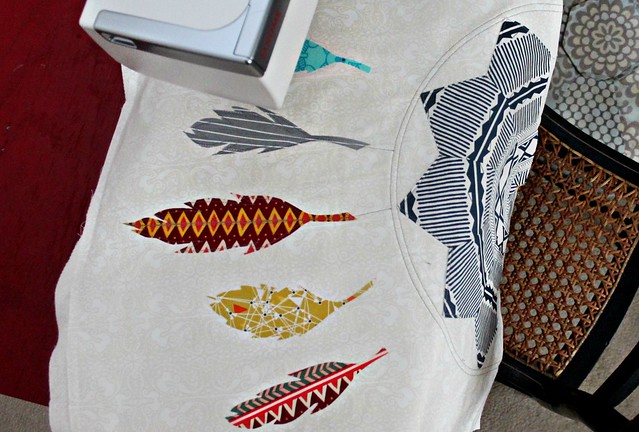
I snapped this photo to show how the first stitches look from the batting side of my work. Once I add the colorful, decorative stitches it starts to look a little messy, but at this point you can see how nice and neat!

Stitching -- Batting side

Once my Dresden and feathers were sewn in place, the fun begins of adding in layers of detail. I especially love how my Aurifil thread, satin stitch beads turned out. Look how pretty!

Dreamcatcher Pillow Details

I finished my pillow cover with a quilted Sun Tracks fabric back and Ripple River binding left over from my Emmy Grace quilt!

Dreamcatcher Pillow Cover

I stuffed it with a 20" insert and added it to my pile of finished pillows that I'm hoping will grow a little more before I offer them for sale!

A Dreamcatcher Pillow

I wish you all a most wonderful start to your week!  ♡ Maureen   

Monday, January 21, 2013

Project Plans : :

Over the weekend I planned and organized all my projects for this week! I'm finally feeling like myself again, thank goodness!!

I'll be sharing a first quilt block tutorial this Wednesday, as part of Daisy Janie's New Leaf Bee Block Blog Hop! It's a gorgeous, vibrant collection made of 100% GOTS certified organic cotton.  

New Leaf Pretties

The backing fabric for my QAYG quilt arrived from Sprightly Fabrics, LillyBelle Henna Stripe in grey -- now I can't wait to finish this quilt!!

Quilt back fabric is here!

There's a stack of Riley Blake Cotton Dots, in a wonderful boyish color scheme, waiting to become my next Design Team project!

For my next RBD Design Team Project!

A pillow cover is hanging out, ready to be quilted and finished for a friend. It's made up of some Architecture and Velocity from Lark Cottons, using my tutorial here!

Pillow Cover wip

I received my very, first Felt orders over the weekend, which is so, SO exciting!

My First Felt Order! Yay!!

Right now, I'm including a little sample stack with each order. And, I decided to celebrate my first order with a little sale, you can use discount code FELT20OFF and take 20% off of any Felt order for a limited time!

My First Felt Order!

Today, I have a stack of Birthday Crown orders waiting to be finished for tomorrow's mail!

Lots of crown orders!

It's so cold here today! And, I actually love it! The kiddos are home for the holiday, and so we have a movie marathon planned -- which means lots of popcorn and handwork for me!

Happy Monday, friends!  Maureen 

Tuesday, October 23, 2012

A Fly A Kite Nursery Floor Pillow Tutorial : :

After a super busy weekend, yesterday we had to make a spur of the moment trip out of town for the day, and now I am not feeling very well. at. all. Blah! I have lots of orders to catch up on today, and hopefully I will feel better quickly. While I catch-up and rest-up, I thought this would be the perfect time to share one of the tutorials that I had created as part of the Riley Blake Design Team, right here!

Fly A Kite Nursery Floor Pillow Tutorial

Today I'm sharing a tutorial for a kite themed nursery floor pillow using Riley Blake's Fly A Kite collection by October Afternoon. This step by step tutorial is for making a large floor pillow, however you can make a smaller version by simply eliminating a few steps. If you have any questions feel free to leave them in the comments or email me at maureencracknell@hotmail.com. Now let's get started!!

What you'll need : :

  • 4 - fat quarters or 1/4 yd cuts of Fly A Kite prints (fabrics for the center pillow kite shape)
  • 1 - 1/2 yd Fly A Kite solid or print for corner pieces
  • 1 - fat quarter or 1/4 yd cut for top and bottom border pieces (cut 2 - 3.5" x 18" strips)
  • 1 - fat quarter or 1/4 yd cut for side border pieces (cut 2 - 3.5" x 24" strips)
  • 1 - 1 yd cut of main Fly A Kite print for the pillow back fabrics
  • 1 - 24" x 24" pillow insert
  • 1 - 25" x 25" piece of batting
  • coordinating thread
  • Sewing pins & basting pins
  • Sharp scissors and/or a rotary cutter/mat set 
  • 1 - 9.5" square piece of sturdy card stock for template 

Fly A Kite is here!

-- Cut a template measuring a 9.5" square from sturdy card stock or cardboard

make a cardstock template measuring a 9.5" square

-- Cut the measurements below from the Fly A Kite fat quarters or yardage for each block

cut strips

1. Use rotary cutter, mat, and ruler to cut fabrics 2. Layout fabrics in an order beginning with the smallest cut strip at the bottom, centering each piece like picture two below 3. Repeat this step for all four blocks 4. Press with iron so seams are facing forward

1

5. Take the 9.5" square template and place in the very center of the block

center 9.5" template

6. With the template as a guide, use a ruler and rotary cutter to trim away excess fabric 7. Repeat for all four sides until you have a perfect 9.5" square block

trim

8. Repeat this step with each of the four pieced fabrics

two finished blocks

9. Layout all four 9.5" blocks to create a kite shape

four blocks -- kite!

Notice those kite points! :)

kite points! :)

10. Begin sewing blocks together, take two blocks right sides facing and pin with seams down 11. Using a 1/4" seam, sew together, repeat with the top two blocks 12. Press well with seams open 13. With right sides facing, pin top and bottom sewn pieces together, sew using 1/4" seam

My creation

14. Add border fabrics -- first pin and sew the top and bottom border pieces measuring 3.5" x 18", next add the side border pieces measuring 3.5" x 24" 15. Using basting pins, baste finished quilt top to 25" square piece of batting

My creation

16. Add machine quilting -- beginning in the inner-most diamond shape, staying close to the seams, sew following the diamond shapes that make up the kite design. Stop and pivot at each corner, sewing outward. I "stitch in the ditch" to avoid having to stop when making my way throughout each diamond shape. Continue following the diamond shape pattern until the entire pillow top is quilted

Stitch in the ditch to keep quilting

Remove pins and the pillow top is finished! (The second photo is an example of what the reverse side should look like after quilting) Handing quilting this would be beautiful!

My creation

Creating an envelope style back : :

17. Cut two pieces of fabric measuring 18" x 24" from the yard of fabric for the back 18. On one edge of each piece, with wrong side facing, fold over one edge a 1/4", press, fold over 1/4" again, press again 19. Pin in place 20. Sew on the inner and outer edge of that fold to create a double seam on both pieces
21. With right sides facing, place backing fabrics on the quilted pillow top

My creation

22. Pin in place

place back fabrics right sides facing - pin in place

23. Using a 1/4" seam, sew around the perimeter of the pillow 24. Trim away excess fabric and batting  
25. Add a zigzag stitch around the perimeter of the pillow 26. Trim corners

My creation

Turn finished pillow top right side out, insert pillow form, and VOILA! Your Fly A Kite Nursery Floor Pillow is finished!!

My creation

To create an 18" pillow with this design, simply eliminate the border, adjust the batting needed to a 19" square, and change the measurement of both pieces of fabric needed to make the pillow back envelope closure to 13.5" x 18".

They think make a wonderful set!!

pillow setI hope you enjoy seeing my very first Design Team Project here today! If you do give this tutorial or any of my others a go at anytime, be sure to share on my Facebook page or in my Maureen Cracknell Handmade Flickr group anytime!

Wishing a wonderful week to all!! Maureen 
_ _ _ _ _ _ _ _ _
Monday, September 17, 2012

Mod Flower Pillow : :

Flower Pop Pillow

Sorry I am late today! Since Friday afternoon, in-between volunteering, movie watching, soccer games, birthday parties, and packing, I have been in a Rock & Romance trance-like quilt making state! I have never been so focused on finishing something in all my days of sewing! I am very excited about this, but I have to wait just a little longer before all can be revealed...

So today, I'm sharing this cute, little applique pillow I whipped up the other day! I was inspired by an applique I saw in either Mini Boden or Johnnie B, and my Stockholm fabric from Contemporary Cloth.

an idea

Since I love combining felt and fabric, making appliques, and of course, pillows. I sewed up this new design to try. I love how stitchy it is. And the aqua, navy, yellow, and grey color combo is always a winner!

Flower Pop Pillow

Right away, it reminded me of one of my very favorite color mosaics from a post I shared back in May!

color inspiration -- Mustard, Green, Aqua, Blue, Grey, & Black

Which I'm sure is why I especially like how the back of this one turned out! Simply Color + my favorite Bryant Park print (sorry, I can't find a source.)

Flower Pop Pillow Back

I've listed it in my etsy, and I'm still deciding if I should make more in a variety of color combos?

I have to say.. I quite like this one with my new sewing chair! What do you think??
 Flower Pop Pillow

Wishing you all a late, but wonderful start to a new week!   Maureen

_ _ _ _ _ _ _ _ _