Showing posts with label binding. Show all posts

Wednesday, April 13, 2016

Gentle Mantle Binding : :

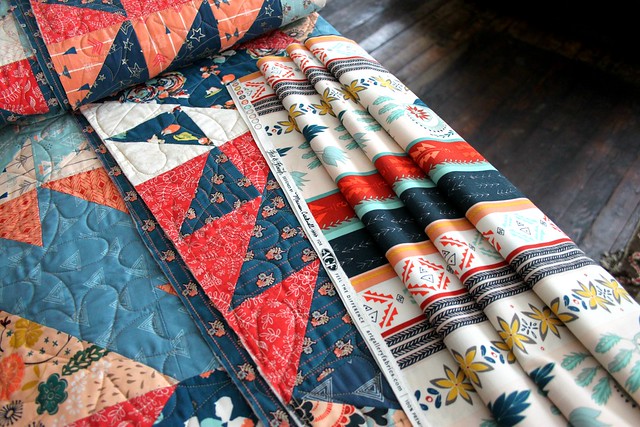
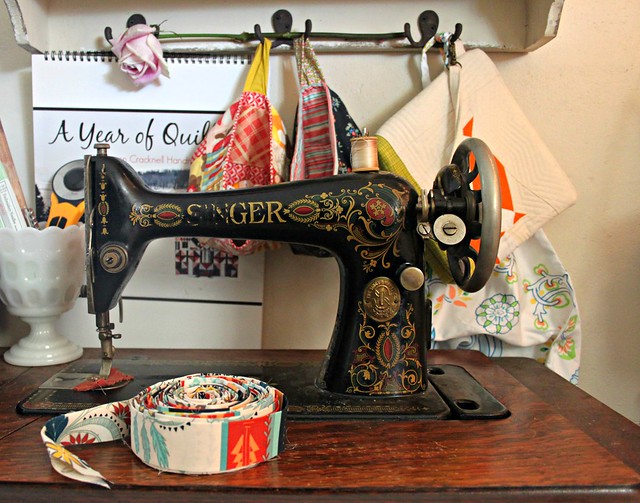
It was nearly two months ago when I decided on my Gentle Mantle in Land, Fleet & Flourish stripe to use for binding my Diamond Weave Quilt. Two months, oh where does the time go?!

Gentle Mantle in Land for Binding

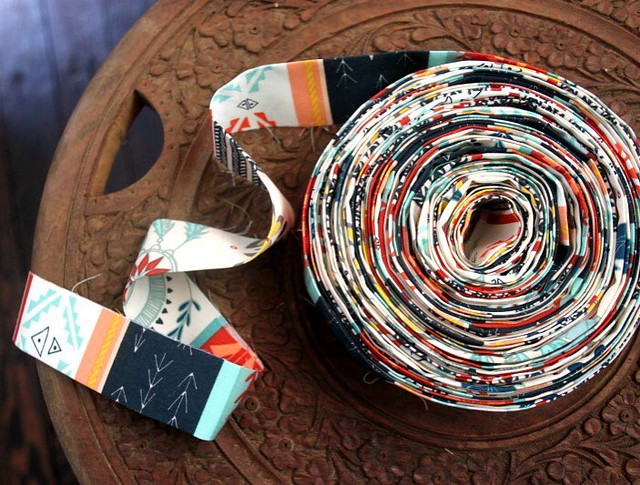
That day I cut a little more than a 1/2 yard piece from the bolt and haven't touched it since. Well, yesterday I finally made the time to turn it into binding, a nice big roll to finish up my quilt with extra to use on future projects.

This blue, peach, aqua, and red colorway is my very favorite of this particular print. The colors look so pretty all curled together, I had to take a picture to share!

Binding Stripes

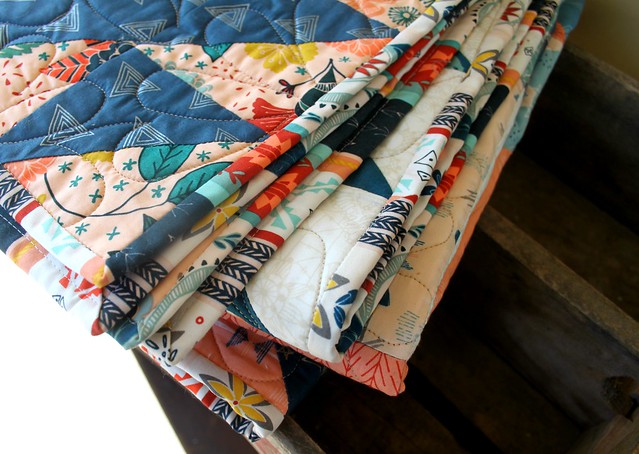
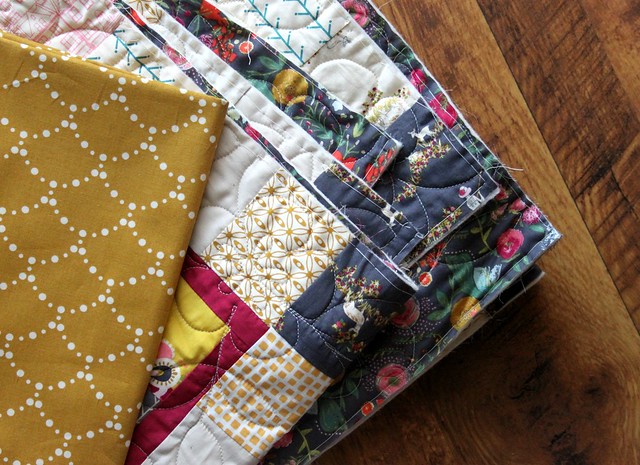
And I didn't stop there, I continued until my quilt was bound & completely finished!

Newly Bound

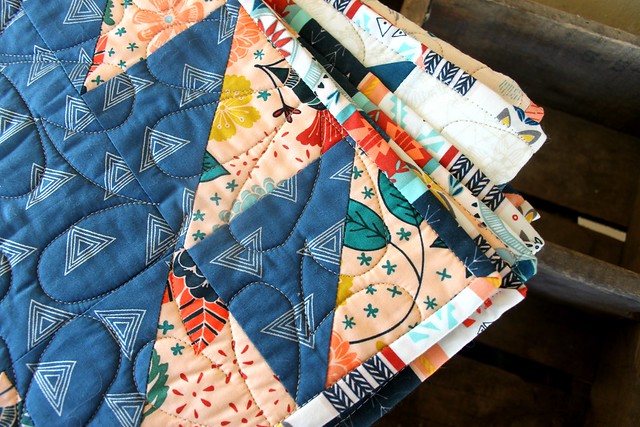
Gentle Mantle was the perfect choice for this quilt, I can't wait to get photos so you can see!

Bound in Gentle Mantle Stripe

I might have to make a few neatly bound pillows to match!

Gentle Mantle Binding

How about you, what are you working on these days?

♡ Maureen

Wednesday, January 7, 2015

Binding Day : :

My stack of "unblogged" quilts is about to get a little bigger! In all the craziness of these past several weeks I completely forgot about my Emmy Grace quilt. When it arrived back from Sew Shabby Quilting weeks ago I trimmed it up and set it aside, along with a yard of Bari J.'s golden Ripples in River print for my binding.

Binding Day!

Last night I made the binding and today I hope to finish it up! How about you, what are you working on these days? 

♡ Maureen      

Tuesday, April 8, 2014

Today : :

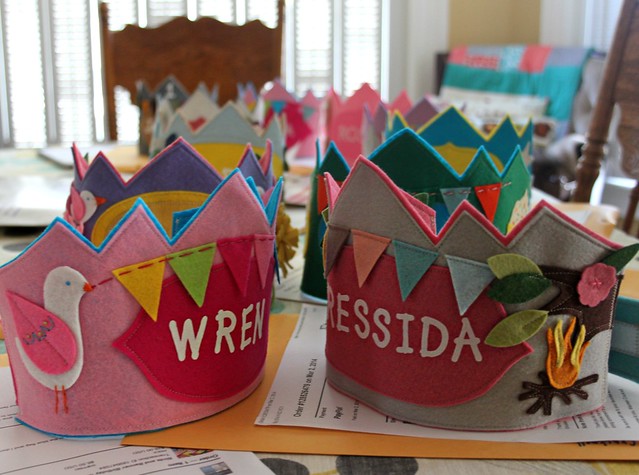
Yesterday, and again today, it's much too dark for morning photos. After another busy weekend with only sewing time for etsy order making, our table looked just as it did last Monday, full of finished birthday crowns waiting to be wrapped up and shipped out!

Birthday Crowns

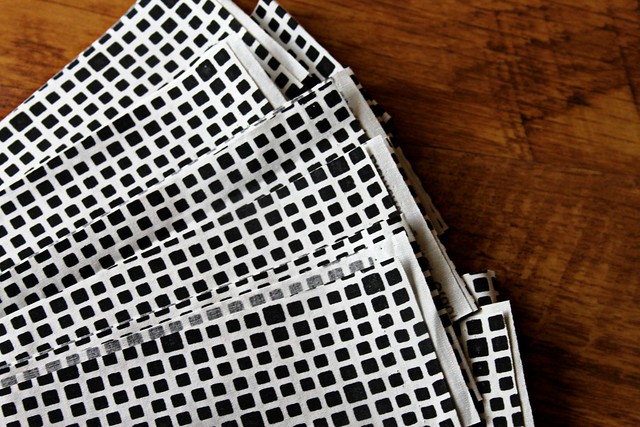
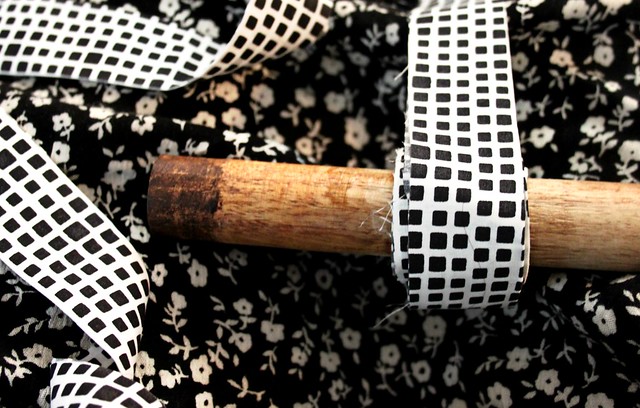
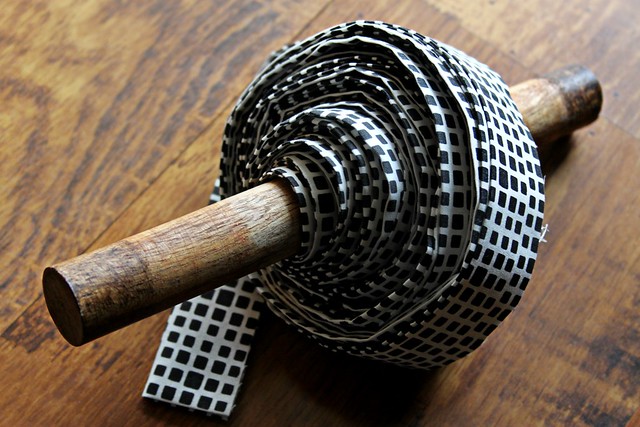
In between finishing a few more orders throughout the day yesterday, I made my quilt binding eagerly anticipating the return of my Rapture quilt! I chose Art Gallery Fabrics' Squared Elements in Noir and made a huge spool of it, certain I'll be wanting to use this print again sooner than later on another quilt!

Squared Elements in Noir

Binding Winding

Binding Spool

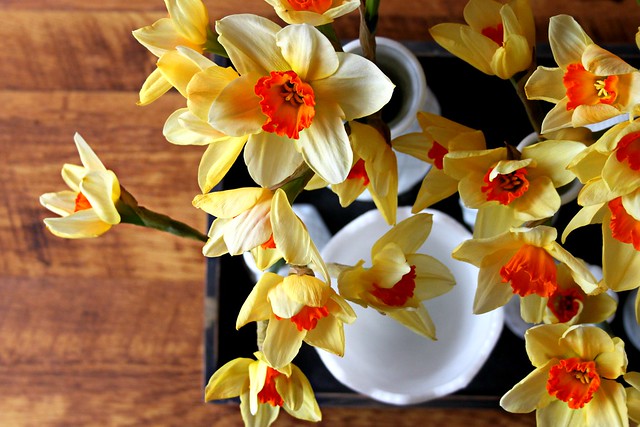
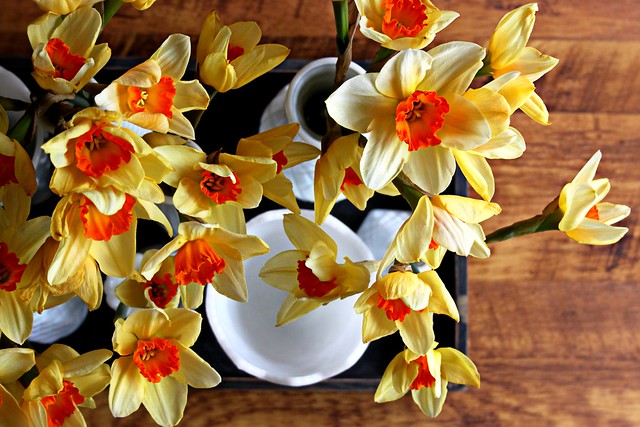
I took lots of pretty photos of the daffodils Kevin bought for me on Sunday. Daffodils are so very special to me. I share on that in this post written exactly four years ago today. It was so hard for me to write then and is so hard for me to believe it's been this long.

Daffodils

Daffodils

Daffodils

Today, I think I'll move these daffodils from the kitchen island to my sewing room to keep me company while I begin work on my Meadow quilt and to remind me that even dark days are such a gift.

♥  Maureen

Thursday, November 21, 2013

On Quilt Binding : :

Wavy quilting for movement

There are so many ways to bind a quilt, SO many! For me, my go-to method for binding my quilts is all by machine. It's so similar to Allison of Cluck Cluck Sew's steps for machine binding, that I always refer folks who ask about my method or for instructions to her wonderful tutorial. It's fast, I trust that it's secure and, perhaps most importantly, it's neat when viewed both from the front and the back! I've finished all of the quilts I've made this past year this way and I can see myself improving with each finished quilt!

An Autumn Herringbone Quilt // Maureen Cracknell Handmade

Shelburne Falls Quilt backed in flannel

Applique Art Quilt -- Binding Details

This sewing machine foot or extension table trick makes keeping the binding all rolled up and out of the way easy. I use it each time I bind!

Ant Farm Quilt -- binding

Shelburne Falls Quilt Binding

Add your binding

I'm also a huge fan of using print fabric for my binding! Sometimes choosing a pretty solid to frame the quilt works best, but I usually gravitate to a more bold and creative choice!  How about you?

Tsuru - Of a Feather

A Tsuru Modern Sampler Quilt

Ant Farm Quilt Binding -- Lizzy House Stripe

Ant Farm Quilt -- binding

Bound in Aqua Pezzy Print

Shelburne Falls Quilt binding and stitching

Applique Art Quilt -- Details. White Border stitched with Variegated Aqua Aurifil
Choosing an Aurifil Thread to match perfectly is always a bit of fun for me, too!

Tula Pink Varigated Aurifil & AGF Squared Elements in Fuchsia & Watermelon
Squared Elements Binding in Fuchsia & Watermelon
Now let's talk quilt binding!! Do you prefer to attach your quilt binding by hand or by machine?? I'd love for you to share your go-to method and any tricks & tips of your own!  ♥  Maureen 

Monday, November 18, 2013

One More Pillow : :

Chicopee Patchwork Pillow - one more!

Chicopee Patchwork Pillow

This week is going to be an extra busy one for crown making especially, but I do plan to make a little time for finally finishing Kaiden's Making Rows Quilt, for beginning at least a few quilt blocks for those last two quilts I need to make in time for Christmas, and for hopefully more pillow making. This time using some Anna Maria fabrics, maybe one or two in the Indie I have leftover from my Symmetry Quilt, and some more in Chicopee charms!

LOVE!

Indie

I had forgotten how much I love making patchwork pillows and I think my skills have improved quite a bit from all the quilts I've made these past few months. Finishing pillows with a little binding is my new favorite thing!

Pillow Backing + Binding

New

There's a story behind this pillow and those ones I shared last week, beginning with some news that broke my heart and ended with me being able to take the money I made from selling them and send it as a small gesture with my love & prayers to help someone I love very much. All of your comments, likes & shares led to quick sales and I thank you all for helping me do that!

Wishing you all a wonderful & productive new week!  ♥  Maureen 

Wednesday, February 6, 2013

An Improv & LillyBelle Quilt { A Quilt As You Go Finish } : :

Improv & LillyBelle QAYG finished quilt

I am so thrilled to have this quilt finished! To say that I took my time with it, is a HUGE understatement, and definitely shouldn't signify that creating it wasn't fun! I really enjoyed it and I'm so glad I took my time! I think it's honest to say that the main reason it did take until now is simply because I was making this quilt just for me, and you know how those things get pushed to the bottom of the list!

Well, since sharing my Quilt As You Go How-to, I've received so many questions on finishing a qayg quilt! I took lots of photos as I finished, to share today and link to as a Part 2 of that tutorial. My intention was to make the finishing of this quilt as easy as possible and I think it was!

For starters, I used 505 Basting Spray for the first time. That's the only part I didn't photograph. My husband helped with the spraying, I laid the quilt right side down, he sprayed the batting that was already quilted to the quilt top in smallish sections, and I made sure the seams were all nice and flat while I smoothed down the backing fabric. All in all it took maybe 20 minutes!

About a week later, I finally found the time to add my final quilting stitches. When adding this stitching it IS recommended that you do use a Walking Foot. I haven't found it necessary now that I am using my Janome. Working my way down from the top of my quilt to the bottom, with my stitch length set at 3, I simply sewed about 1/4" to maybe 1/2" from the seam line.

sewing along each side of the seam

scant quiting stitch

I continued this for both sides of each seam running from the top of my quilt to the bottom!

quilt both sides of the seams

Here's a good look at just how these stitches will look from the backside of your quilt!

quilted stitches from the back

Now working from side to side, I decided this time to add my stitches by stitching in the ditch. This is a way of quilting that minimizes how much thread shows on the top of the quilt. Even though stitching in the ditch is somewhat invisible on the top of the quilt, it does secure all three layers of the quilt sandwich!

from side to side -- stitch in the ditch

You can add your quilting stitches either way -- by stitching along the seams, by stitching in the ditch, or combining them as I did.  Any of these will be enough to set that backing fabric to your quilt as you go quilt top!

Here's a look at how those stitches will look from the back of your quilt, once you're completely finished!

quilted stitches -- back

But first, you have to bind the quilt using your preferred method! I know there are about a million ways to do so, my go-to is exactly the same as Allson's of Cluck, Cluck, Sews Machine Binding method! She has a wonderful tutorial!!

I also love using this super smart, time saving trick!

Add your binding

If you have a foot on your machine or extension table, the binding unrolls neatly and slowly, and out of your way, as you add it to your quilt. No need for pins -- LOVE it!!

Little Binding Trick

Seriously -- between the quilting as you go, the basting spray, and this little binding trick -- quilting doesn't get any easier folks!!

And, in the end you have a pretty, handmade quilt!!

back, binding. front

QAYG Quilt


Since this quilt is just for me, yay ! I went a little crazy with the super sweet and girly LillyBelle Garden Rocket border and used nothing but Bari J.'s Henna Stripe for the back! I love it!! It's so colorful and fun on the front and has such a Wintery back, and I do LOVE Winter!!

Wintry Back -- Henna Stripe & Aqua

In the end I think we'll all agree, regardless of your fabric taste or even how you make a quilt -- that this is the very best part!

Finished Last Night!!

I hope you do give qayg a try! Be sure to let me know if you do, ok? Feel free to share on my Facebook page or in my Maureen Cracknell Handmade Flickr group, and of course you can share a link here or email me anytime, as well!

Thanks so much for stopping by!!   ♥,  Maureen