Showing posts with label quilt top. Show all posts

Friday, March 12, 2021

Charming Nine: A Collaboration with Sharon Holland

It's been awhile but I'm back today to share a fun collaboration with my AGF fabric design sister Sharon Holland that includes a free new quilt pattern! 

Photo Jan 01, 12 01 00 AM

If you follow my Instagram you may have seen my project reels and posts including my current fabric crush, errr obsession -- my most recent collection with AGF, Homebody + Sharon's Kismet + two Bonnie Christine prints from her Lambkin collection that pair perfectly! Just look how amazing this big bundle is that Brooke at Lady Belle Fabric put together!
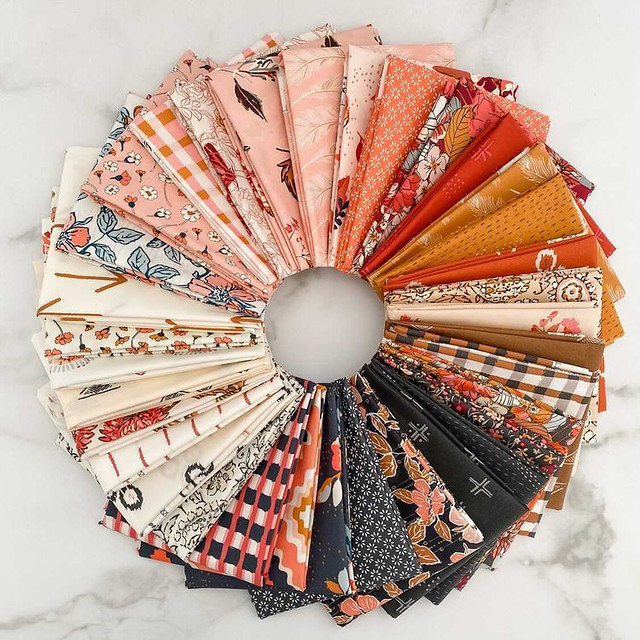
Homebody +Kismet + 2 Lambkin Prints

Using these prints I've already made many things, including a batch of herringbone patchwork bags, several quilted journals and now two large throw size nine patch quilt tops!

Hourglass Quilted Journal

Herringbone Patchwork Bag

Scrappy Journals

When it came time to choose a quilt pattern for these beautiful fabrics, I chose the simple, classic nine patch pattern because I wanted something super scrappy, fun and cozy that would just let all of these gorgeous fabrics shine! I had made a few 18" quilted Homebody pillows for my Homebody LookBook using the pattern of alternating 6.5" nine patches with 6.5" print squares and I LOVE how those turned out so I knew a quilt in this style would be absolutely perfect!

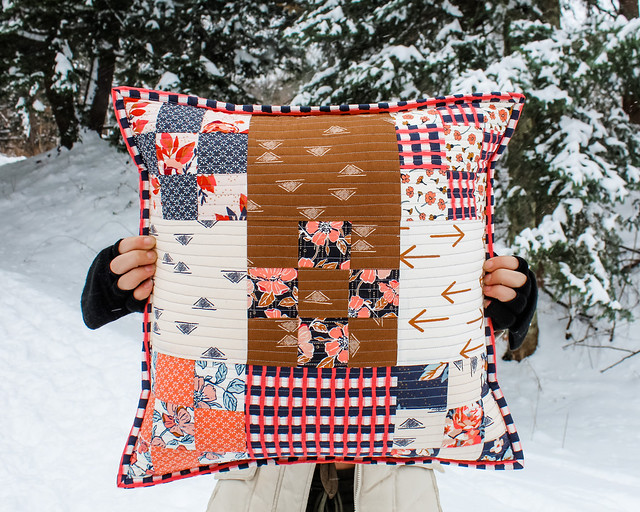
NinePatchPillowSquares

NinePatchPillow

When Sharon saw this first peek of my quilt top she immediately decided to make her own version and from there the idea for Sharon to design the free PDF quilt pattern to offer was decided. Because SHaron had written the free pattern for her Charming One quilt featuring Kismet last fall, she thought this would be a perfect pattern to continue the beginner-friendly series she started of easy quilts and named this quilt pattern Charming Nine. Now you can Find both patterns on her Free Projects page. Isn't she the best! 
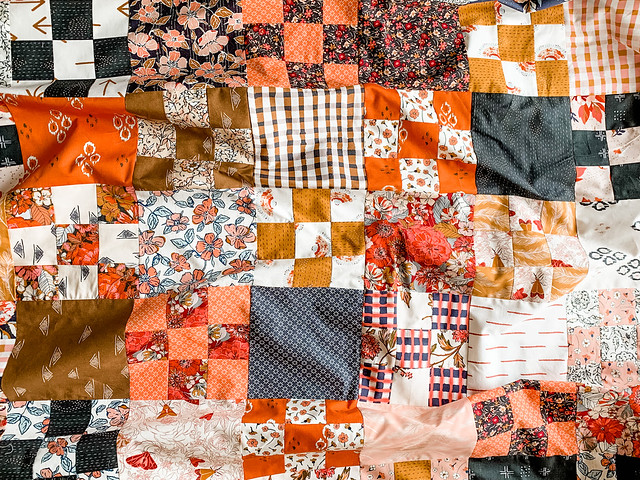
Photo Mar 04, 1 33 58 PM

Before I share more pics of my quilt I want to share a glimpse of Sharon's amazing version, made with a beautiful, lower volume palette full of soft colors that include a variety of scraps from her upcoming Lilliput collection (due out soon) along with prints from her Kismet, Spirited, my Homebody and a mix of AGF denim, solids & blenders. Just look at this soft, dreamy quilt!

Sharon Holland Charming Nine Swirl

Sharon Holland Charming Nine Styled 1

Sharon is so good she even completed quilting and binding hers beautifully for today's quilt reveal and PDF pattern release! 

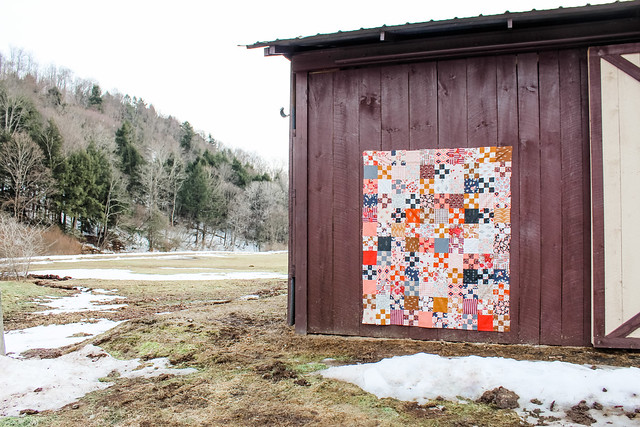
I'll be sending both of my tops to Brooke at Lady Belle Quilting for her edge to edge long arm quilting service, so to make my reveal feel special I took my quilt tops to one of my favorite nearby spots to photograph! It was a cool 60 degrees, an although there's still snow and ice on the ground in spots, it felt like Spring was finally visiting Potter County!

Photo Jan 01, 12 00 03 AM

Photo Jan 01, 12 01 23 AM

Photo Jan 01, 12 00 45 AM

Photo Jan 01, 12 01 00 AM (1)

I hope you LOVE this classic quilt as much as I do, whether it's my super scrappy saturated version or Sharon's softer, sweeter version! If you do, be sure to head on over to Sharon's blog to snag a copy of the free Charming Nine PDF quilt pattern and to see many more gorgeous photos of Sharon's quilt in her blog post!

If you make a Charming Nine Quilt of our own, be sure to tag both @SharonHollandDesigns and @MaureenCracknell on Instagram when you share and add the hashtags #charmingninequilt and #agfninepatchquilt! We can't wait to see them!!

xo Maureen

Wednesday, May 30, 2018

Community Sampler Week #15!

It's Community Sampler sew-along Wednesday!

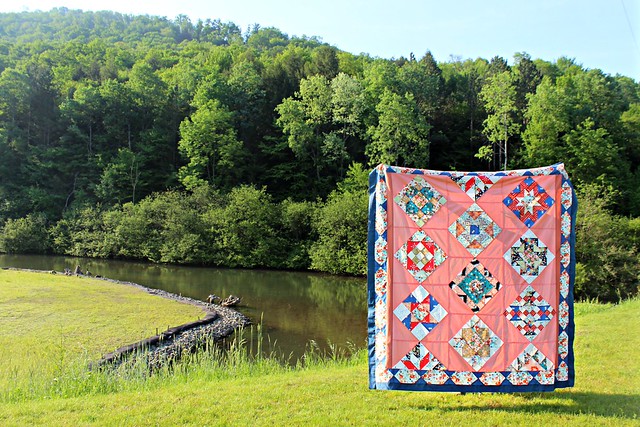
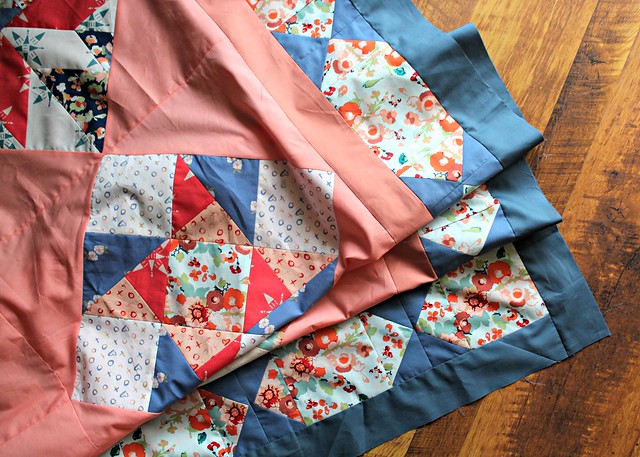
My Community Sampler Quilt Top

For those of you that are new here, Sharon Holland and I have been co-hosting this block-of-the-week community sew-along. You can visit my Community Sampler Page above in my tabs bar to retrieve all of the released PDF's to make your own Community Sampler anytime!

Community Sampler Sew-Along

Today's PDF for week Fifteen is -- Finishing, that includes step by step instructions for finishing up our quilts! You'll have all the measurements you need for batting, preparing your backing fabric and to make the amount of binding that you'll need to finish up your Community Sampler! On Sharon's blog you'll find lots of helpful tutorial links for these steps incase you're in need of extra visuals and instructions for these finishing steps!

Community Sampler: Finishing!

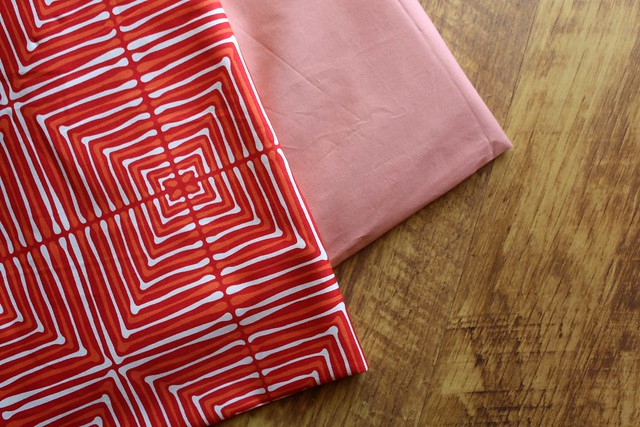
For finishing my Community Sampler made using my Love Story fabric collection, I decided to back my quilt in AGF's Pure Element solid in Sienna Brick. I used this solid for my inner border and had ordered several yards of this solid for a different quilt, and I've decided it's just too perfect not to use to back my sampler. I love this dusty rose color! For my binding I'm using my Love Story print Daring Echoes Red, a unique take on a stripe print that I hope will make the true reds in my Love Story prints really pop!

Binding and Backing Fabrics

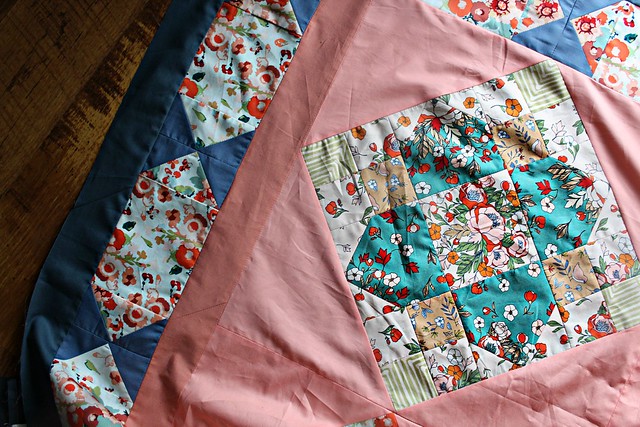
Adding Borders

While my co-host Sharon plans to finish her quilt on her home machines, my plan is to send mine out to Lady Belle Fabrics who will be adding long-arm quilting services to her wonderful fabric shop this June! I'm so excited!!

To prepare my quilt, I will use all of the same finishing instructions to prepare my quilt top before sending it to Brooke at Lady Belle Fabrics. I'll make sure my quilt top is trimmed to size and to prepare my backing fabrics for an edge to edge quilting design. Both batting and thread options will be included in Lady Belle Fabrics new quilting service, so there's no need to send those things. I can't wait to share more about this new Lady Belle Service next month!

While my quilt is out, I'll make my binding to have it ready for my quilt's return. I love machine binding and if you'd like to check out the my go-to method be sure to visit -- HERE!

Community Sampler Border

I'm so excited to see how our quilts will look finished! As always, when you share on Instagram use the hashtag #CommunitySampler and be sure to tag @sharonhollanddesigns and myself @maureencracknell so we can be sure to see your beautiful Community Samplers!

Using #CommunitySampler hashtag will also automatically enter you in the weekly IG Giveaway pool! Remember that your Instagram account does need to be a public account for your post to show up in the Instagram hashtag pool. But please don't worry, if you don't have Instagram or you'd like to keep your account private, we will also be hosting the same giveaway prize, alternately between Sharon's and my blog, so you can choose how and where to enter each week!

Thank you, Sponsors!

Be sure to check back here on Friday for more info on this week's Community Sampler Giveaway with our wonderful sponsor Omnigrid!

xo Maureen  
Wednesday, May 16, 2018

Community Sampler Week #13!

It's Community Sampler sew-along Wednesday!

Community Sampler with Block Setting

For those of you that are new to my blog, Sharon Holland and I are co-hosting this block-of-the-week community sew-along, and you can visit my Community Sampler Page above in my tabs bar to retrieve all of the released PDF's so far to jump in anytime! We're so thrilled to have so many sewing with us once again!

Community Sampler Sew-Along

Today's PDF for week thirteen is -- Block Setting. Yes it's time to turn all of our pretty blocks into a top! This week we'll choose our background fabric and we'll follow the PDF instructions to cut the pieces needed to set our blocks on-point into a quilt top. If you're in need of extra visuals for this week's Community Sampler instructions, be sure to visit Sharon's blog today to see her step by step how-to for setting our blocks!

Community Sampler Week No. 13

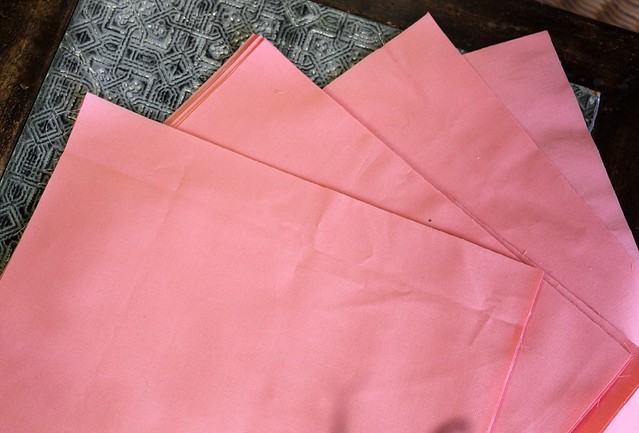
For my Community Sampler background fabric I'm using Art Gallery Fabrics Pure Element Solid in  Grapefruit. I love this color paired with my Love Story fabrics, the collection I used to create each of my Community Sampler Blocks!

PE in Grapefruit

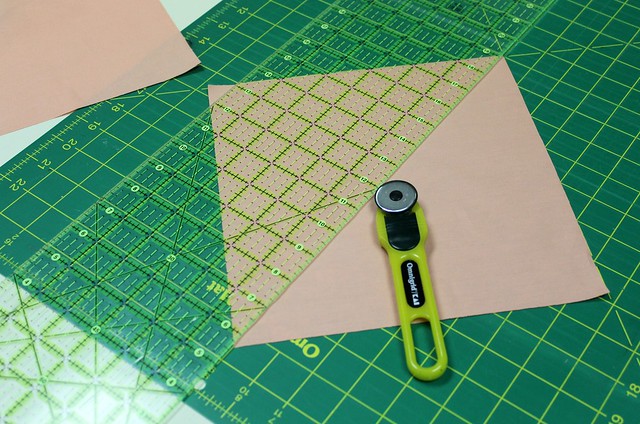
From the background fabric we'll cut twenty-one 9 1/2" squares diagonally.

Cutting Half Squares

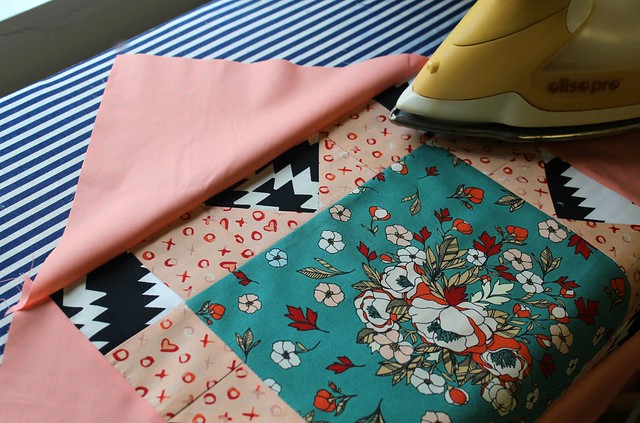
Four diagonal cuts of the background fabrics will then be added to each of the square blocks, and two diagonal cuts added to the half-blocks, that we created throughout our sampler to set all of our blocks on-point!

Block Setting

Keep working until all of the blocks are in the background setting, arranging them in an order that looks balanced and that you're happy with. Because I stuck pretty closely to the mock-up that I created in the beginning of this sew-along, I was able to keep my blocks in the order I made them in. Easy, peasy!

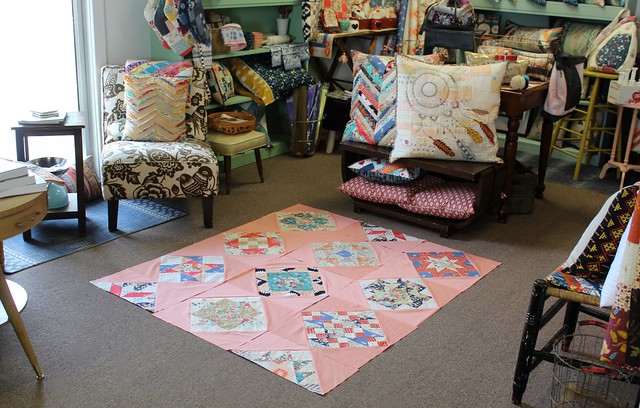
Here's a look at my blocks arranged on the floor of my sewing studio. I had a design wall for about two weeks, but now I'm back to using my floor space once again!

Ready To Assemble

Community Sampler Assembly

Once all of my blocks were in the block setting, I sewed my three rows together to make my top!

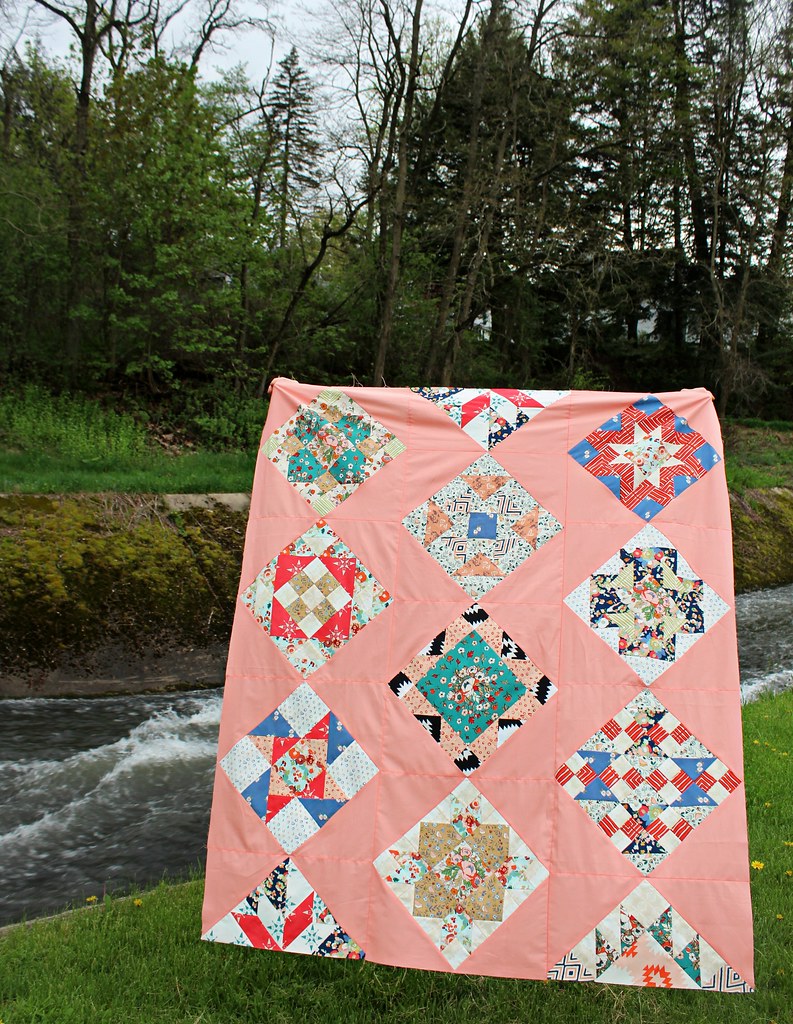
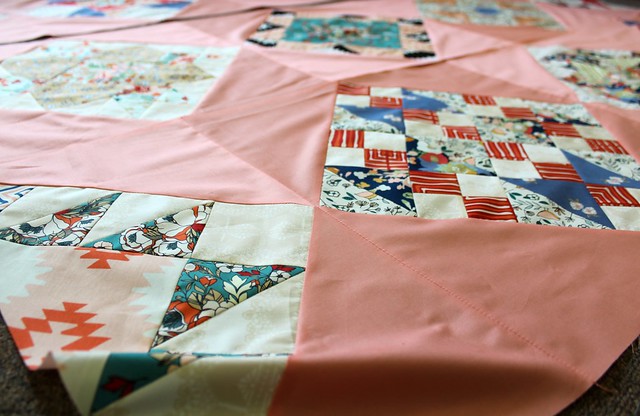
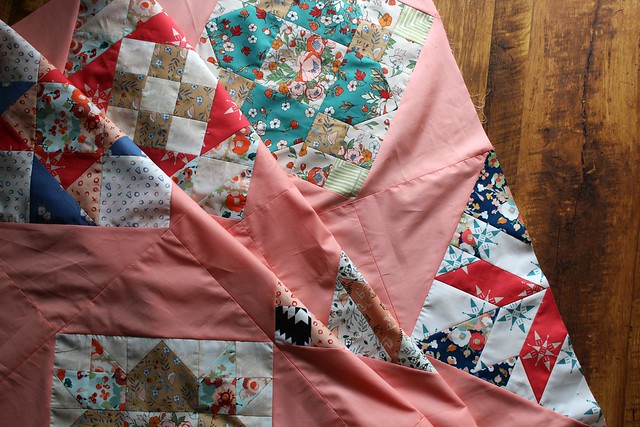
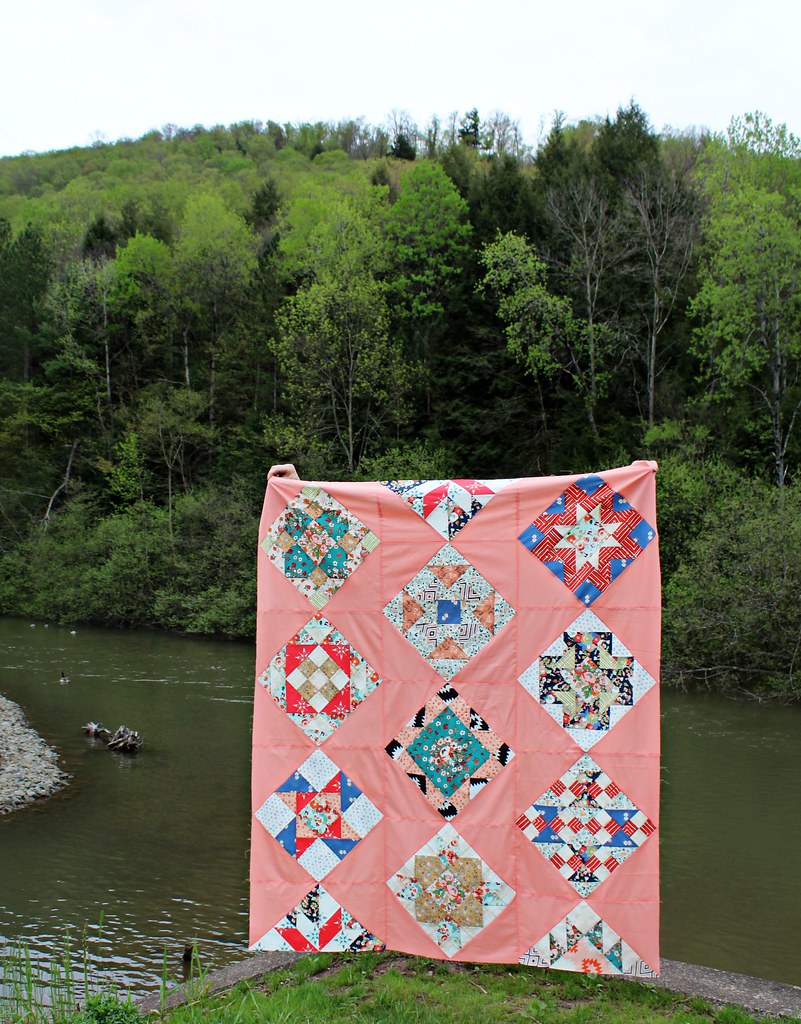
Community Sampler Quilt Top

I'm so happy with the grapefruit solid I chose to be my background!

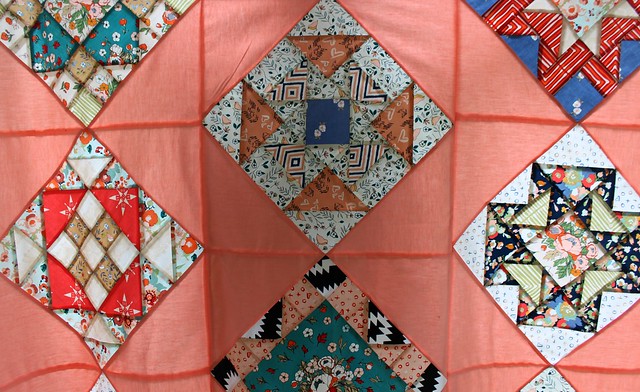
Love Story Blocks

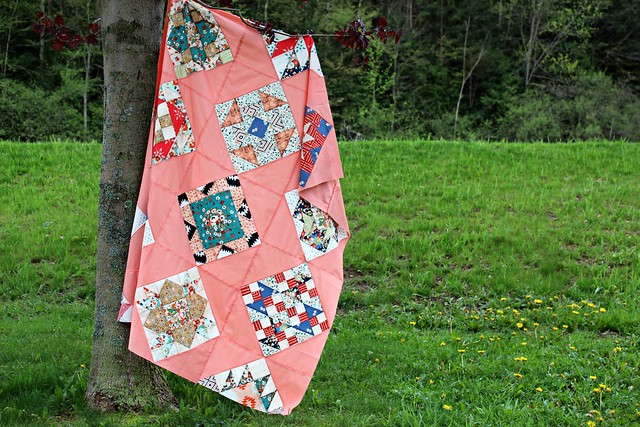
Last night after dinner we took my top to the park behind our house for some pretty shots. It's been raining here in Pa for days, so everything is finally green and starting to bloom!

Community Sampler in Love Story

This week takes a bit longer than previous weeks when we were making the blocks, so be sure to give your self some extra time. I did all of my cutting and added my block settings to half of my blocks Monday evening, and it took me another few ours yesterday morning to finish my block settings and assembly.

I'm so happy with how my Love Story Community Sampler is coming together!

Community Sampler in Love Story

I'm excited to see your tops this week! When you share on Instagram use the hashtag #CommunitySampler and be sure to tag @sharonhollanddesigns and myself @maureencracknell so we can be sure to see your beautiful Community Samplers!

Using #CommunitySampler hashtag will also automatically enter you in the weekly IG Giveaway pool! Remember that your Instagram account does need to be a public account for your post to show up in the Instagram hashtag pool. But please don't worry, if you don't have Instagram or you'd like to keep your account private, we will also be hosting the same giveaway prize, alternately between Sharon's and my blog, so you can choose how and where to enter each week!

Thank you, Sponsors!

Be sure to check back here on Friday for more info on this week's Community Sampler Giveaway with our wonderful sponsor Fat Quarter Shop!

xo Maureen  
Monday, October 2, 2017

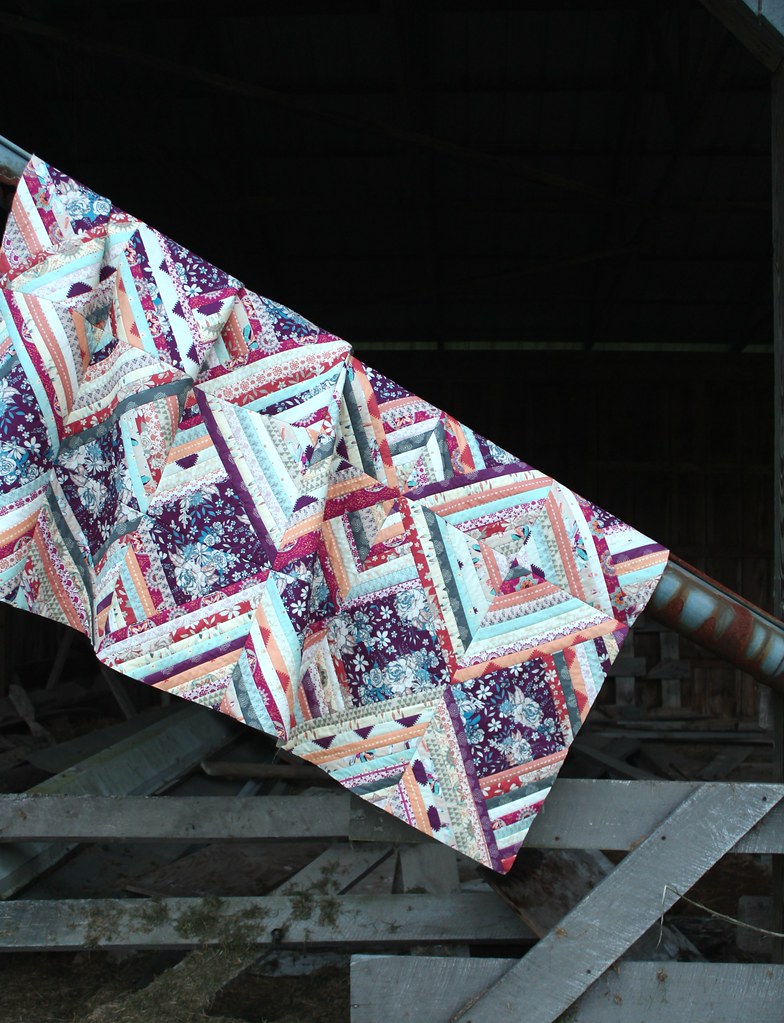
A Soulful QAYG Quilt Top : :

Soulful Quilts

Soulful Strings QAYG Quilt Top

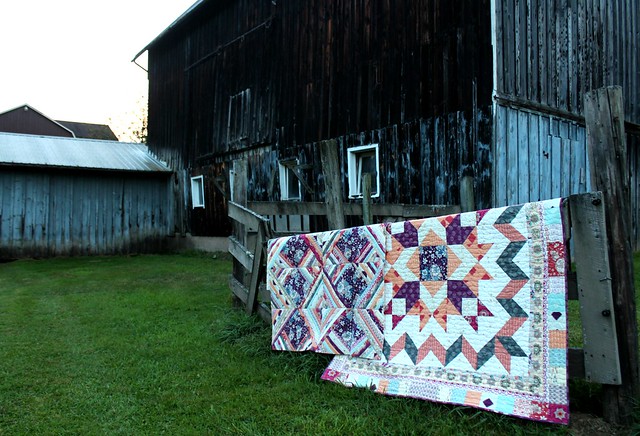
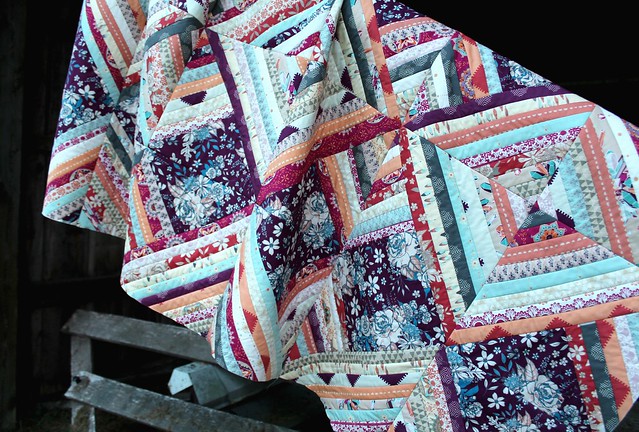
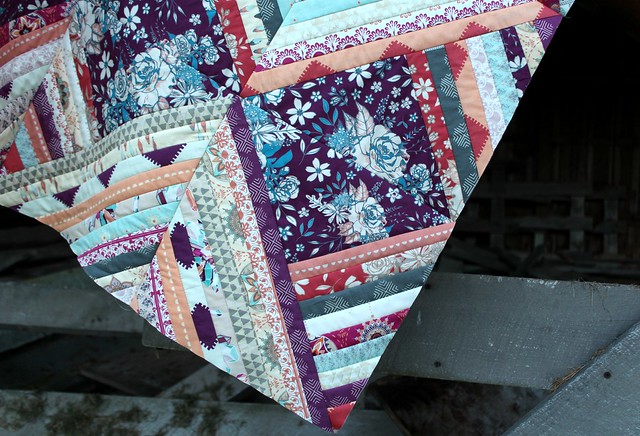
Just about two weeks ago I started this new Quick Quilt As You Go using a combination of Soulful fabric strings and large triangle cuts of my Soulful print, Floral Universe Plum.

Floral Universe and Soulful Strings

This new qayg is so much fun! The large Floral Universe triangles make quick work of these 12.5" (unfinished) blocks and took just a single work days worth of sewing to have this quilt top to share!

Soulful Strings 1

This new block is an even faster sew than my go-to herringbone qayg that I so often use since it's such a quick make and because that scrappy look will forever be my very favorite! The simple addition of a focal print with the two directions of the fabric strings is a really fun variation!

Soulful QAYG Quilt Top

I'm so busy these days working on the new studio and preparing for this month's Quilt Market, that I don't have time to put together a pattern to share. Now this morning I've decided that I'm not quite sure that I'm done with this quilt top just yet. Currently it measures 48" x 72" and I don't think I like this size. After looking through the photos I took I last week, I'm leaning towards shelving this one for a little while, and when I have the time I'd like to add one more row of blocks to each side to make a 72" square throw quilt. What do you think?

Soulful Strings QAYG

This full shot gives you the best look. Let me know what you think, I always appreciate your thoughts!

This morning I'm heading out to the hardware store and back to the studio to finish painting the walls again, after a big paint mix-up/set back yesterday. I plan to snap some photos to share with you all soon!

xo Maureen

Wednesday, July 26, 2017

The Sewcial Bee Sampler Sew-Along Week 26!

My Sampler

Join the Sewcial Bee Sampler!

Before I share our final PDF, once again Sharon and I are asking for all SBS makers to take the 8-answer survey we've prepared! This quick questionnaire is completely anonymous and the answers will give us better insight into how you've enjoyed this sew-along. To ensure the most accurate results, please only take the survey once. A BIG thanks to those of you who've participated in the SBS questionnaire already! If you've not yet had a chance to take the survey, please do so as soon as you can, we're only keeping it open now through the end of the SBS sew along. The link provided on both our blogs will link to the same survey. So, if you access the questionnaire from either Sharon's site or mine, your answers are compiled to the same place. Thank you in advance for your help!

A SBS Survey

Now it's time for the very last block release of the Sewcial Bee Sampler sew-along!

Today's free download is for : Quilt Assembly and Finishing. I'll be sure to add this final pattern to my Sewcial Bee Sampler Page with the previous week's patterns, where you can easily find everything you need to make an SBS Sampler right in one place, anytime! Simply click on the link or the image below for direct access to this week's final SBS pattern!

Sewcial Bee Sampler Week 26: FINISHING!

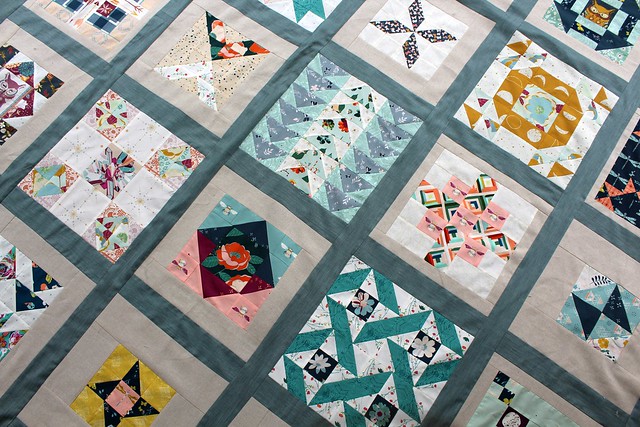
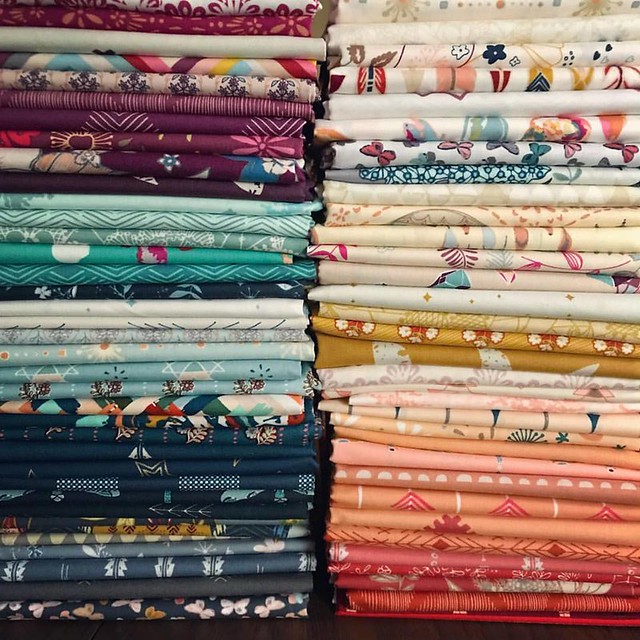
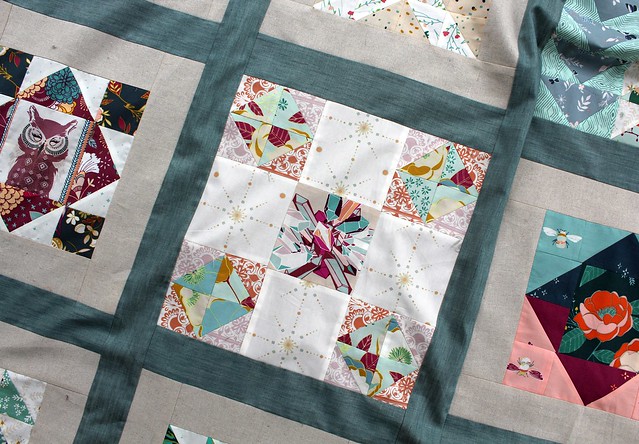
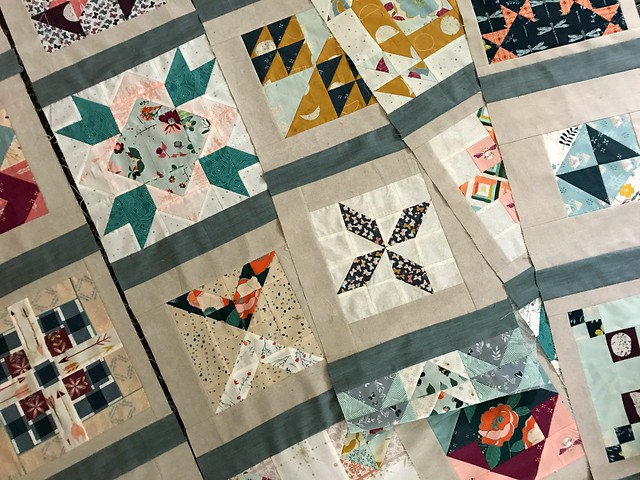
For my version of the Sewcial Bee Sampler I have used Art Gallery Fabric The Denim Studio Soft Sand Linen for each of my block frames and for the final sashing I'm using AGF's Solid Smooth Denim in Cool Foliage, a vintage looking blue that pairs perfectly with the colors I love to use when coloring my fabric collections! The photo below is a recent one I took of several of my collections together. Using prints from each of the five collections I've released so far is one of the many reasons I loved making this quilt so much!

My Fabrics

Before I began adding my sashing strips to connect my blocks and rows, I had to remake just one block, my week 17 block: Spools. I knew this one would need remade as soon as I laid it out with the previous week's blocks. The eggplant purple is so pretty, and although I did include this print and color in other blocks throughout my sampler, including such a dark print as a star fabric, rather than a supporting print was just too much eye-catching eggplant purple. This lighter, brighter selection of prints works so much better with my other blocks and I was thrilled to add a little Soulful to my Sampler!

Spool remake in Soulful

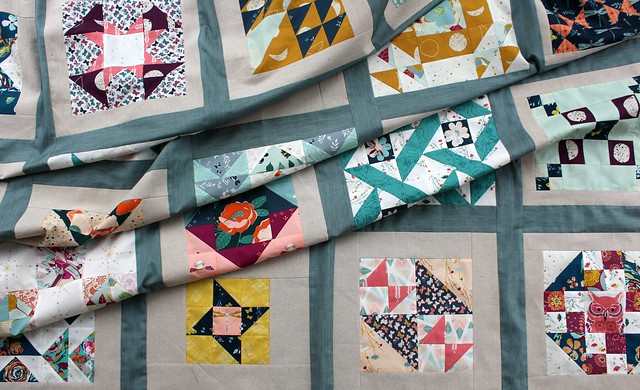
Once you're happy with your blocks and arrangement of each, it's time to connect your blocks and rows together! I left my Sampler arranged almost in exact week order, making just one swap of my first and sixth week blocks. Feel free to layout your blocks in any order that makes you happy and finds the right balance of color and pattern before adding the sashing. Once you're ready, the Quilt Assembly and Finishing PDF includes everything you need, with many bonus images and info on Sharon's blog today, as well! To add my sashing I began by sewing my denim sashing strips between  five blocks at a time to make a vertical row, until I had all five vertical rows sewn together.
First make rows

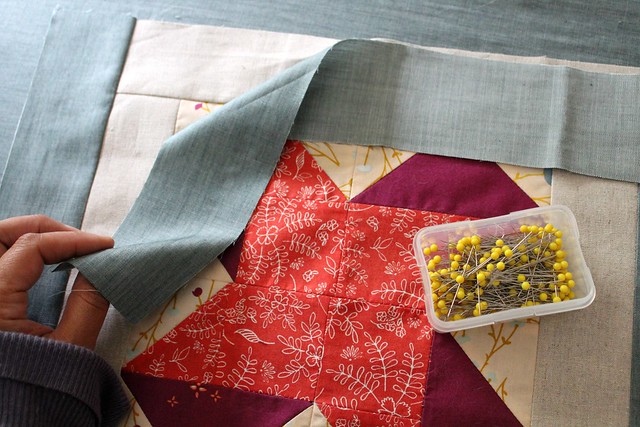
Once my rows were complete, I used my long lengths of sashing to connect each vertical row together. Simply pin to attach the long strips to the length of each vertical row and sew the vertical sashes alternately together with the block rows until your quilt top is complete!

connect rows with sashing

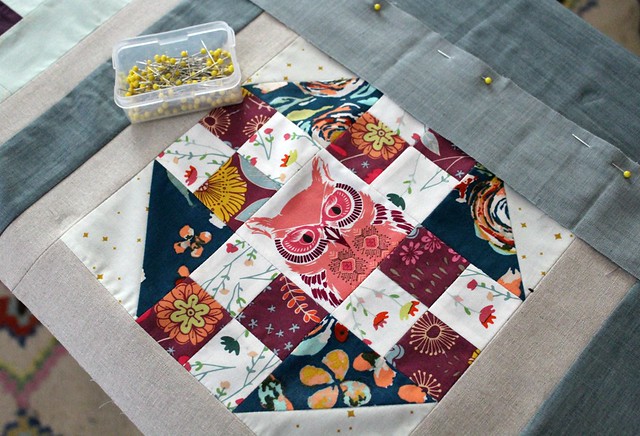
pin sashing in place

row by row

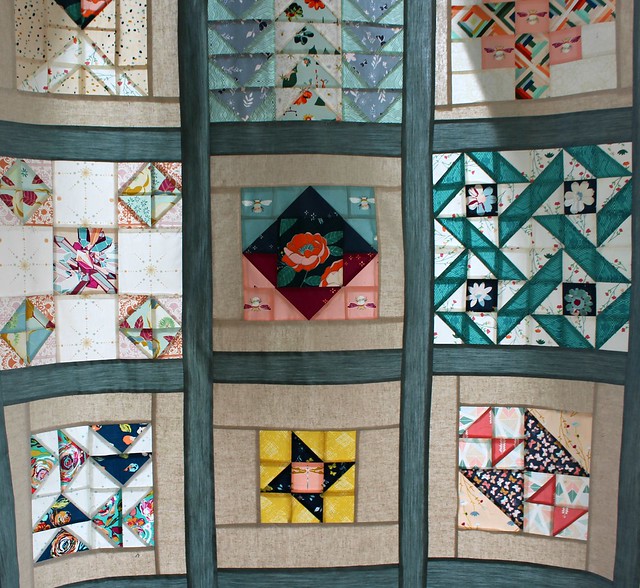
My SBS

Now that my Sewcial Bee Sampler quilt top is finished, I'll be sending my top off to Lady Belle Fabrics, my friend and long-time sponsor who will be adding a brand new long-arm service to her amazing shop soon! For my Sampler I'm planning to choose an all-over floral quilting pattern to pair with the prints I used, something simple not to take away from these beautiful blocks! All that's left for me to do now before boxing up my SBS top to send off to Brooke is to choose and prepare my backing fabric. Again, I'm leaning towards a pretty floral print! Lady Belle Fabrics plans to have their long-arm service info up in a week or two, so if you'd like to send your quilt top to be long-arm quilted as well, feel free to leave me a comment or to contact them for additional info!

In the light

I can't wait to see all of the finished SBS Quilt tops this week! Be sure to visit Sharon's blog today to see her beautiful versions and for her post that's full of helpful finishing info! Be sure to stop back for details on how to enter this week's special Sewcial Bee Giveaway Friday with the Circa 15 Studio!

Sewcial Bee Sampler SponsorsHappy SBS sewing, friends!  XO Maureen