Showing posts with label amy's creative side. Show all posts

Thursday, February 26, 2015

A Scrappy Film Strip Pillow : :

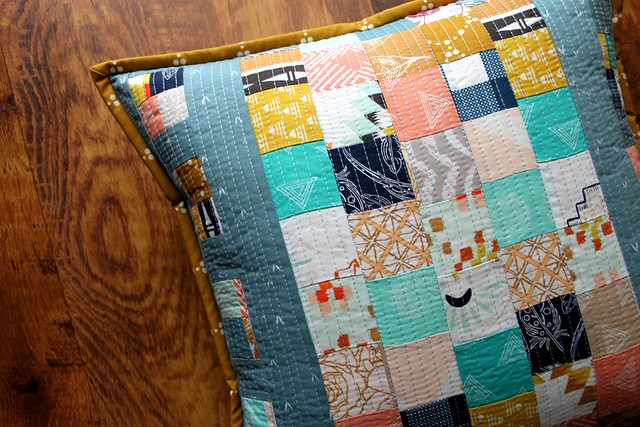
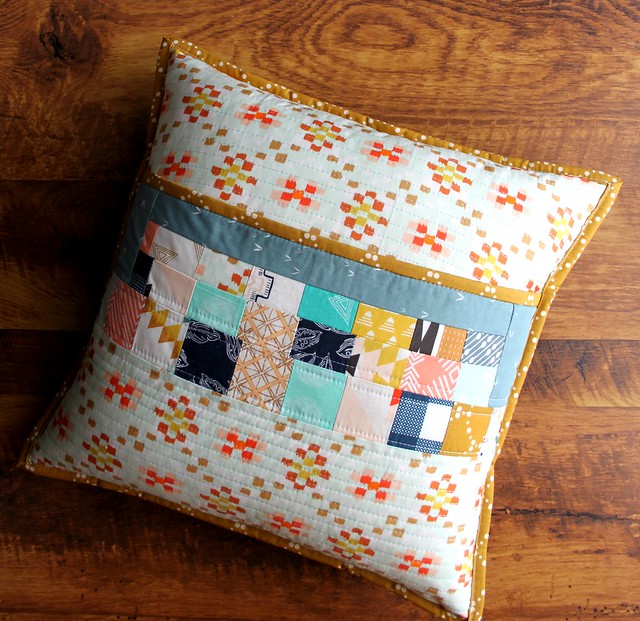
Scrappy Film Strip Pillow

Throughout this week, Amy Ellis of Amy's Creative Side is hosting her second annual Pillow Collective series to inspire fun, fresh, patchwork pillow making! You can find my last year's pillow tutorial contribution right here. As you know, I love making pillows for their quick, yet satisfying finish! Creating a new pillow is such a great, functional way to test out a new quilt idea or fabric pull and so, this year Amy asked us to use one of the blocks in her new book Think Big as the inspiration for our pillows!

I decided to use Amy's Film Strip block pattern for my pillow design inspiration, with a super scrappy twist, choosing a fabric mix of Art Gallery's Wild & Free, Wanderer, Winged, and Prisma Elements!

tiny patchwork

Each of the blocks in Think Big are 18"x18," a perfect throw pillow size, but since I happen to only have 16" inserts on hand, I had to play with my measurements a little. I love how it turned out so much that if I hadn't needed to finish this block as a pillow to share here today, I would have kept on going until I had a new quilt top!
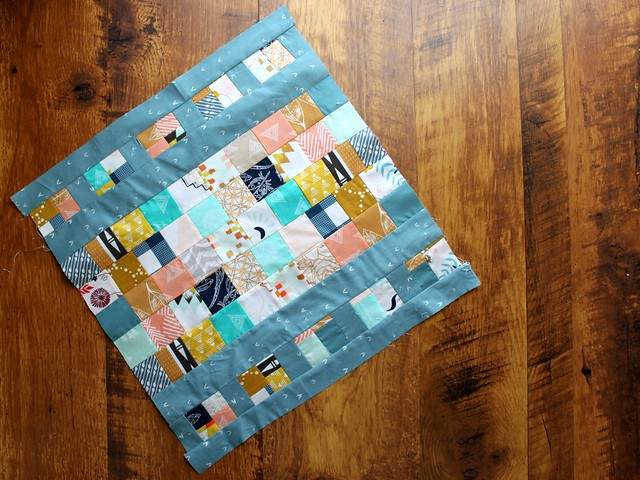
Scrappy Film Strip Block 

I quilted up the pillow front with straight lines every 1/4" in a pretty sky blue Aurifil 40wt cotton!
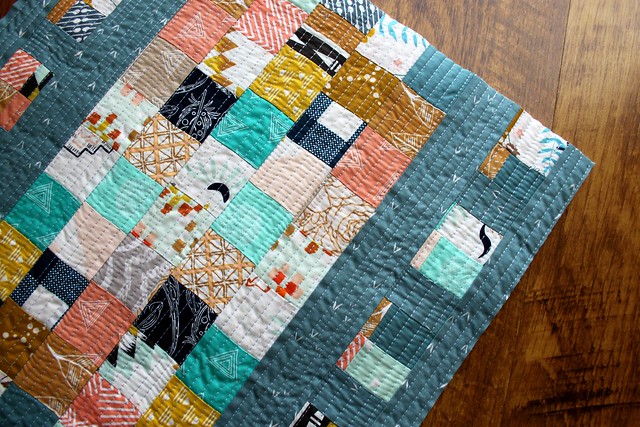
Quilted with Aurifil

For the back I used one of my most favorite Wanderer prints, Crocheting Crops, with some scrappy bits leftover from the pillow front patchwork. I love these colors!
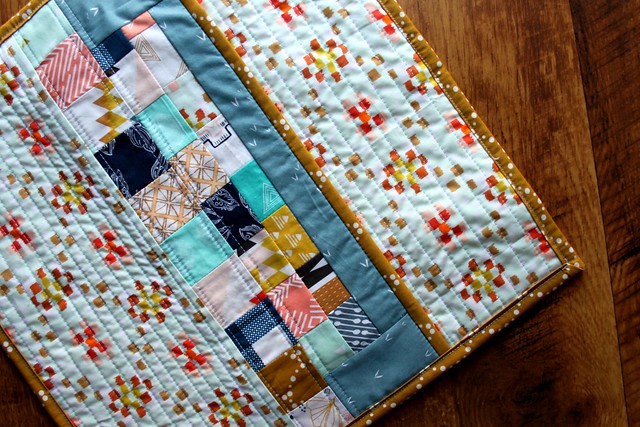
Quilted Pillow Back

After finishing with Emmy Grace quilt binding, I added in my insert, and I really love how it turned out!
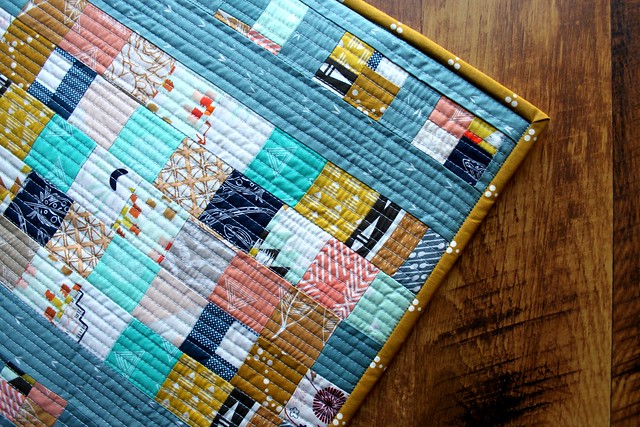
Bound in Emmy Grace

Scrappy Film Strip Pillow

Color Love!

Scrappy Film Strip Pillow Back

Be sure to check out Amy Ellis' blog this week to see all the other Think Big pillow creators. I was so excited to see Amy Smart's Wild & Free pillow! Amy Ellis is offering 30% off all copies of Think Big purchased from her online shop, now through March 1st, just use the coupon code: ILOVEPILLOWS at checkout! There's also a fun Giveaway including fabric bundles and even a quilt made from Amy's Moda Modern Neutrals fabric collection! To enter to win, all you need to do is Pin (via Pinterest) any pillow image from this week's Pillow Collective tour using the hashtag #ThinkBigBook and #PillowCollective. You can visit Amy's blog for more details. Enjoy! 

♡ Maureen    

Thursday, February 6, 2014

A Garden Gate Pillow Tutorial : :

A Garden Gate Patchwork Pillow Tutorial

Today I'm sharing a new tutorial for a 20" Garden Gate Quilted Patchwork Pillow, a project I designed as part of Amy's Creative Side's Pillow Collective! Amy invited me to join in this fun blog hop, asking that I put together a new pillow tutorial to share, inspire, and motivate you to create a handmade pillow of your very own, as well! Now let's get started!!

What you'll need : :
  • 6  - 6" squares of dark fabrics of your choosing (I'm using Blythe fabric by Rebecca Bischoff for Robert Kaufman)
  • 24 - 3.25" squares of light fabrics of your choosing (I'm using these Blythe prints)
  • 2 - pieces of fabric measure 3" x 20.5"  
  • 2 - pieces of fabric for the backing measuring 14" x 20.5"each
  • 1 - piece of batting measuring a 22" square
  • 1 - 20" pillow insert
  • Coordinating Thread
  • Rotary Cutter/Mat/Ruler
1 supplies

Cutting and Piecing the Fabrics : :

For this pillow I made lots of Flying Geese using my favorite method that yields four flying geese quickly! Each block begins with a 6" square of dark fabric, cutting one of these to yield four flying geese units. For the light fabric cut 3.25" squares, you'll need to cut four of these to yield four flying geese units.

1. Lay two of the light fabric squares onto the larger dark square with right sides facing. The light squares will overlap slightly in the middle. Draw a diagonal line on the wrong side of the two light fabric squares. Pin in place.

2 mark and pin

2. Sew 1/4" away from the marked line, through all the layers, on both sides of the marked line.

3 stich from line

3. Cut on the marked line to make two units.

4 cut

4. Press open with the seam allowance pressed in the same direction for both.

5 press open

5. Working with one unit at a time, lay one of the remaining light fabric squares onto one unit.

6 final squares

6. Draw a diagonal line on the wrong side of the light fabric square again and sew 1/4" away from the marked line on both sides of marked line.

7 mark ans sew again

7. Cut on marked line.

8 final cut

8. Press open and you'll have two finished Flying Geese. Repeat with the other unit and you'll have four Flying Geese. Repeat with the remaining 6" dark fabrics and 3.25" light fabrics until you have a total of 24 Flying Geese.

9 continue making geese

9. Layout your pattern and begin by sewing two flying geese together at a time using a scant .25" seam allowance to create the diamond pattern. Trim each diamond block to measure a 5.25" square.

10 square up

10. Using a 1/8" to a very scant 1/4" seam, sew together four diamond blocks to create a panel.

11 sew units together

11. Repeat for a total of three panels of four diamond blocks each.

12 sew four together

13 repeat

14 make three

12. Connect the three panels together using the two 3" x 20.5" fabric strips.

15 connect panels with strips

16 finished top

13. Baste the pieced pillow top to the batting using basting spray or pins.

Pillow Top Basting

14. Add the quilting stitches in a style of your choosing. Trim away excess batting to square up.

Quilt it

Trim up to a 20.5 square

15. Prepare the backing fabrics with a double seam or bound edge and finish the pillow with an envelope style closure. Insert the pillow form and viola!! Your pretty patchwork pillow is finished!

Garden Pillow Backing -- Essex Yarn Dyed Linen in Black

Garden Pillow Backing -- Essex Yarn Dyed Linen in Black

A Garden Gate Patchwork Pillow Tutorial

A Garden Gate Patchwork Pillow Tutorial

Be sure to stop by the blogs listed below to see all of the amazing pillow ideas being shared during the Pillow Collective!

If you do give this tutorial a go at anytime, be sure to share on my Facebook page, in my Maureen Cracknell Handmade Flickr group, or on Instagram tagging me @maureencracknell with hashtag #pillowcollective -- I love seeing what you create!!

Thanks so much for stopping by today!!   ♥  Maureen