Showing posts sorted by relevance for query herringbone. Sort by date Show all posts

Monday, July 27, 2015

An Arizona Herringbone Quilt : :

An Arizona Herringbone Quilt

Inspired by last week's new quilt top that had me digging through my abandoned project baskets, I decided to turn another forgotten quilt beginning into a big finish! I can hardly believe it was more than a year ago when I started this Arizona Herringbone quilt-as-you-go. When this Limited Edition bundle of eight beautiful & inspiring prints, April Rhodes' first collection for Art Gallery Fabrics, had arrived at my door, I knew immediately what I would make and wasted no time diving right in. The gorgeous Arizona prints with strips of AGF Pure Element solids in White Linen, Sweet Mint, Nocturnal, Honey, Apricot Crepe, and Peach Sherbet were the perfect fabrics and color combo for a new, scrappy, herringbone qayg!

Arizona

Arizona QAYG

Another quilt top finish from the abandoned work basket! This time my #arizonaqayg!! Not sure what took me so long, I LOVE it!!

This quilt is made using my go-to herringbone qayg pattern, but this time I wanted to make one that would showcase how creative you can get with this method by including panels with varying widths, as well as panels including just a narrow strip of one print.

An Arizona Herringbone Quilt

It's bound in a stripe from Bonnie Christine's Cultivate collection. A pretty coral, peach, & white that matches those Arizona colors perfectly.

Row by Row Binding

An Arizona Herringbone Quilt

For the back I used my own Woven Path print from my Wild & Free fabric collection. The tribal pattern goes so well with April's Arizona prints!

Woven Path Backing

Arizona 4

For my quilt photos, we first stopped at a wildflower covered hillside just up the road from our house. The light and scenery was beautiful! Then we continued onto a nearby farm where the horses were so friendly and curious. It was absolutely perfect!

An Arizona Herringbone Quilt

An Arizona Herringbone Quilt

An Arizona Herringbone Quilt

An Arizona Herringbone Quilt

I'm so happy to have finally finished this quilt! I have no idea what took me so long. I love it and I hope you do, too!

Happy Monday! ♡ Maureen

Monday, September 30, 2013

A Herringbone Quilt Tutorial : :

A Herringbone Quilt Tutorial

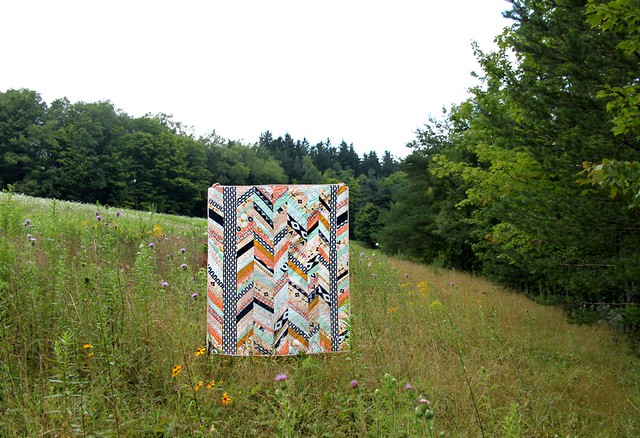
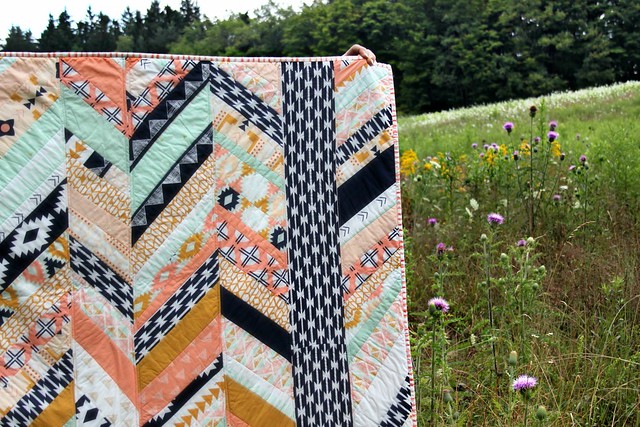
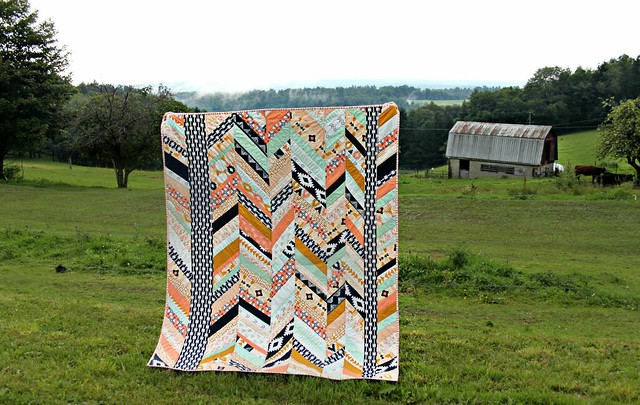
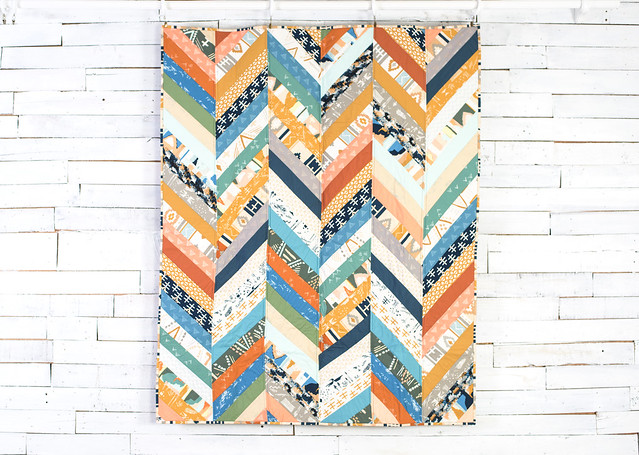
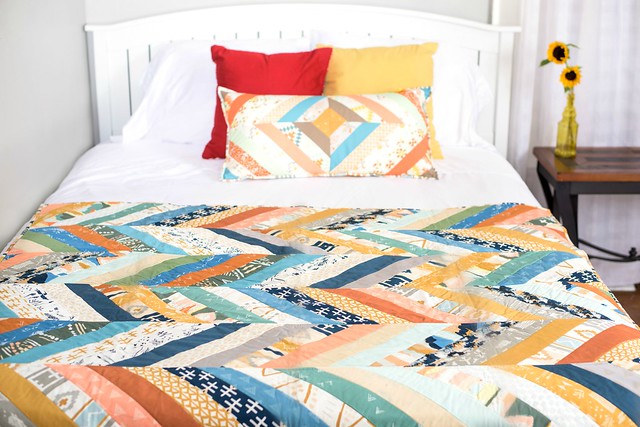
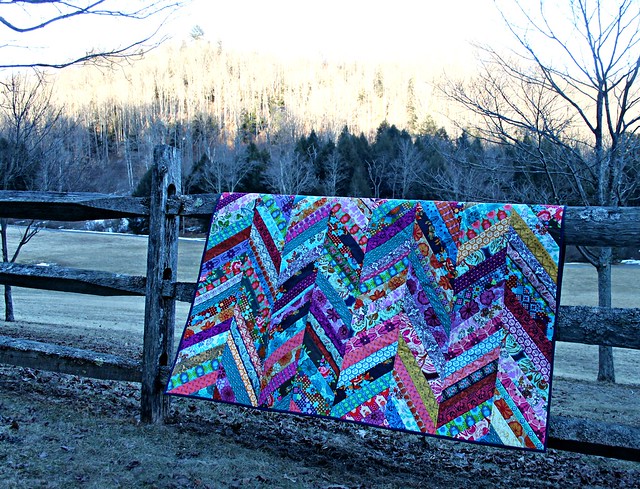
This project tutorial is a Quilt-As-You-Go style quilt, made with long panels rather than traditional "blocks". We'll be using cotton batting as our foundation for easy string quilt piecing, making this the perfect project to use up those fabric strip scraps. I think you'll be very surprised with just how simple and quickly this quilt comes together. This is definitely one of my new, most favorite styles of quilting!

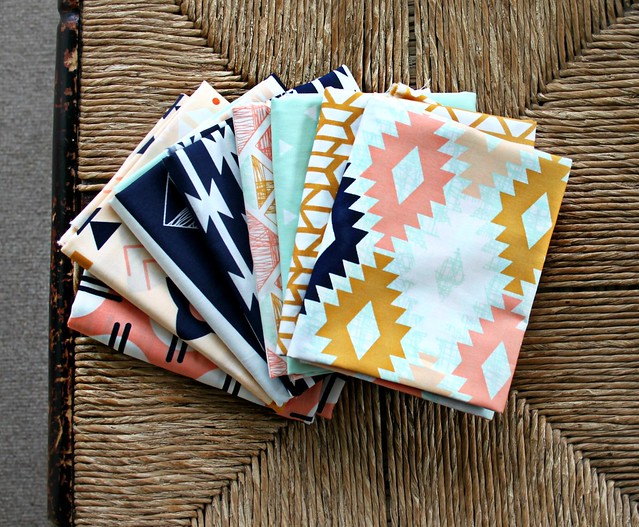
Fabric and Materials Required : :
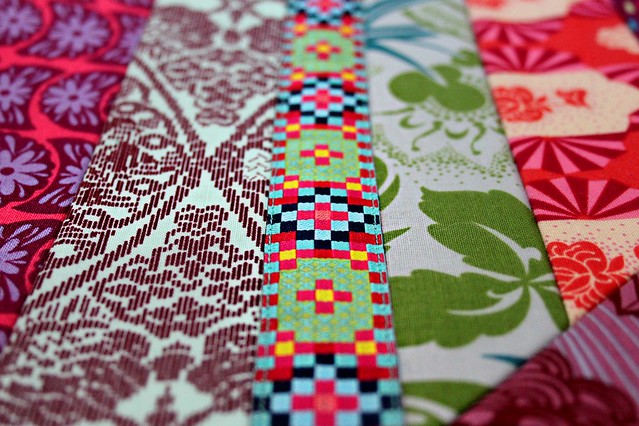
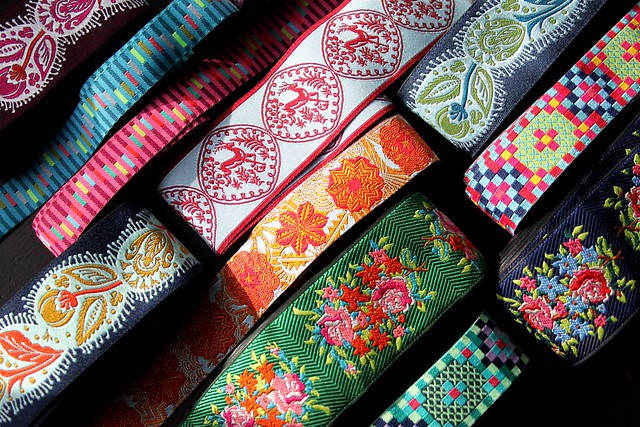
  • a variety of fabrics cut into 2.5" x  14.5" ( I used all Anna Maria Horner fabrics from several of her collections. Using around 210 strips for all of my panels + extra for my scrappy binding)
  • 8 -- panels of 100% cotton batting measuring 8" x 64"
  • thread & sewing pins
  • fabrics for the quilt backing and binding
  • rotary cutter/large cutting mat/ruler set
  • pencil or pen for marking

* Notes * 
  • Synthetic batting is NOT suggested, I only use a 100% cotton natural batting. It is important to be able to press the batting with a hot iron and steam. For those of you in countries other than the U.S, please make sure you use a 100% cotton needle punched batting (a reader in India pointed this out to me).
  • Use a Low-loft batting. The #1 question I receive about QAYG is folks wanting to know if the seams are bulky. My answer is NO, not to a noticeable degree. I absolutely wouldn't spend my sewing time making a quilt that was poorly constructed or that wasn't comfortable!
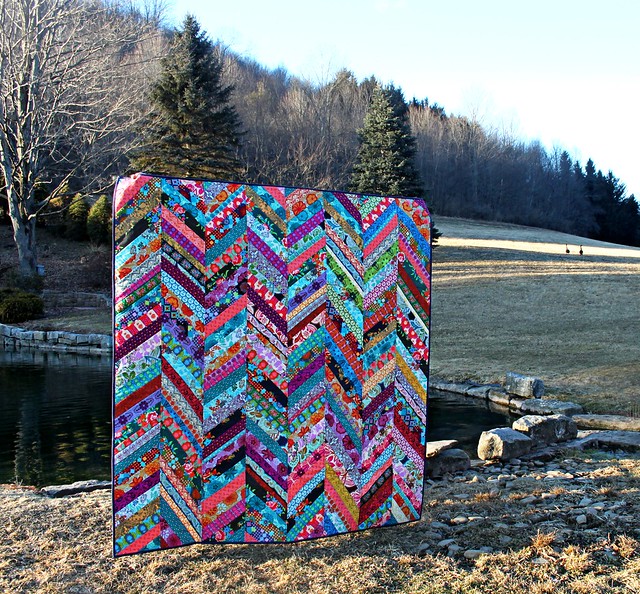
  • Quilt panels can be made in any size! The measurements I'm sharing for this tutorial makes a 62" square finished quilt. Please feel free to adjust that to your own desired length and width. I plan to make my next one much bigger!!
  • This method does not include the quilt backing fabric. I like to add my quilt backing at the end, to avoid hand-sewing, which is really hard on my hands

Now, let's get started!! 

    .   .   .   .   .   .   .   .   .   .   .   .   .   .   .   .   .   .   .   .   .   .   .    .

Making the Batting Panels  : :

1. To make the batting panels for the foundation string piecing, cut 8 - batting strips measuring 8" x 64".

1 cut batting step

2. Place one batting panel on the cutting mat at a time, matching one of the long edges to the diagonal grid on the mat, with the fuzzier side up. (the batting I use, Nature's Touch, has a noticeable softer side. This is the side I consider the front side)

2. Place batting panel at a diaginal

3. Keeping the batting at a diagonal, use the ruler and square grid on the mat to mark lines every two inches or so going across the batting panel. I did this for the first 10" - 14" to help keep the proper angel when adding my first several fabric strings. Once those first fabrics are added, you'll keep that angel naturally as you piece

3. Mark grid lines

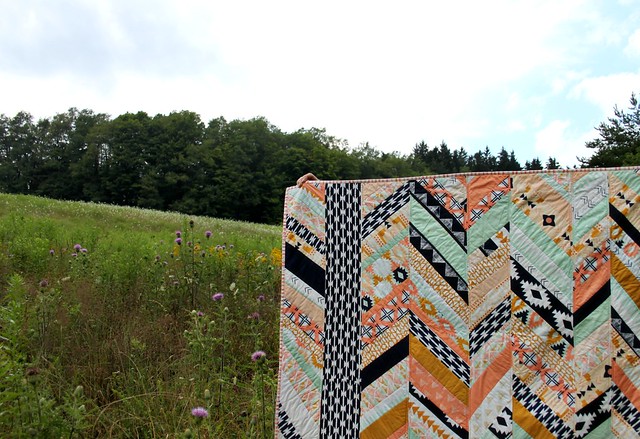
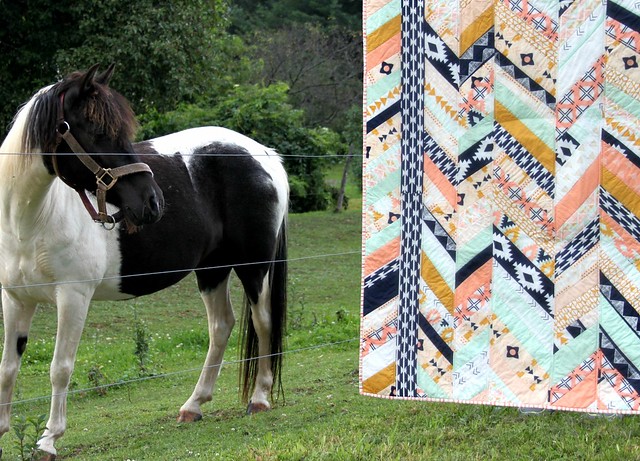
4. Repeat this step making sure you mark FOUR batting panels with lines running one way, and FOUR with lines marked in the opposite direction. This will create the herringbone pattern once the fabric strings are added and the panels are sewn together

4. Mark the panels

Adding the Fabric Strings : :

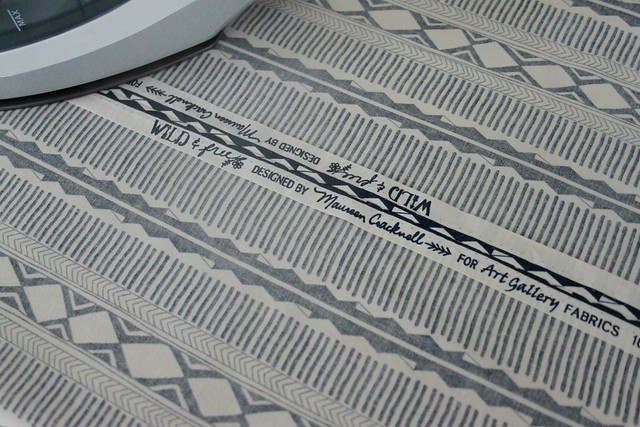
5.  Prepare the fabric strings by cutting fabrics into 2.5" strips. For this quilt I used approximately 210 strips measuring 2.5" x 14.5" with a few measuring a little less in length for the beginning and end of my panels where that much length isn't necessary

AMH Strings 
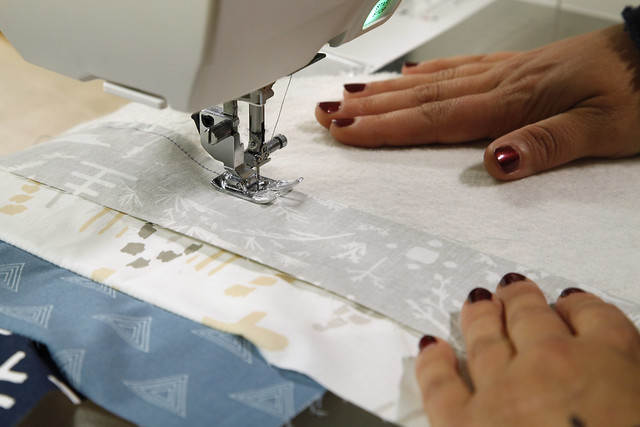
6. Using that first mark as your guide, begin by sewing that first fabric right side down onto the batting, using a 1/4" seam allowance along the raw edge. Since you're sewing the fabrics to the batting as your foundation, you'll be permanently setting the fabric strings in place.

5. Adding the first fabric

7. Fold over the fabric strip and either press with iron or you can simply smooth it down flat with your hand. The fabrics stick nicely to the batting, so I was comfortable carefully folding over the fabric strings, smoothing them as I went. Continue adding fabric strings, placing each new fabric string on top of the other, with right sides facing, matching up the raw edges. Attach with 1/4" seam, fold over, and continue to press or smooth each new fabric added

6. Adding fabric strings

7. Continue, work your way down the panel

8. When finished with a panel, press both sides well. Use a mat, ruler, and rotary cutter to trim away the overhang of fabric from each side of the panels and square up if needed. Repeat until all 8 panels are finished.

8. Press and trim panels

Finished Panel

Sewing Panels Together : :

9. Take two panels with strings pieced in opposite directions and place them right sides together. Use sewing pins to secure their place and sew along one side keeping a 1/4" seam allowance. Repeat this with the remaining panels to create FOUR herringbone fabric panels

9 Sew Panels together to create the herringbone

10. Press the seams on the back open and the front side of each panel well

10. Press Seams OpenAdd Quilting Stitches : :

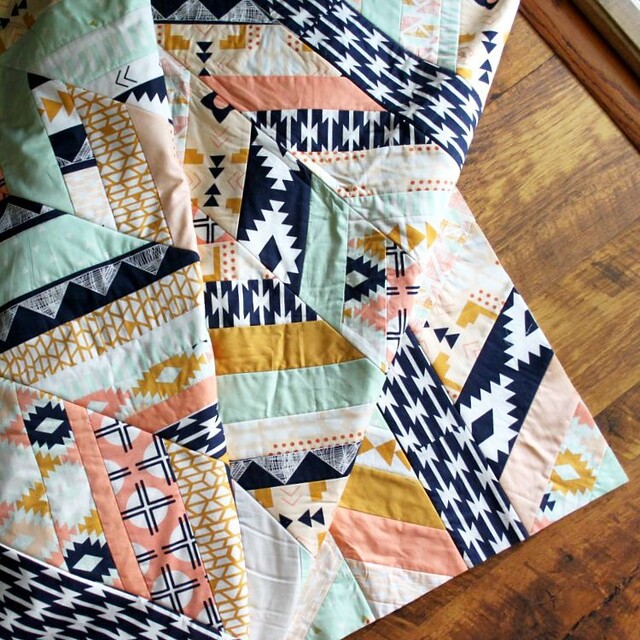
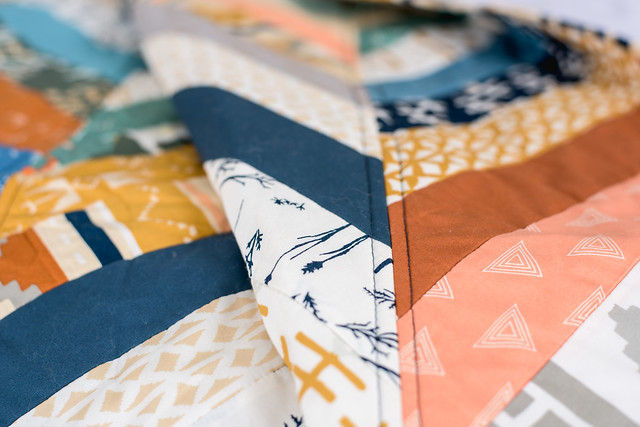
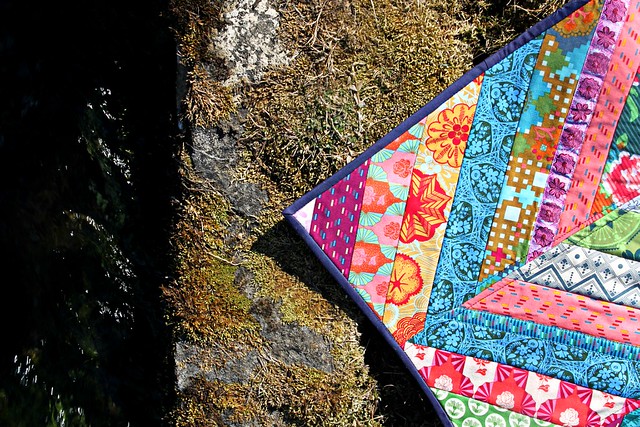
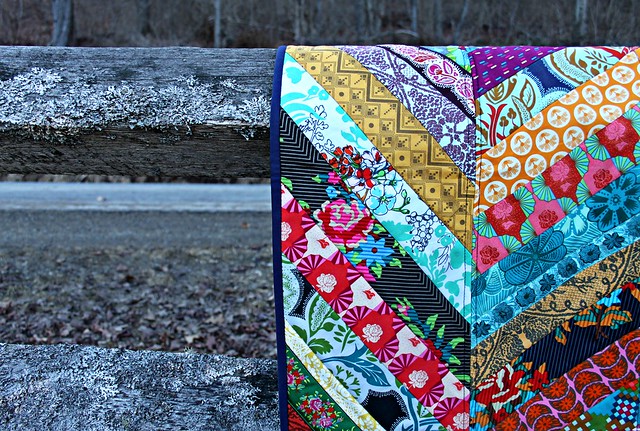
11. Now that your FOUR herringbone panels are finished, use a thread of your choice to add quilting stitches every few strings, pivoting at the center of each herringbone panel to form a "V" shaped stitch line. Continue this down the length of each panel

11. Add quilting stitches every few strips

Quilt Stitches

Sewing the Herringbone Panels Together : :

12. Using a 1/4" seam, sew all FOUR herringbone panels together

12. Sew Herringbone panels together

13. Press all seams open and the quilt top front, as well. If needed, square up the quilted quilt top. After squaring, my quilt top measured approximately a 62" square

13. press all seams open, press quilt top, and sqaure up if needed


Quilt Backing, Basting, & Binding : :

14. Piece together fabrics for the quilt back to measure at least 2" bigger than the quilt top on all sides and baste it to the quilted quilt front.  I use Therm O Web's SpraynBond basting spray for this, however pin basting works

Quilt Basting

15. Working your way down from the top of the quilt to the bottom, with a quilt stitch length set at a 2.5 or more if you prefer, simply sew about 1/4" from the seam lines (when adding this stitching it IS recommended that you do use a Walking Foot). Continue this on both sides of each seam running from the top of the quilt to the bottom.

15. Sew on quilt backing

Final Quilting

Below shows a close up look of what these stitches will look like from both the front and the back side of the quilt

Close up -- Front

Close up -- Back

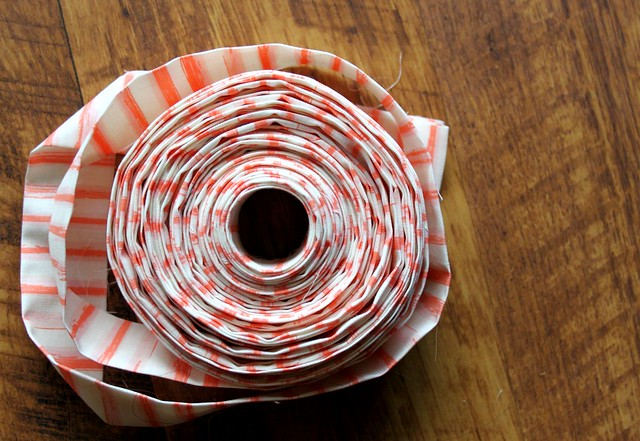
16. Bind the quilt using your preferred method, 
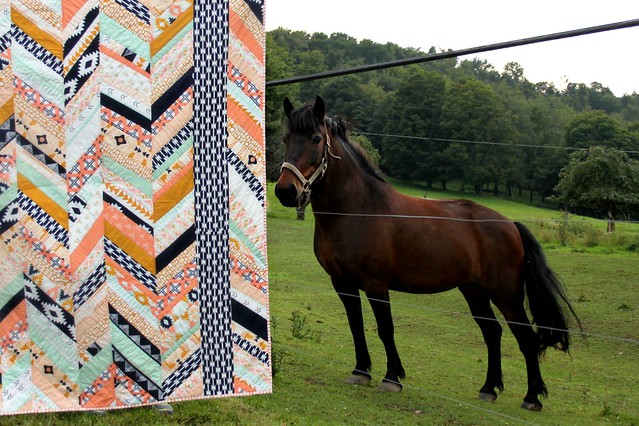
any leftover 2.5" strips makes for some fabulous scrappy binding!

AMH Scrappy Binding

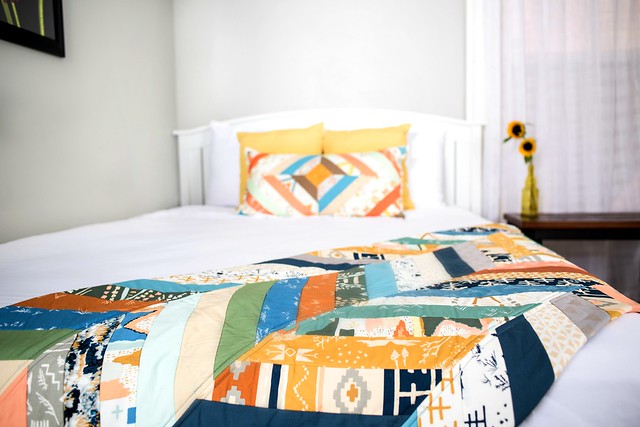
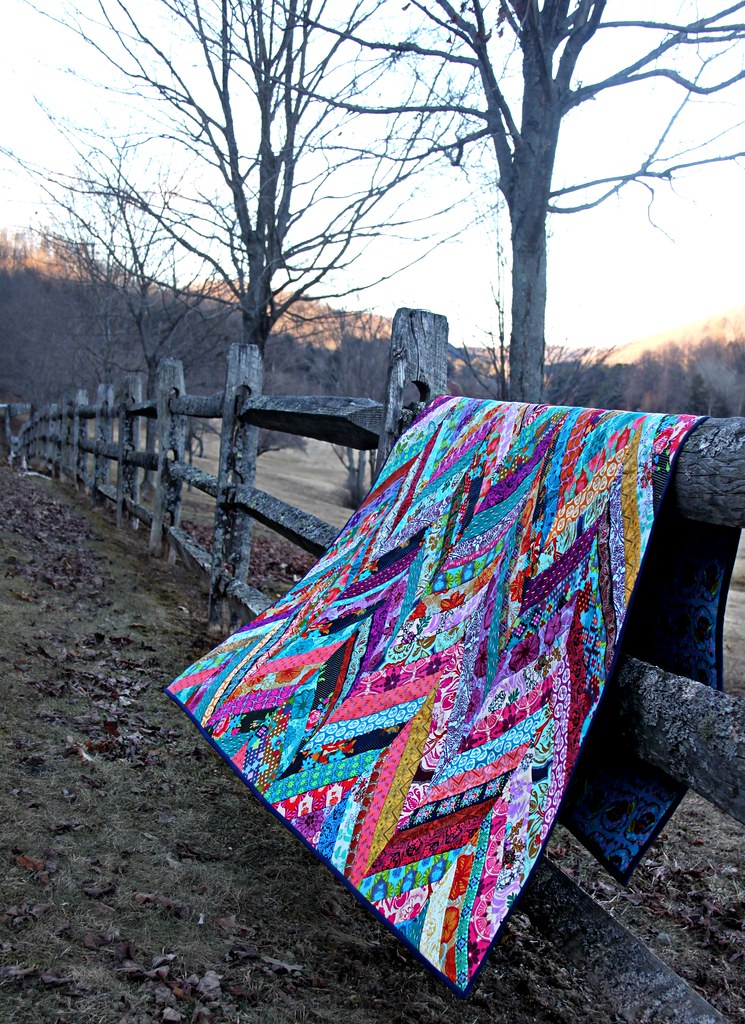
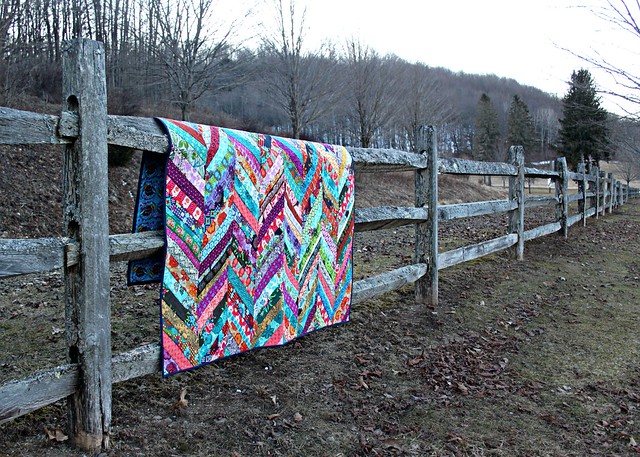
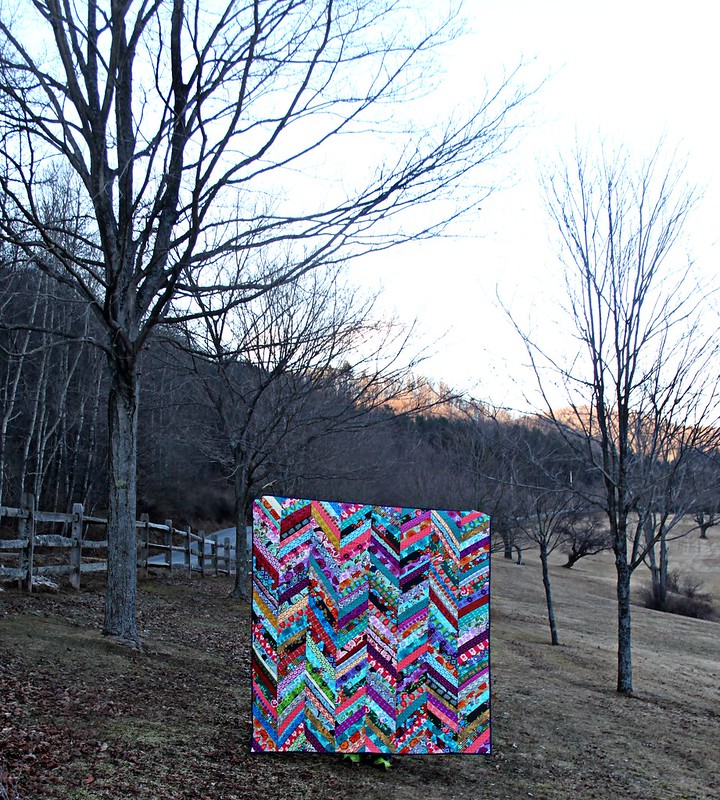
Voila! Your Herringbone Quilt is finished!!

An Autumn Herringbone Quilt // Maureen Cracknell Handmade

An Autumn Herringbone Quilt // Maureen Cracknell Handmade

An Autumn Herringbone Quilt // Maureen Cracknell Handmade

An Autumn Herringbone Quilt // Maureen Cracknell Handmade

Thank you so much for stopping by today and for all the love you've already shown this quilt here, on Instagram, on Facebook, and on Flickr! I really hope you enjoy this tutorial!

Do you think you'll give it a try

If you do, please be sure to share on my Facebook page or in my Maureen Cracknell Handmade Flickr group 

  Maureen

Wednesday, October 21, 2015

Craftsy Class : Herringbone QAYG!

Craftsy Class -- Herringbone in Bound

My Herringbone QAYG Quilt is by far my most favorite quilt to make! With each new collection that comes out at some point I think to myself, "oooh, that would make a pretty Herringbone QAYG." It's such a great pattern and is an absolute joy to make, it's just FUN! Of all the things I've made & shared throughout my sewing/blogging years, my very first Herringbone QAYG, along with the original tutorial, has remained my most popular quilt finish, the most viewed posts here on my blog, and I continue to receive question & comments almost daily in regards to it. Now I finally get the opportunity to make one right with you! I've learned a lot since that first one, little changes that make a big difference in how it all comes together. In this class I get to talk about each of those things and other tips & tricks I use with each new one I make!

Craftsy Class -- Herringbone in Bound

Craftsy Class -- Herringbone in Bound

Craftsy Class -- Herringbone in Bound

My Herringbone class quilt is made in April Rhodes' Bound fabrics, a collection I've been crazy about these past few months. I wanted to show that all you have to do to make a beautiful quilt is simply pick up a Jelly Roll or Fat Quarter bundle of a collection you really love, add in a few solids, and faster than you can imagine you'll have a gorgeous, amazing new quilt. I was also careful in choosing what size we'd make in class. One of the many things I love about this pattern is how easily you can adapt the size, so feel free to go as small or large as you like. Since I really hope & believe this quilt is just perfect for you first-time quilters, I decided on a single lap size measuring 48" x 56," a perfect curl-up-on-the-couch quilt or to have at the bottom of the bed for when you need an extra layer. I can't wait to have this one back at home!!

Craftsy Class -- Herringbone in Bound

Most of all, I really can't wait to make this quilt with YOU!! With Craftsy I get to interact with those of you who take my class. That means I'm there for you -- to answer questions, for advice, and best of all -- to celebrate you & all the awesome things you're going to make!!

Be sure to stop back tomorrow for a look at the final class quilt we'll be making! ♡ Maureen

Thursday, March 27, 2014

A Winter Herringbone Quilt { and GIVEAWAY! } : :

A Winter Herringbone Quilt

Just before sundown last night, when it looked like the wind had lightened just enough to make quilt photographing possible, we went for a quick drive to snap these pictures. It was extremely chilly and as the last bit of light was high on the hilltops the warm colors of my quilt gave a vision so great. It was too beautiful to capture, but I tried!

A Winter Herringbone Quilt

This is my second Herringbone Quilt, made using the Herringbone quilt-as-you-go Tutorial that I share here, Anna Maria Horner's Dowry & True Colors collections for Free Spirit Fabrics, and Anna's Dowry ribbons collection for Renaissance Ribbons. I'm so happy with how this one turned out that I just might love it even more than my first, which is so encouraging because I plan to make at least three more this year. A Spring Herringbone with lighter and brighter fabrics, a Summer version in voile, and a second using the colors of Autumn that I love so much. 

In the Sunshine!

This panel style of quilt-as-you-go made my idea of adding in ribbons effortless. After each panel was finished I simply edge stitched the ribbons, keeping the same angle as my fabrics, with a matching Aurifil thread directly on top of my work. Just here and there to add an extra bit of color, texture, and shimmer!

Dowry Ribbon!

With Dowry Ribbon

For my binding I finished with a Stella Solid in Indigo, the same binding I used to finish my Winter's Garden quilt from earlier in the week.

A Winter Herringbone Quilt

Bound in Indigo

A Winter Herringbone Quilt

To create this quilt I used just two Design Rolls of Dowry and one of True Colors. Using the pre-cut 2.5" strips of fabric made my quick quilt pattern, even quicker! I had on hand one yard of each Dowry Ribbon to add to my quilt top. And I'm so very happy to share that these gorgeous ribbons are now available for purchase by the yard right here, at Renaissance Ribbons!

A Winter Herringbone Quilt


A Winter Herringbone Quilt

As promised once again, now that I have finished, photographed, and shared this new quilt, I have a gorgeous Design Roll of both the Dowry & True Colors collections that I used to make my quilt, and the entire Dowry ribbons collection to offer today in another special Giveaway!

For a Dowry + True Colors + Dowry Ribbons Giveaway

AMH Dowry jacquard ribbons from Renaissance Ribbons!

Enter to win a Dowry & True Colors Design Roll and the Dowry Ribbons collection!

Here's how,   

1. Simply leave a comment here in this post! (one entry)
2. Follow
Renaissance Ribbons on Facebook or Instagram! Just let me know that you do by making a separate comment here to record that entry. (optional extra entry)
3. Follow Free Spirit Fabrics on Facebook! Just let me know that you do by making a separate comment here to record that entry. (optional extra entry)
4. My followers get a third entry! Whether you follow me here, on Facebook, on Instagram, just let me know that you do by making a separate comment here to record that entry. (optional extra entry)
5. Help spread the word!! I know that many of you already do, so I thought it would be nice to add that as another way to enter! Whether by tweet, instagram, facebook, pin, blog, etc... (optional extra entry) 

That’s 5 possible entries! Enter now through Thursday, April 3rd. The winner will be chosen by Random and I will announce their name, at the bottom of this post, here on the blog!
 
 
* Note * This giveaway is open to EVERYONE! If you're a "no reply" or anonymous commenter, please remember to include your email address in your comment!

+ + + + + + + + + + + + + + + + +

Thank you to all who entered the Giveaway!! From  1,959 entries, Mr. Random says the lucky winner is... 

Comment #451 --   * JoAnne Brown * 

Congratulations, I'll be in touch shortly!