Showing posts with label summer crown. Show all posts

Wednesday, June 17, 2015

A Summer Princess Crown Sale : :

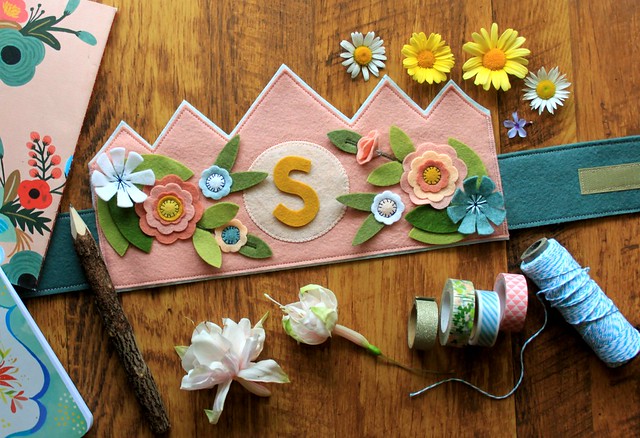
I took some time on Monday to design a pretty new Summer crown to offer a limited amount of in a special Instagram sale today at noon EST. These colors are some of my very favorites -- sweet peachy pink, dusty rose, smoky blue, and buttery yellow to name a few!
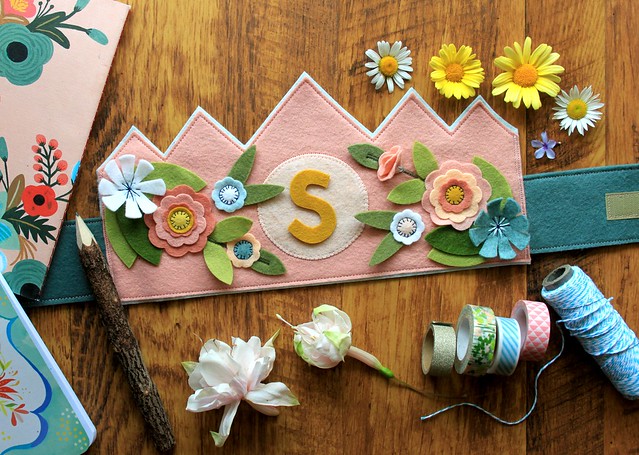
Summer Princess Initial Crown

These yummy colors and floral motifs were inspired by garden flowers in bloom, pink lemonade, and Summer journaling!
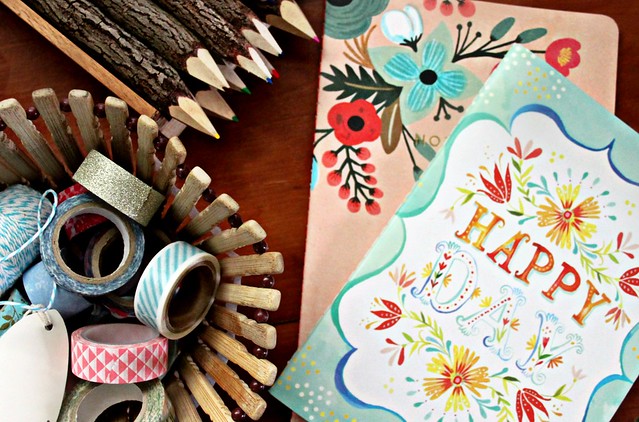
on my desk

Slightly diffferent than the made-to-order personalized crowns you can find year-round in my Etsy shop, I've created a limited amount of this style that can be customized with an initial of your choosing!
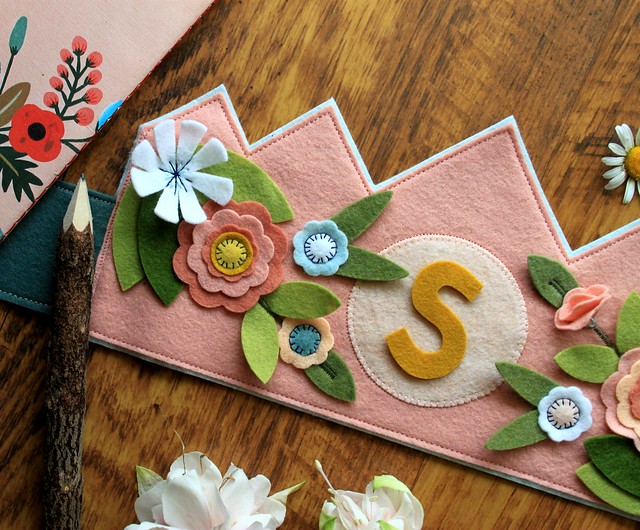
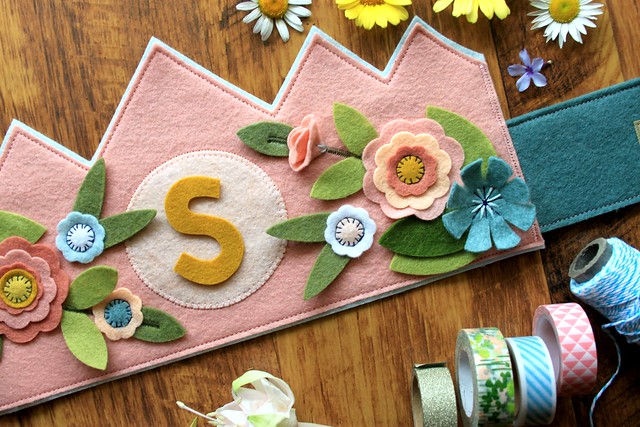
Summer Princess Initial Crown

Summer Princess Initial Crown

All crowns ordered today will ship next Wednesday, June 24th. They are $25 a piece plus shipping. International friends are welcome to these crowns, as well, shipping price will be for a flat rate envelope so the package is track-able. Join me on my Instagram at noon EST today to order by leaving a comment with your Paypal email address to claim, along with the initial you'd like added to the crown. The first twenty to do so will receive a pretty custom Summer crown for their little princess!! If you have any questions please feel free to leave me a comment. If you don't have Instagram and would love to order a crown, leave me a comment including the initial and your paypal email right here!
Summer Princess Initial Crown

♥ Maureen

Friday, July 29, 2011

A Summer Crown Tutorial : :

Finished 4
I have to say that cutting is definitely my least favorite part of the sewing process. How about you? Using a Rotary Cutter set-up is nice, it's fast and much easier on the hands than scissors, but now the folks at Accuquilt went ahead and made it even easier! Enter, the Accuquilt GO! Baby Fabric Cutter. I have been playing around with it for a couple weeks now, and I love it! It does require a little cutting prep work for the projects I've already created, but it's totally worth it!

Today I'm going to share a tutorial with you using the GO! Baby, making a Felt Flower Summer Crown! It's fast, easy, and super cute! If you don't yet own a GO! Baby, regardless of the cutting method you use, you'll be able to make one of these Felt Flower Summer Crowns!

What you'll need : :

  • Wool Blend High Quality Felt in a variety of colors -- 1 piece measuring 2.5"x12" for front, 1 piece measuring 3"x12" for back, felt for your flowers and leaves
  • 2 - 22" pieces of twisted or braided fabric or ribbon
  • Buttons
  • Pearl Cotton or DMC embroidery floss
  • Sharp scissors and an embroidery needle
  • Accuquilt GO! Baby Cutter/The GO! Rose of Sharon die
  • Alternatives : :  purchase or create a card stock stencil of your own flower shapes to use, check out these great Felt Flower Tutorials to create a crown like this one. Again, regardless of the cutting method, you'll be able to make a Felt Flower Summer Crown with these instructions!
  • Note * Click on any of my images for a larger picture 

Cutting the Felt Flowers : :

I'm including photos of the step by step for those of you who might be interested in seeing just how this GO! Baby works!  

1. Open that GO! Baby 2. Get the Flower die ready 3. Trim felt to cover each die shape 4. Cover each die shape with the felt 5. Cover with the GO! Baby mat 6. Role the die/felt/mat through the machine 7. Remove the mat 8. Layer the cut-out shapes to create your flower
GO! baby fabric cutter GO! Roses of Sharon
layout felt pieces layout felt pieces
cover with mat Quick, easy roll-through
Flowers = cut! Perfect Felt Flower
Repeat until you have the amount of flowers you need. weekend wip

Assembling the Summer Crown : :

1. Prepare the Fabric or Ribbon Ties by twisting or braiding until you have 2 - 22" strands
twisted fabric twisted fabric
2. Arrange the layout onto the 2.5"x 12" piece of felt. 3. Using a threaded needle, come up through the backside of the felt piece and hand stitch each leaf into place
Layout 1 Stitch Leaves
4. Attach your layered flowers -- come up through the backside of the felt piece, through the button holes until the flower and button are securely attached, always tie off threads on the back where they'll be hidden 5. Continue attaching layered flowers with the buttons with each layered flower
Attach Flowers with Buttons Attached with Buttons
6. Fill in those empty areas with the smaller flowers until you're happy with the design
Fill-in flowers Filling In -- finished
7. The back won't look pretty, but that's ok -- lay the finished front piece onto the larger back piece and all will be hidden
Backside -- not pretty Button on 2
8. Pin the flowers away from the edge. You'll need them out of your way to make room for the presser foot to move easily across the band 9. With flowers out of the way, simply top stitch the top piece to the bottom, back-stitching when you begin and finish the seam
Pinned Pinned up and stitch 2
10. Leave those small ends open 11. Insert the prepared ties, pin and stitch them in place, back-stitching when you begin and finish the seam
Insert here insert ties
12. Remove all the pins 13. Trim away the excess felt on each side for a nice, neat look
ready to trim trim up back
Finished Front    * * *    Finished Back
Finished 2 reverse finished
Voila! You're finished! I hope you have a little one to enjoy this pretty new Summer Crown!Finished 3
Finished back tie
 * * *    Her Idea    * * *
Her idea : ) Her idea : )
Which, I think, is just as sweet! In addition to Birthday celebrations, this crown can be a wonderful touch for creative and imaginative dress up play. Perfect for Summer Days!

Stay tuned for a GO! Baby Fabric Cutter/3 die set with coordinating mats Giveaway right here, ON MONDAY!!! You can sign up to receive Accuquilt emails/promotions/sales by clicking on either the Accuquilt Blogger Button or the 22 Free Pattern Button on my right sidebar!

Wishing a wonderful weekend to all!