
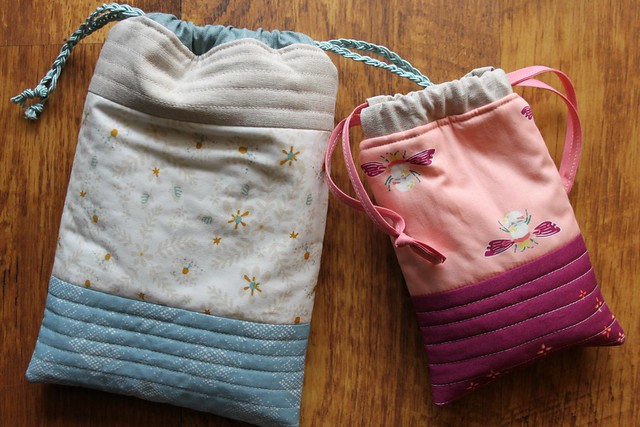
When I started making drawstring bags over the Summer, inspired by this tutorial by Svetlana of s.o.t.a.k. handmade, I decided right away they'd be my go-to bag for gift-giving. After all, it takes less time to make one than it does to run out to the store to purchase one. Plus, they just look so special and can be used again and again and again, I love that! So when Garden Dreamer arrived I decided to whip up a couple to both highlight a few prints in this new collection to share here on the blog, and to use for packaging up a couple of Haila's smaller gifts for her birthday next week! I like to quilt my bags, making use of all my batting scraps and so they're guaranteed to last for years to come.
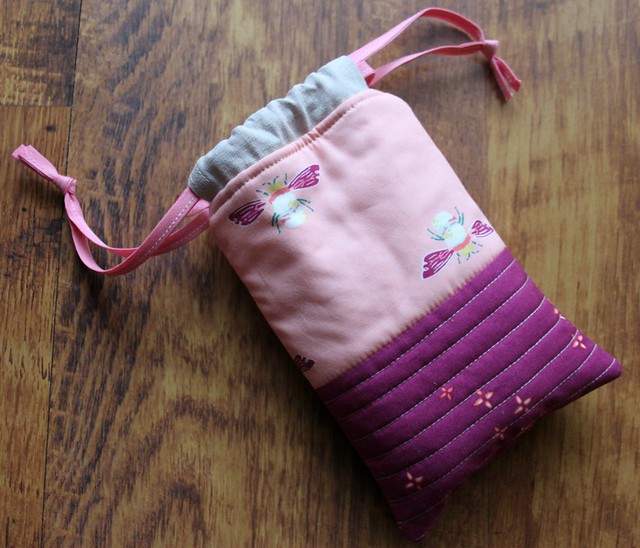
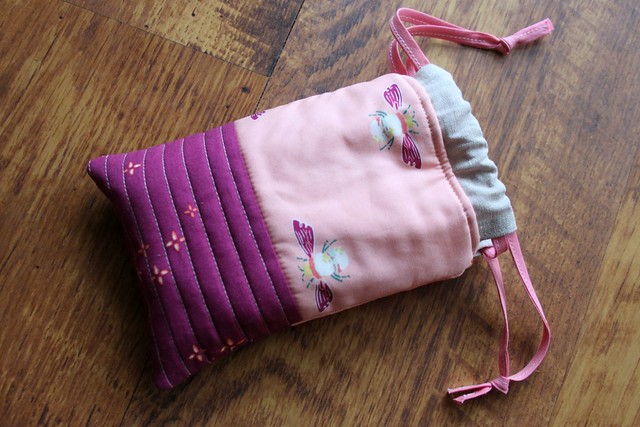
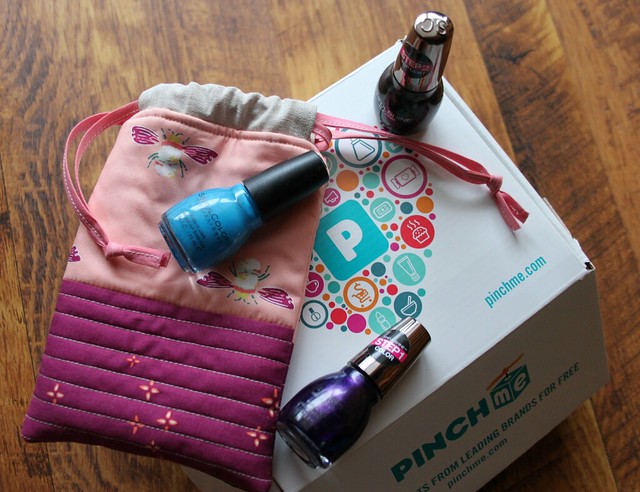
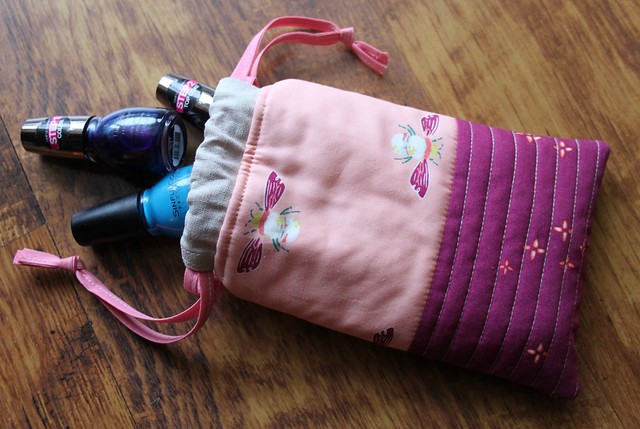
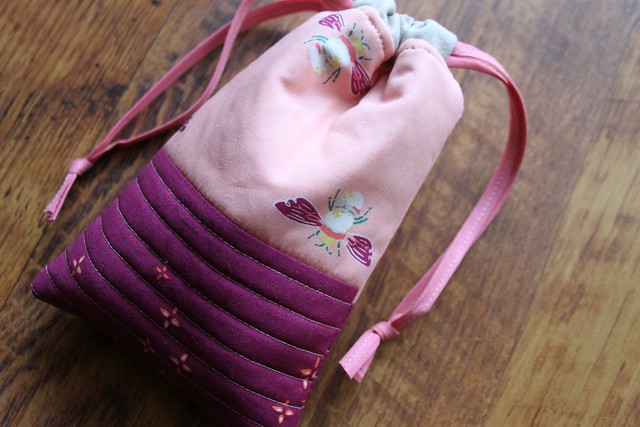
First up is a combo of Garden Dreamer Bumble Beez and Twinklestar Berry to fill with new nail polishes, one of my girl's most favorite things!
These new nail polishes were included in my last month's PINCHme Box, a monthly subscription for receiving product samples to try out. It's a great way to discover new, amazing beauty products and these nail polish colors just happened to go perfectly with these Garden Dreamer prints!
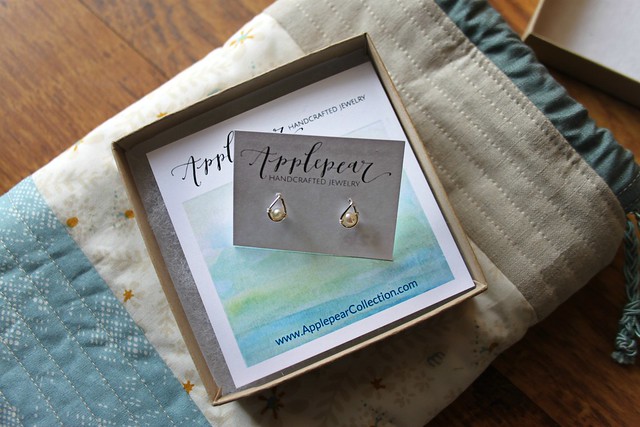
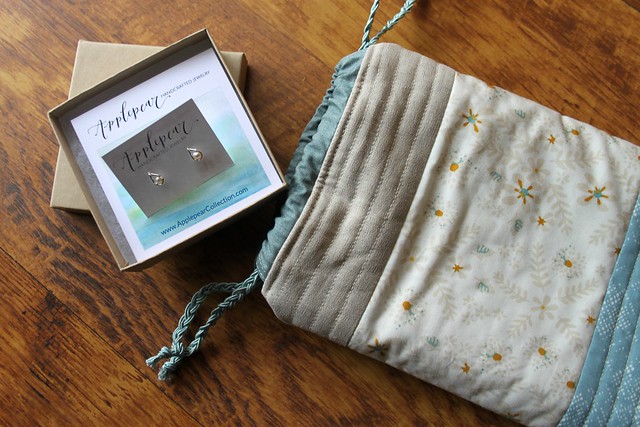
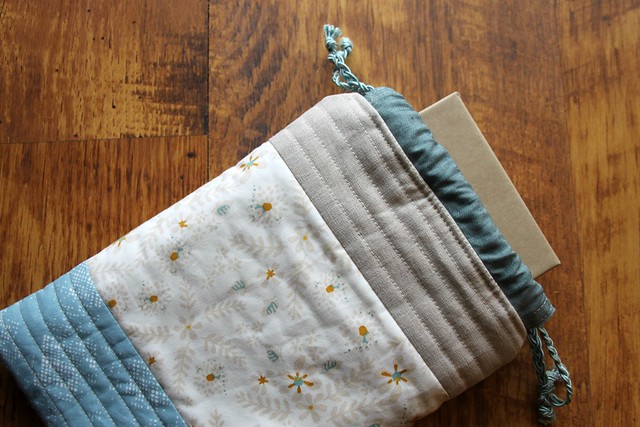
The second bag is a little larger, made to fit a new pair of pretty earrings from Applepear Handcrafted Jewelry! Haila's going to love these Rain Stud Earrings and their pretty packaging inspired this selection of Garden Dreamer prints -- Flower Dance + Terra Firma Humid paired with a little AGF Linen & Denim!
I really fell in love with making these bags and the options are endless! I'm excited to grow a collection of them and I know they'll be lovely to give. I'll be back soon to share one more addition to the Garden Dreamer gift-bag stash!
♡ Maureen
So cute
ReplyDeleteHi, thank you very much. good job.
ReplyDeleteWhat a great idea!
ReplyDeleteVery inspiring Maureen - and beautiful bags. When you quilt in the batting, do you only quilt it to the front/outside fabric? This would leave the lining separate and easier to follow the tutorial. Do you have any tips for reducing bulkiness along the seams caused by the batting?
ReplyDeleteThank you! Yes, the lining is added after the front and back bag pieces are quilted to the batting. I don't thing there is a noticeable bulk. I use Pellon Nature's Touch 100% cotton batting so I can press the seams, batting and all, open if I need to flatten them out at all. I do make my lining a little smaller than suggested because of the added batting layer. Hope this helps!
DeleteThank you Maureen, yes this makes a lot of sense. One more question - sounds like you have quilted with fabric both sides of the batting and then added the lining, meaning the bag has a side of three fabric pieces plus one of batting? Is this how you made it? I wasn't sure if you had fabric on the underside of the batting (separate/additional to the lining).
DeleteNope, just the front fabrics that you see quilted to batting, nothing on the back side of the batting at all. Once the front and back bag pieces are quilted I added the casing and then the lining following the same steps that Svetlana shares in her tutorial. It comes together just the same!
DeleteThank you Maureen. Beautiful job. Looking forward to your next post too!
ReplyDeleteThis comment has been removed by a blog administrator.
ReplyDeleteThis is so cute. Love the added quilting to the bag. Thank you.
ReplyDeleteMy best congratulations on your wonderful site!
ReplyDeleteIt's amazing when you find a good content in today's internet.
ReplyDelete
ReplyDeleteBravo ! Votre blog est l'un des meilleurs que j'ai vu !
voyante serieuse par mail
I really had a great time with your post! I am looking forward to read more blog post regarding this! Well written!
ReplyDeleteBonjour et bon noel a vous également, Je vous remercie infiniment,merci,merci,merci
ReplyDeletevoyance gratuite mail
I thank you first for this great blog. I come every day week end included! Good continuation
ReplyDelete